Mythic Minis is reader-supported. When you buy through our affiliate links, we may earn a small commission—never costing you anything extra. Your support helps us keep creating helpful painting guides and hobby resources for everyone.
Introduction to the Sigmarite Mausoleum
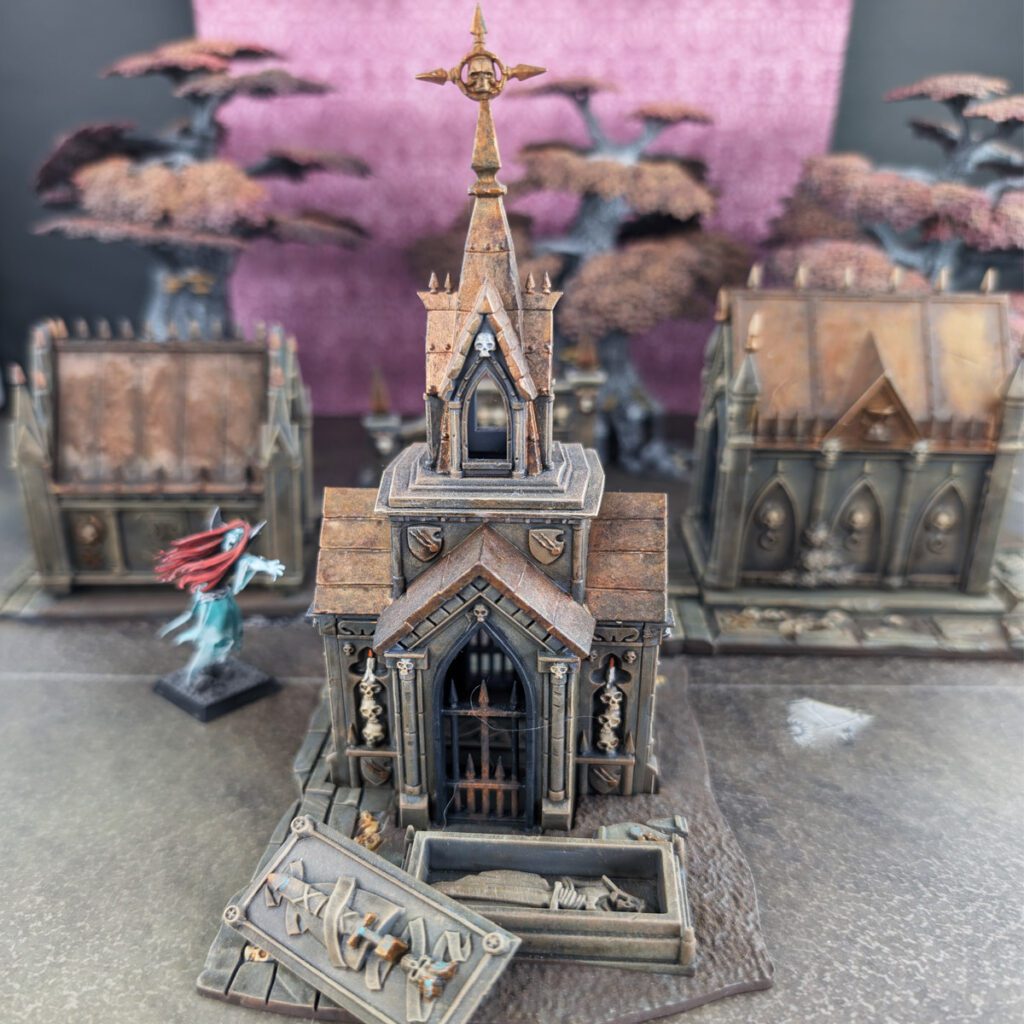
Painting the Sigmarite Mausoleum is a rewarding project that allows you to bring the gothic grandeur of this Warhammer terrain to life. With its detailed stonework, eerie statues, and towering gates, it offers plenty of opportunities to experiment with various techniques like dry brushing, washes, and weathering.
In this guide, we’ll take you through the steps to paint the Sigmarite Mausoleum, helping you create a visually stunning and atmospheric centerpiece for your battles.
The Sigmarite Mausoleum Battlefield Role and Strategy
The Sigmarite Mausoleum serves as thematic terrain in Age of Sigmar 3rd Edition, representing a fortified graveyard dedicated to Sigmar. Its walls and crypts provide defensive cover for units, offering strategic advantages by blocking line of sight and creating choke points. The Mausoleum’s enclosed structure can protect your forces from ranged attacks while giving slower, more defensive units time to reposition or reinforce objectives. As a large terrain piece, it adds a visually impressive, narrative-rich environment to the battlefield, further immersing players in the lore of the Mortal Realms.
Using the Sigmarite Mausoleum strategically can shape the flow of a game. Its walled sections and gates can be used to block enemy movement, forcing opponents to take longer routes or bottleneck at key entrances, which can make them vulnerable to counterattacks. Placing ranged or objective-holding units within the Mausoleum grants them solid defensive positions, while faster units can use the terrain as a shield to launch ambushes or flanking maneuvers. The terrain’s size and shape also help in controlling board space, allowing you to dictate the pace and flow of battle, especially in objective-based games.
Why I Painted the Sigmarite Mausoleum

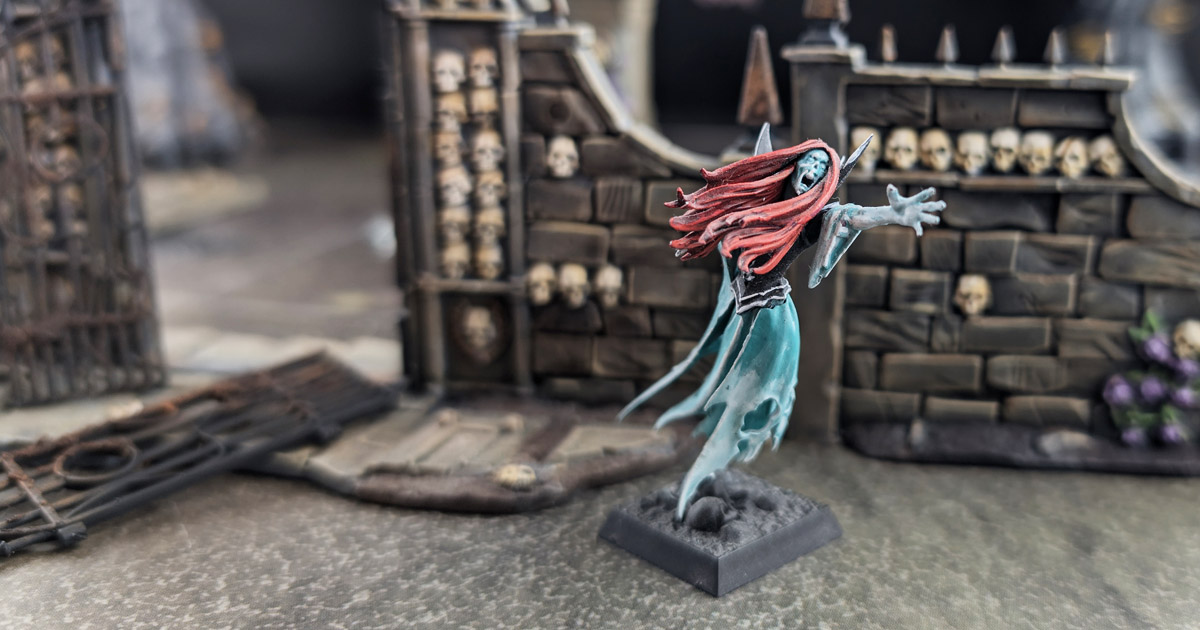
I painted the Sigmarite Mausoleum a few years ago when it was just half the box’s current contents, and it was named the Garden of Morr. I painted it not only because the terrain piece was super-cool, but it also complemented Peter’s growing Grand Alliance of Death army.
At the time, I was still a beginner painter and used the different textures, features, and details to hone different painting techniques. The final result was a very cool painted terrain piece that actually lived, and participated in many battles, at the Warhammer Turkey Creek store in Knoxville.
The Painting Process for the Sigmarite Mausoleum
We’re going to paint the Sigmarite Mausoleum from the ground up!
Priming the Sigmarite Mausoleum
I primed the Sigmarite Mausoleum in Citadel Primer Mechanicus Standard Grey all over. No Fancy Zenithal priming or any crazy colors required.
Paint Colors for the Ground
- Citadel Colour Corvus Black
- Citadel Technical Typhus Corrosion
This is a very easy step to paint. Simply just paint any parts of the terrain bases that are earth Corvus Black. I like this color because it’s just a bit lighter than normal black. It has a grey-ish sheen that almost gives a coal or graphite-like appearance.
Use the technical paint, typhus corrosion over parts of the Corvus Black to give a dirt or muddy texture.
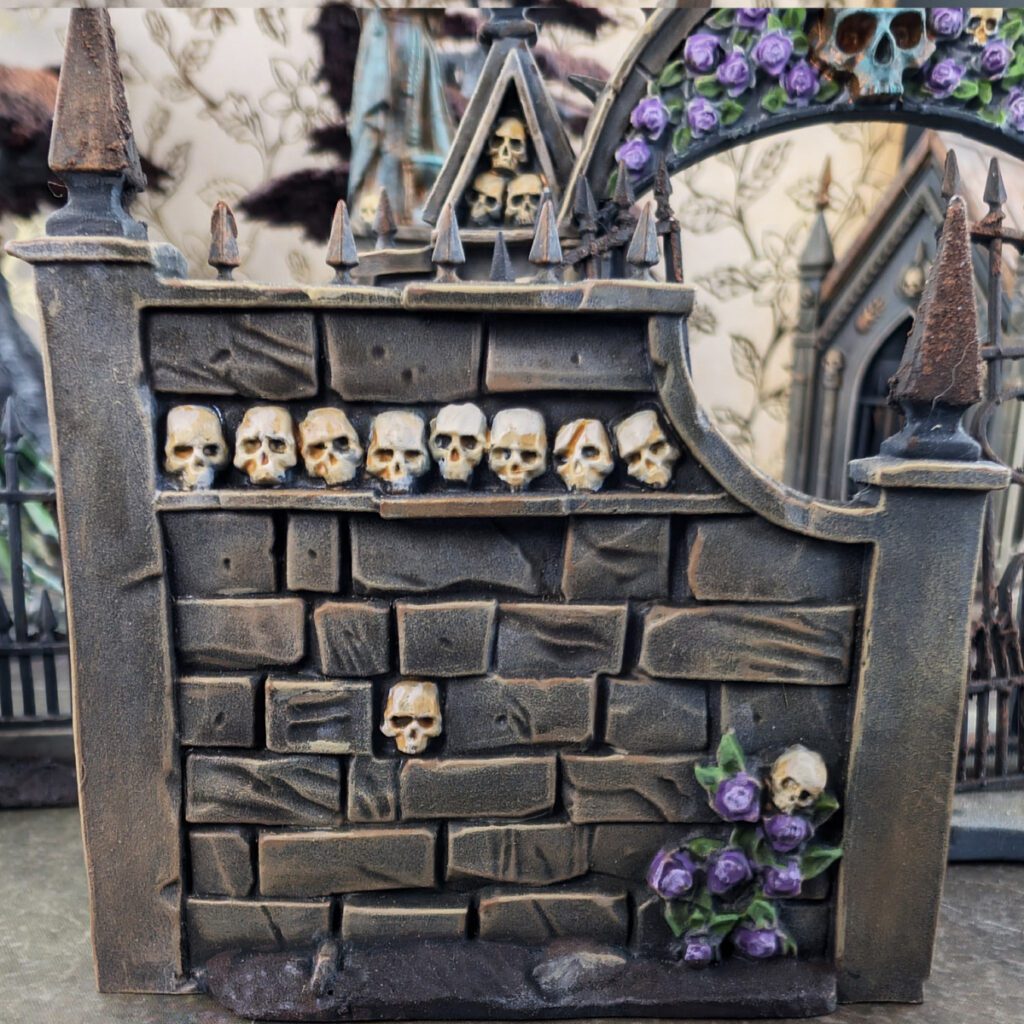
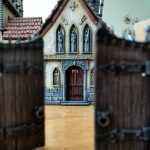
Painting the Walls and Stone of the Sigmarite Mausoleum
- Citadel Colour Karak Stone
- Two Thin Coats Dust Bowl or Citadel Colour Steel Legion Drab
- Citadel Shade Athonian Camoshade
- Citadel Shade Agrax Earthshade
- Two Thin Coats Skeleton Legion or Citadel Colour Ushabti Bone
Start with a medium to heavy dry-brush of Karak Stone. You’ll want to dry-brush this randomly with heavy and lighter pressures to give variety in color intensity on the walls.
Continue dry-brushing with Dust Bowl – it adds just enough different in the flavor of the color to texturize the stone walls. For some of the flatter walls on the buildings you can use a stippling technique to give the appearance of weathering and aging.
For shading, alternate shading different sections of the walls with Agrax Earthshade and Athonian Camoshade. You’ll want to blend the shade colors using different color intensities for varying effects on the stones.
To bring the color of the stones and walls back up, dry-brush back over with Karak Stone and Dust Bowl. The next step is to also dry-brush using brighter Skeleton Legion from Two Thin Coats. Screaming Skull might work as a Citadel equivalent. Use this color sparingly, hitting your topmost textures and edges.
An optional step is to stipple a very light amount of Corvus Black toward the bottom of walls and stones to dirty them up and transition them from areas of the bases where stone directly contacts earth.
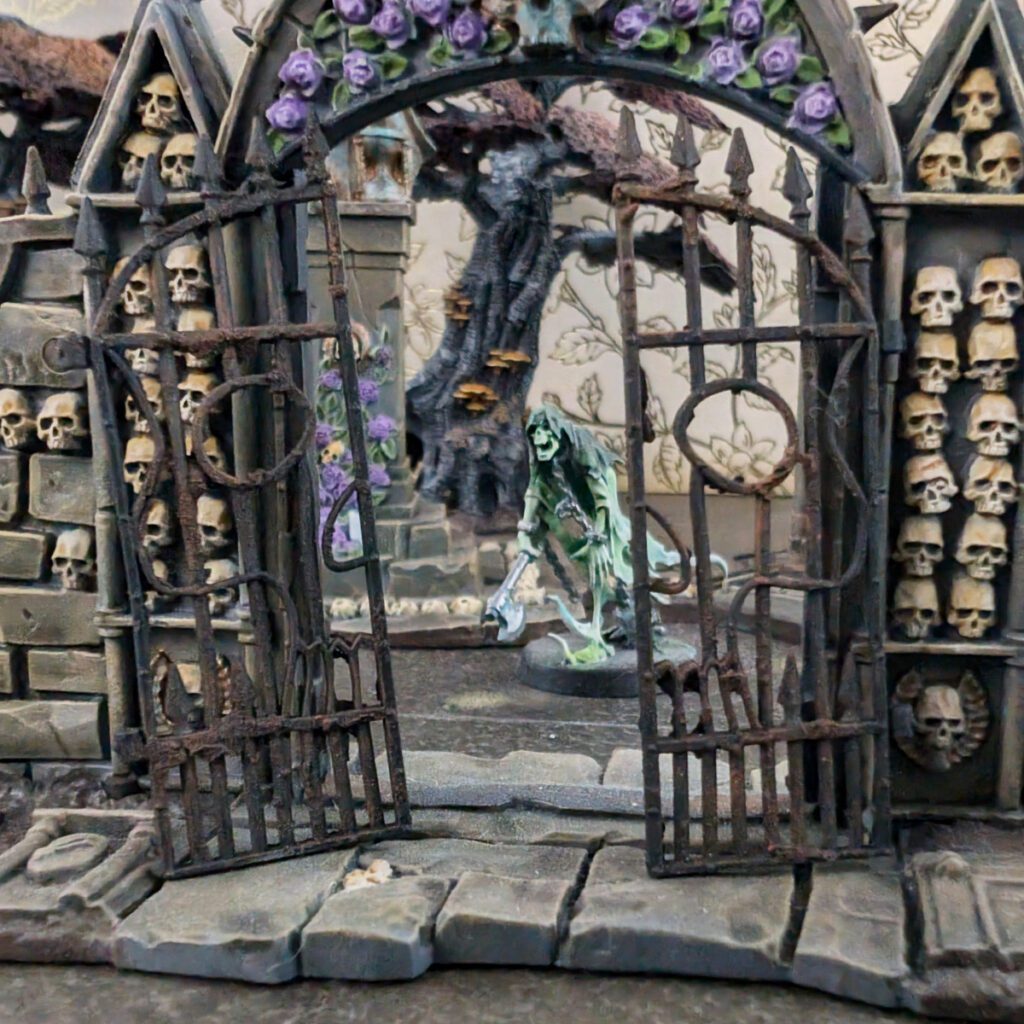
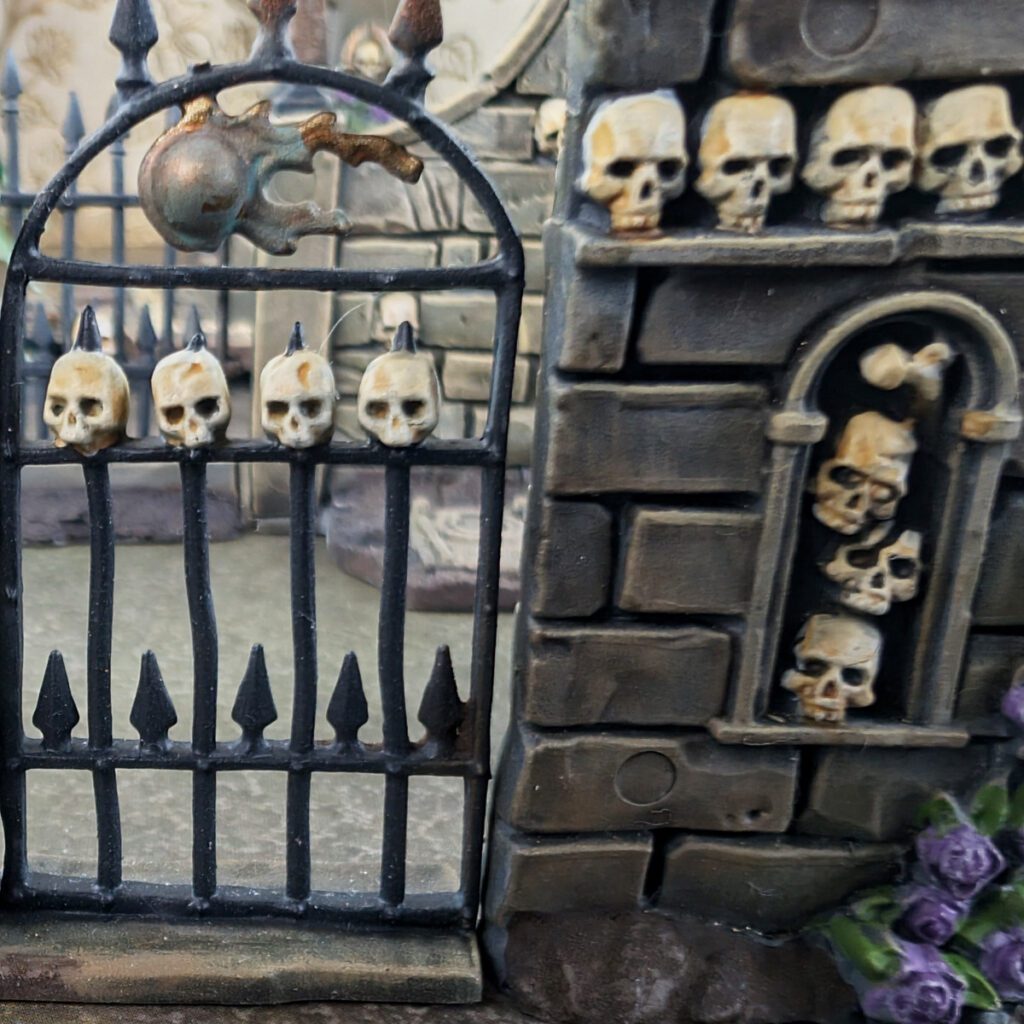
Painting the Fences and Gates of the Sigmarite Mausoleum
- Citadel Colour Corvus Black
- Citadel Technical Typhus Corrosion
- Citadel Colour Jokaero Orange
Once again we’re starting with Corvus Black. We want that nice graphite, wrought-iron kind of look to our gates and fences.
The next step is to spot-paint some Typhus Corrosion in select areas to give the appearance of rust. You don’t want this everywhere, so try to pick out spots or patches where you imaging rainwater collecting or draining on the iron.
And the final step is to dry-brush some Jokaro Orange onto those areas where you used the Typhus Corrosion technical paint. An alternative color would by Ryza Rust, or really any orange color. If you want to get dynamic, you can start with heavier dry-brushes of orange-browns and bring the color up to a brighter orange for a rust effect that pops.
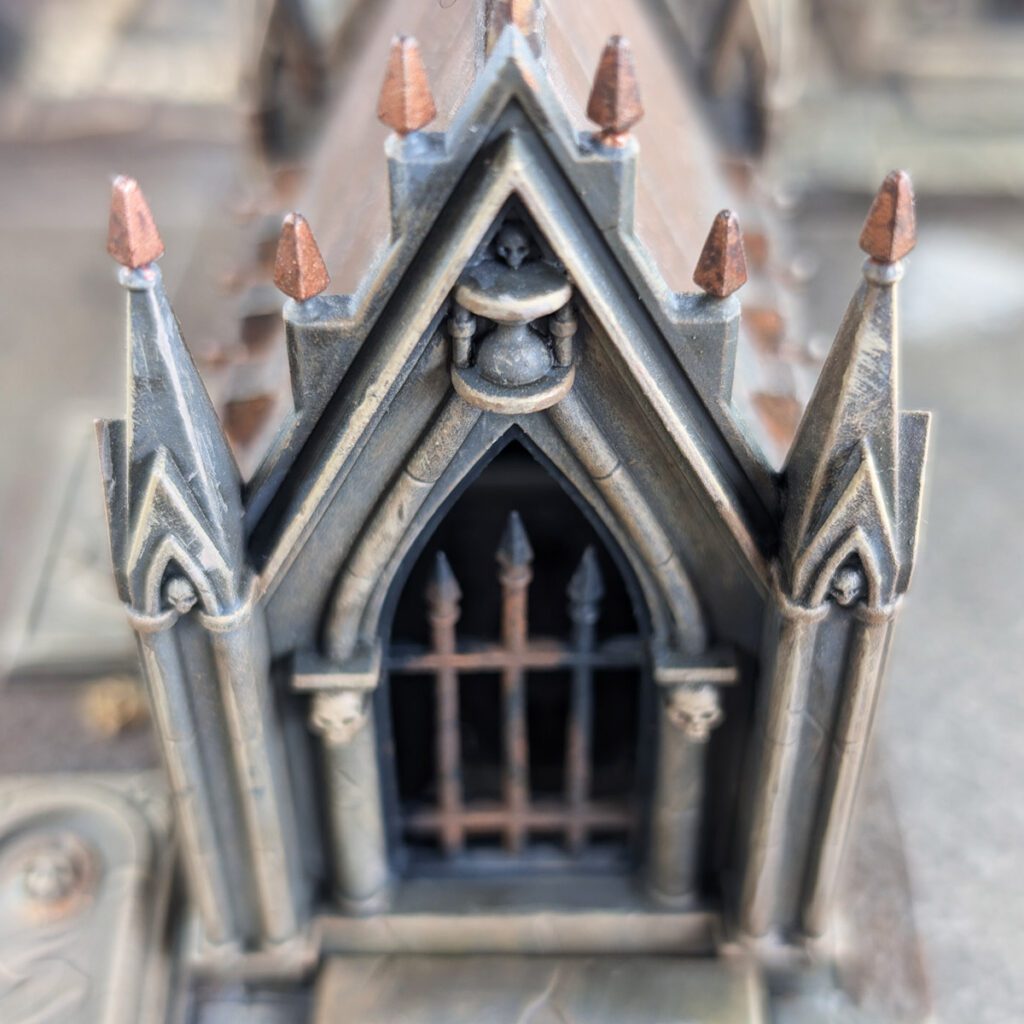
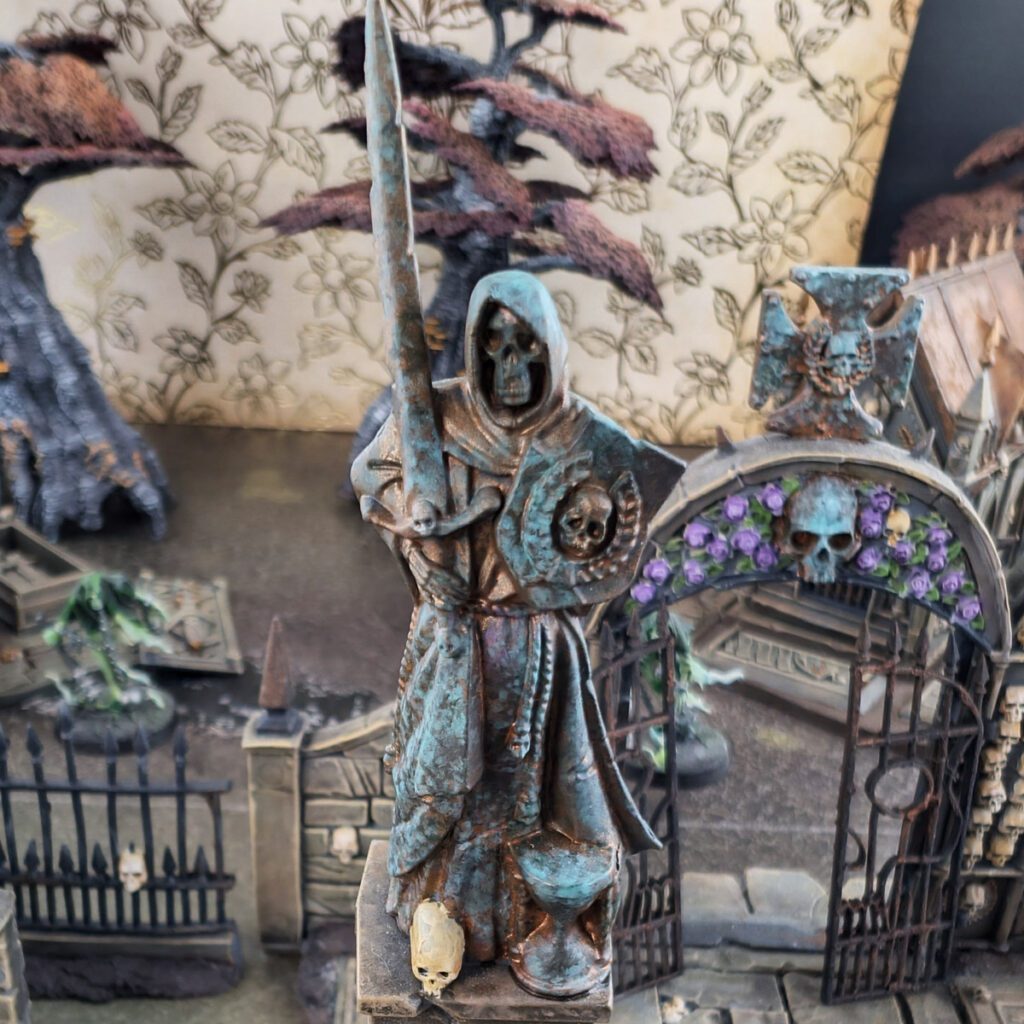
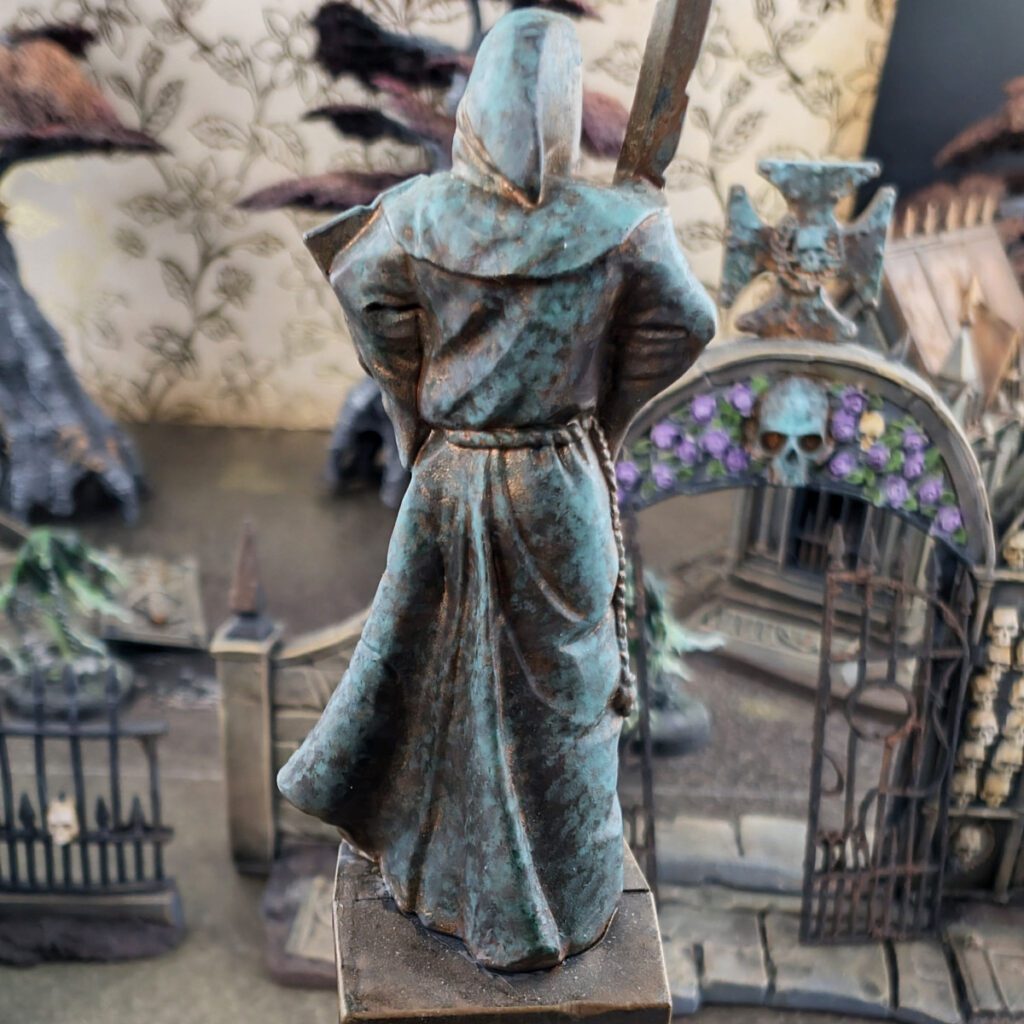
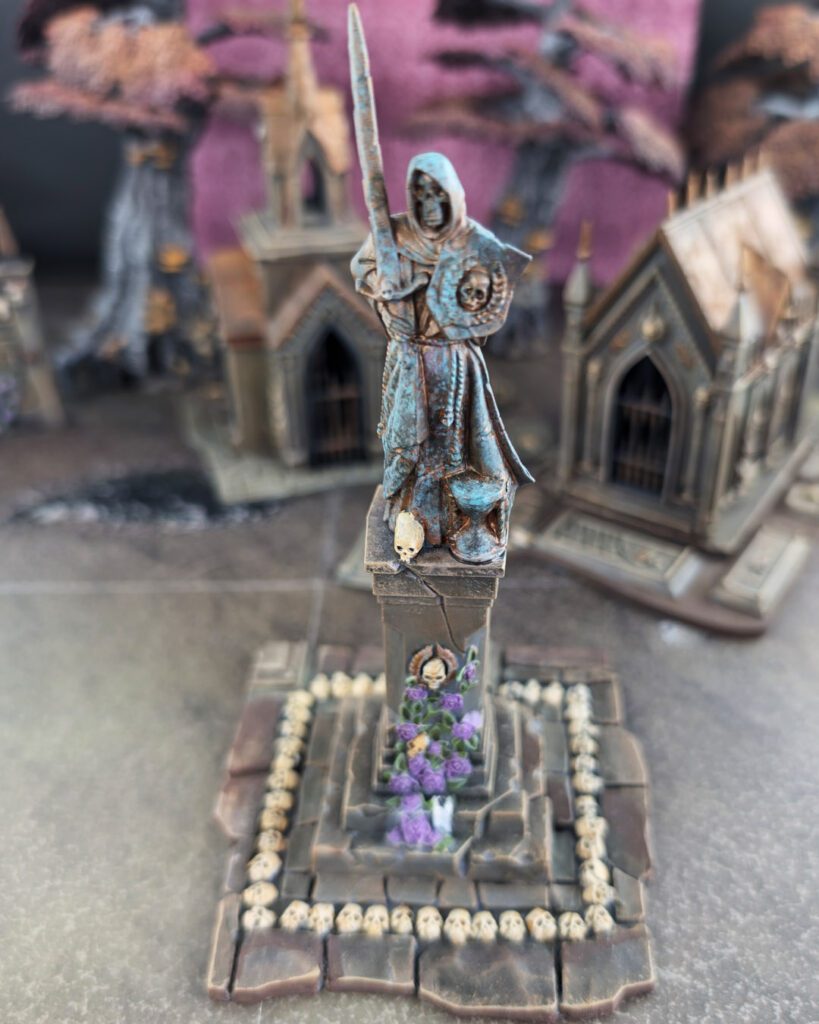
Painting the Statues for the Sigmarite Mausoleum
- Spartan Bronze (Two Thin Coats) or Citadel Colour Balthazar Gold
- Emerald Green (Two Thin Coats)
- Ancient Forest (Two Thin Coats)
- Citadel Technical Nihilik Oxide
- Citadel Colour Warpstone Glow
- Citadel Colour Gorthor Brown
Start with your base-coat of Spartan Bronze all over the statue area. Balthazar Gold if you’re using Citadel colors.
Next, use a nice, worn dry-brush to use a stippling technique for the Emerald Green. Warpstone for Citadel colors. Start very light with this and see how you like it. Gradually get heavier as you get comfortable with the results.
Then, use the exact same method as above for Ancient Forest. Gorthor Brown for Citadel users. You may want to alternate between Emerald Green and Ancient Forest for different results. Remember, keep some of the bronze showing through. You don’t want to cover all traces of the original color.
Finally, very lightly begin stippling Nihilikh Oxide. Load your brush like a dry-brush, dabbing off as much excess paint as possible. Start with obvious areas that would be rain on, channel water, or get weathered the most. Remember, with this kind of effect, less is more, so don’t overdo it.
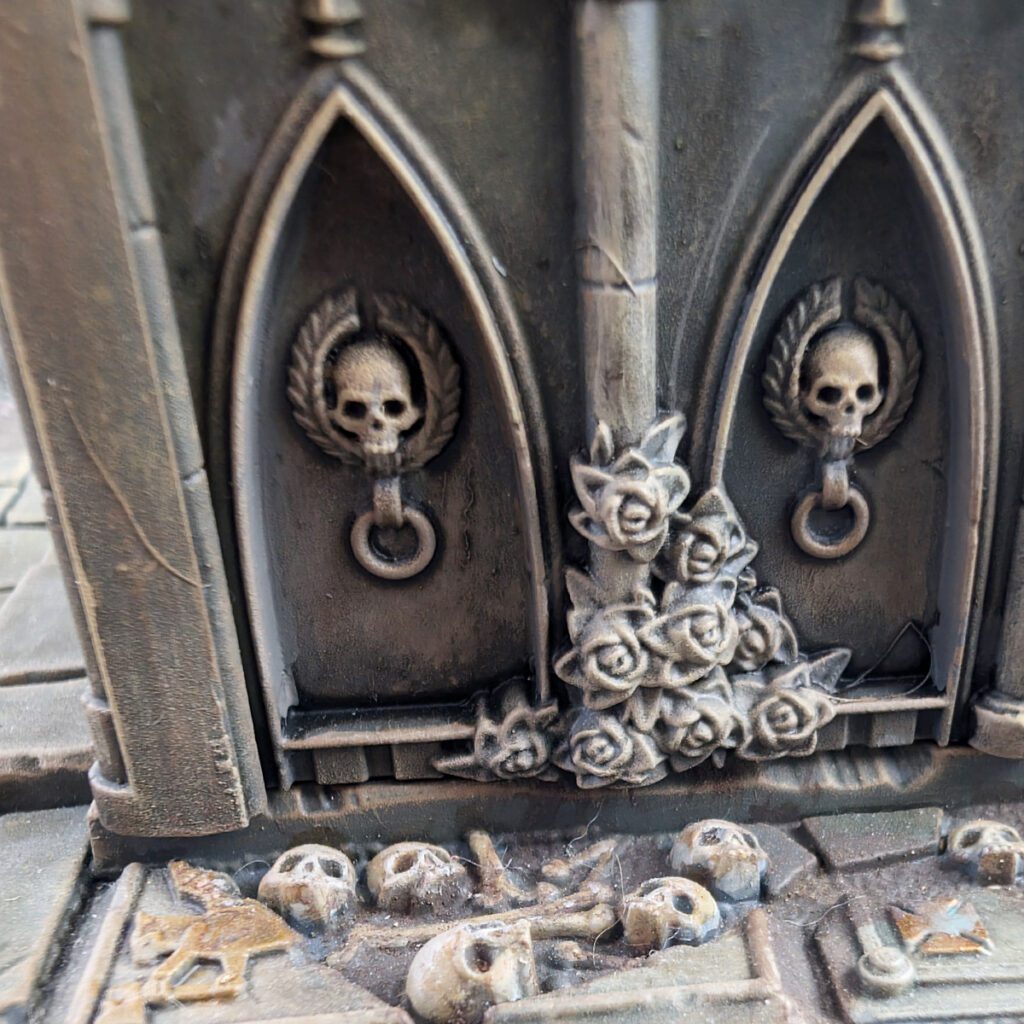
Painting the Skulls
- Citadel Colour Wraithbone
- Citadel Shade Seraphim Sepia
Base the skulls in Wraithbone. Be a little neat about this so you don’t have to retouch the areas around the skulls.
Shade skulls with Seraphim Sepia – this is my favorite color shade!
Layer the non-recessed parts of the skulls with Wraithbone. A light dry-brush technique could be used instead if layering seems tedious.
Finally, a very light dry-brush of Screaming Skull will make the details pop on the skulls.
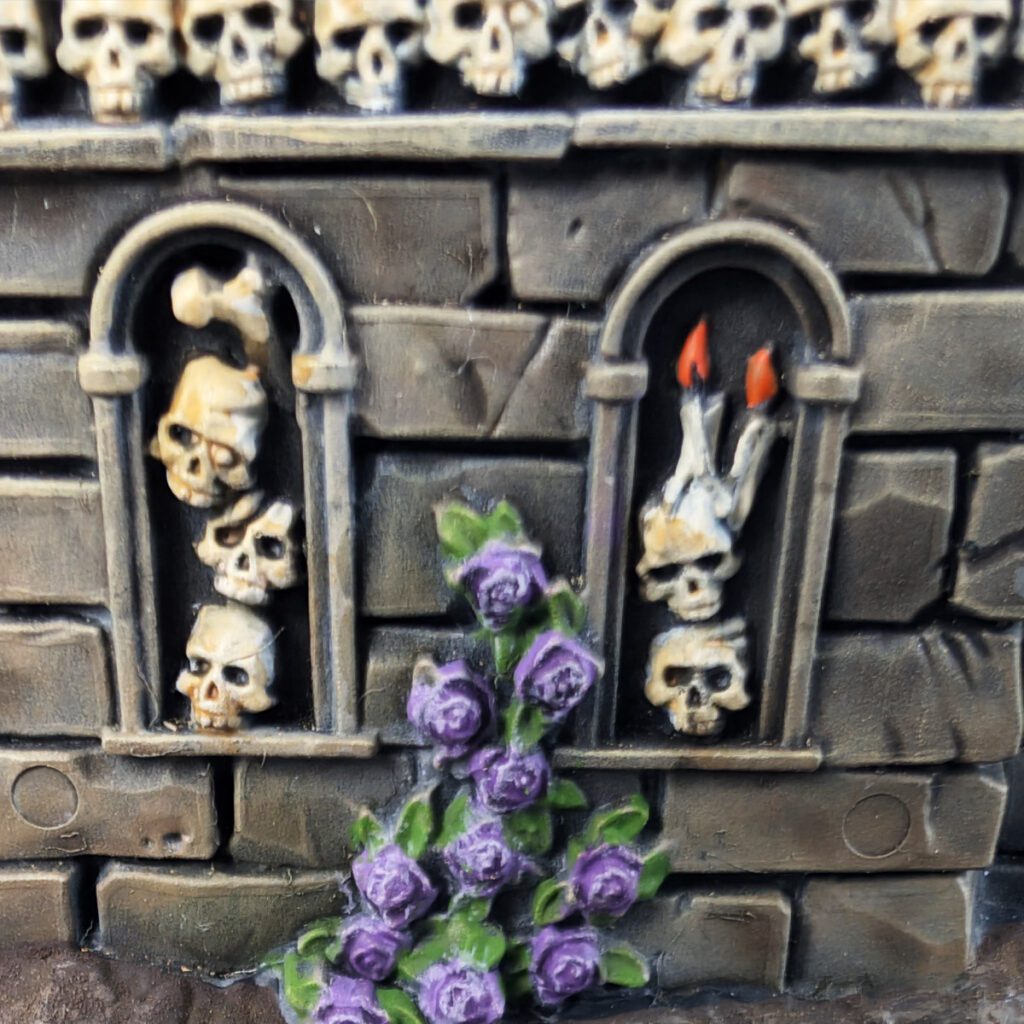
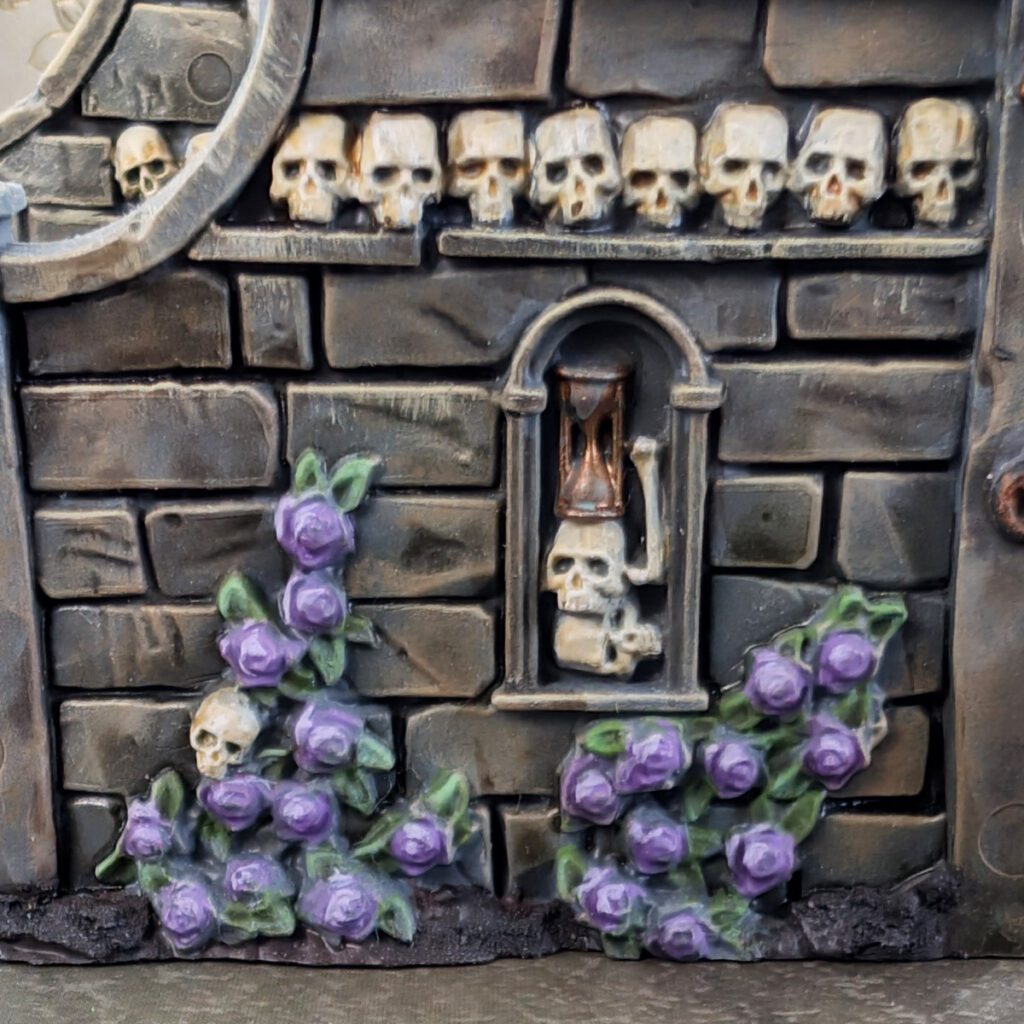
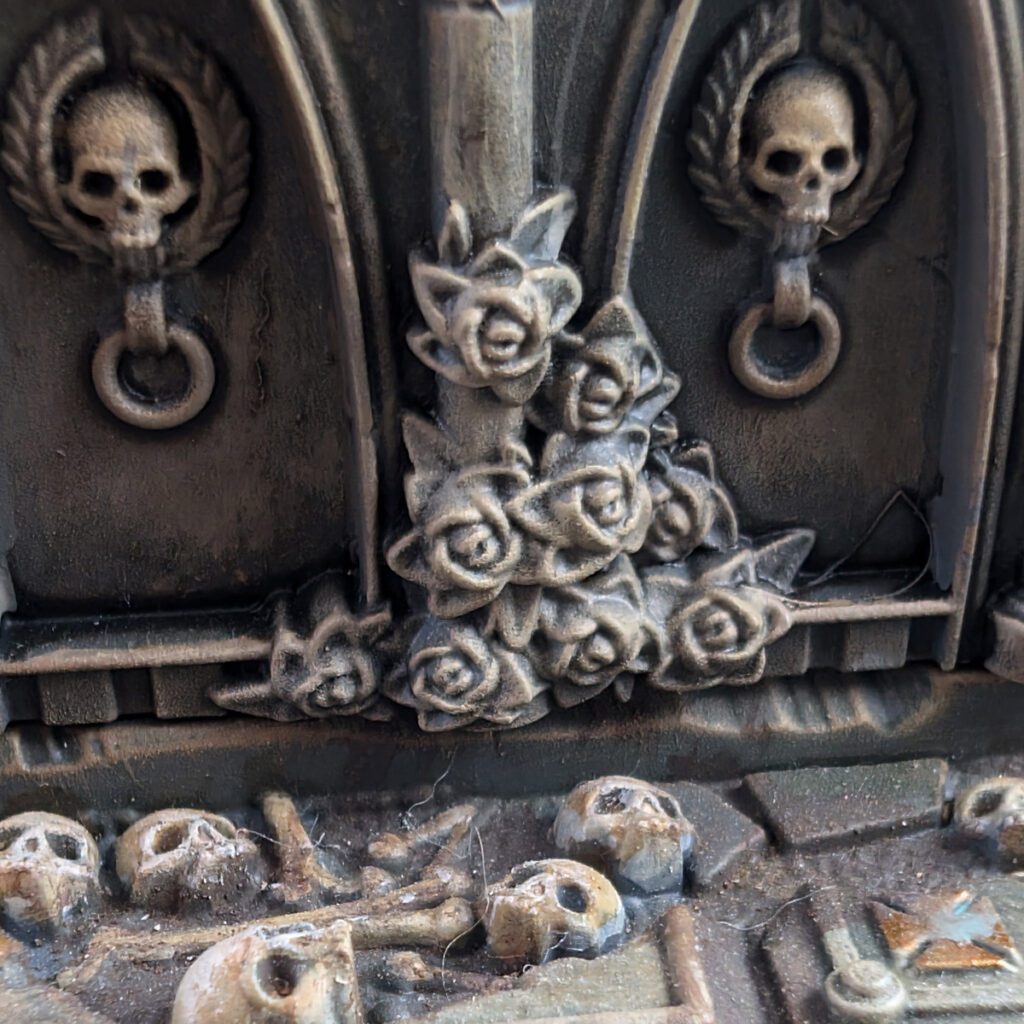
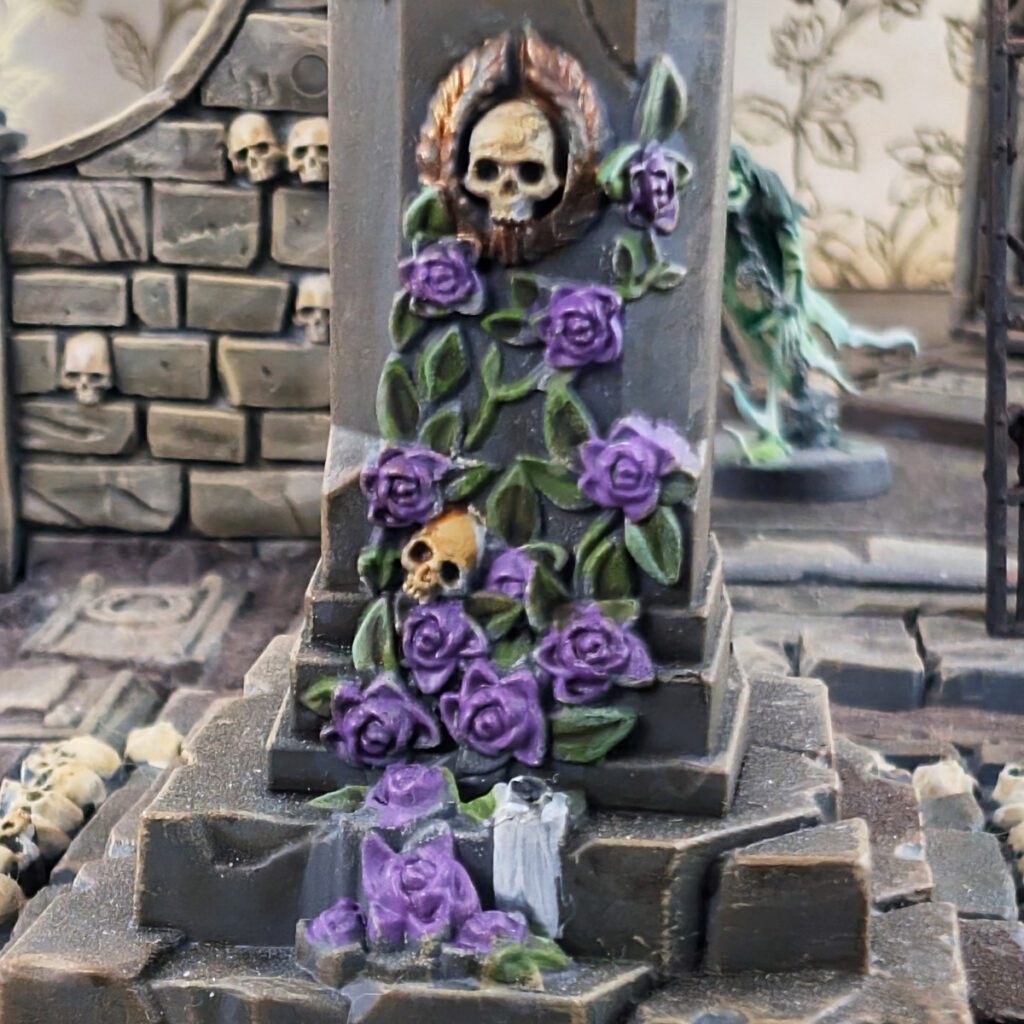
Painting the Flowers
- Amethyst Rayne (Two Thin Coats)
- Citadel Shade Druchii Violet
- Runic Purple (Two Thin Coats)
Base-coat the flowers in Amethyst Rayne.
Shade the flowers with Druchii Violet.
Highlight the tips of the flower pedals with Runic Purple.
You can paint the flowers any color you want using the same technique. Just use a dark base color, a similar shade, and a highlight color brighter than the base color.
There is another option, which I thought looked really cool. The only problem is it didn’t really add any color to the terrain piece as a whole, so I decided to continue with the purple. The technique is the just use the stone/brick color scheme over the flowers. It makes the flowers look as though they were building decor carved from the very stone as the rest of the building. See the pic below.
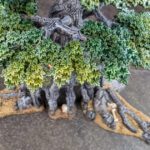
Painting the Leaves
- Citadel Shade Athonian Camoshade
- Vallejo Model Color Olive Green
- Citadel Colour Nurgling Green
Base-coat Olive Green onto the leaves and stems.
Shade the leaves with Athonian Camoshade.
And finally, highlight the leaves and stems with Nurgling Green. A simple base-shade-highlight technique and you have beautiful leaves!
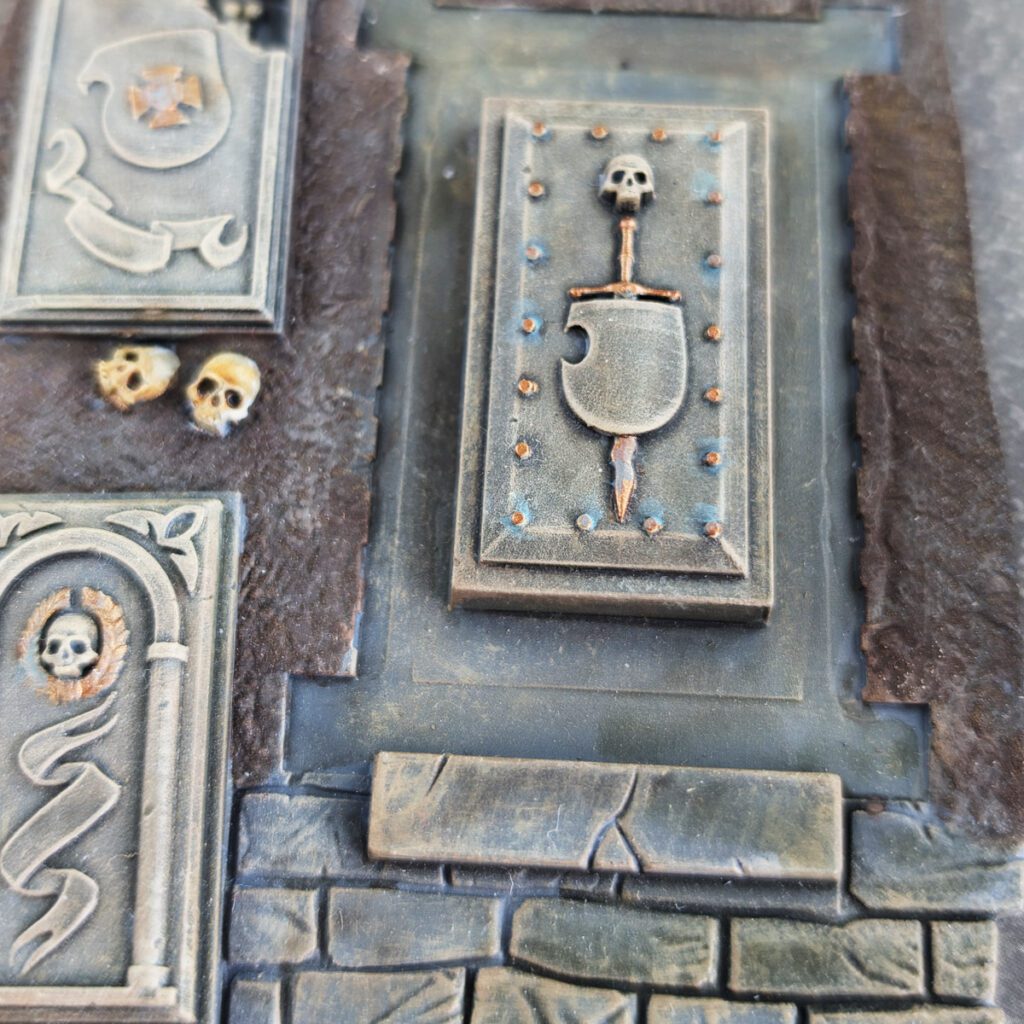
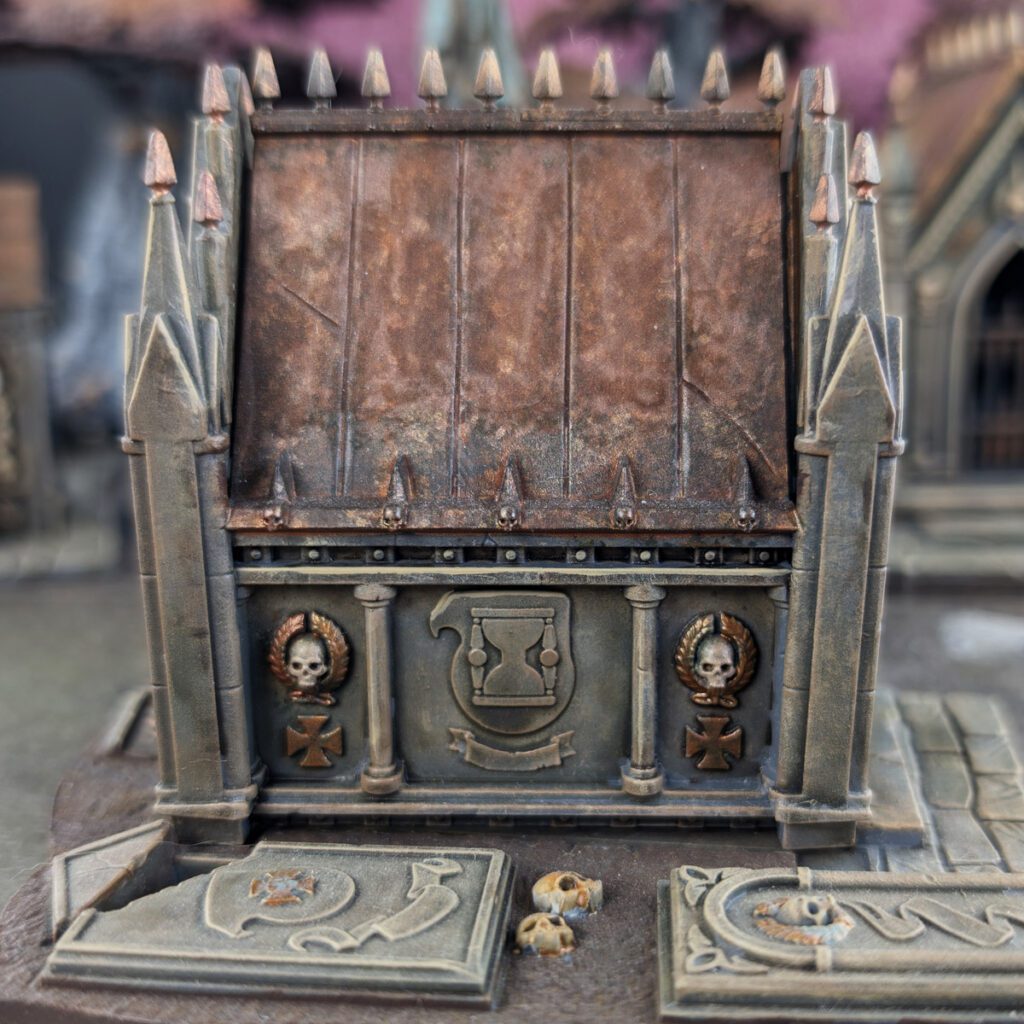
Painting Bronze Details on the Sigmarite Mausoleum
- Two Thin Coats Spartan Bronze or Citadel Colour Balthasar Gold
- Citadel Technical Nihilik Oxide
This is a very simple process of base-coating of you details with the Spartan Bronze.
Go over the details with very light weathering using the Nihilikh Oxide. You can just lightly highlight this paint or even stipple it using the dry-brush method.
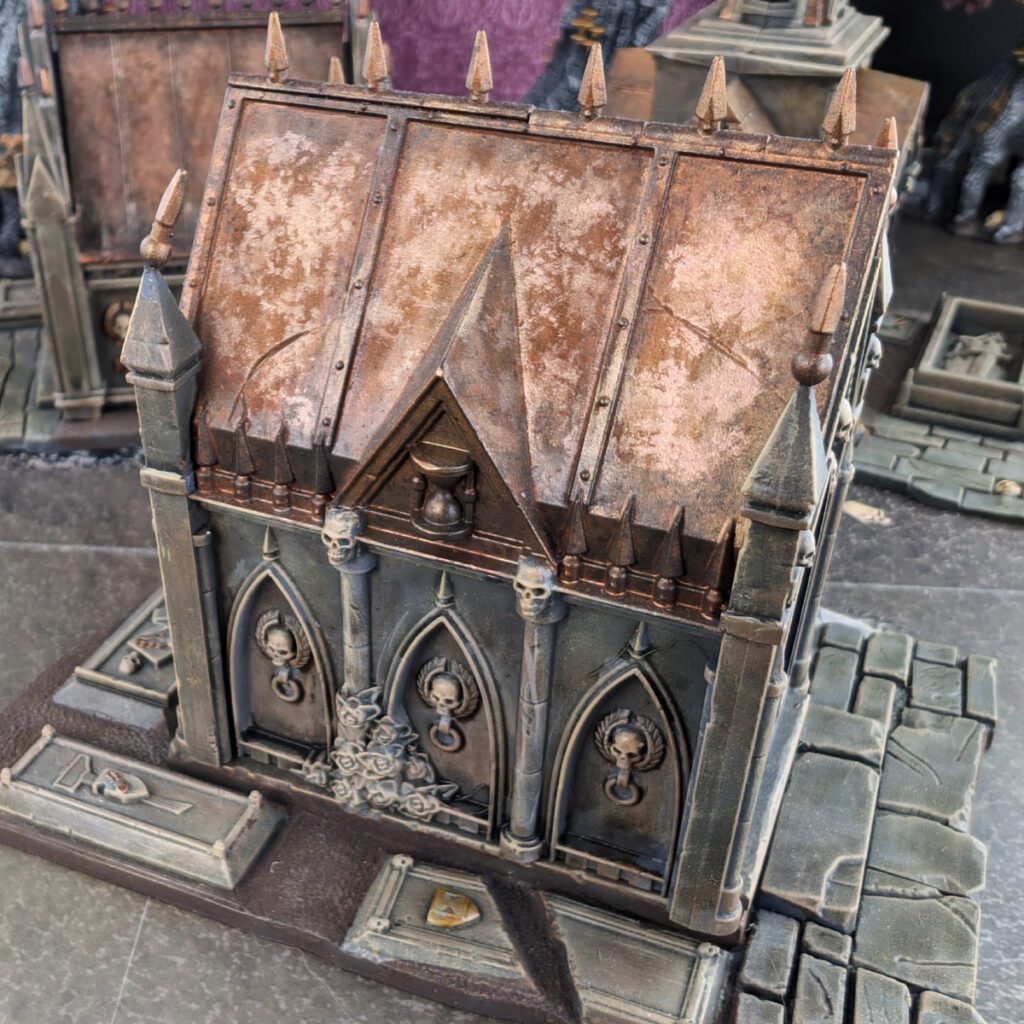
Step-by-Step Guide to Painting the Sigmarite Mausoleum
“With these techniques, your Sigmarite Mausoleum will become a stunning piece for any Warhammer: Age of Sigmar table. Don’t be afraid to experiment with different color schemes or weathering effects to make it truly your own. Whether you’re new to painting terrain or a seasoned hobbyist, this mausoleum offers endless possibilities to showcase your skills. We’d love to see your finished work—share it with us on social media using #MythicMinis!”
Sigmarite Mausoleum Shopping List
General Supplies:
- Wet Palette
- Paint Puck or Water Cup
- Citadel Medium Base Brush
- Citadel Medium Dry Brush
- Citadel Medium Shade Brush
Paint List:
- Citadel Primer Mechanicus Standard Grey
- Citadel Colour Paints

No responses yet