Disclaimer: This post contains affiliate links. As an Amazon Associate, I earn from qualifying purchases at no extra cost to you. [Learn More]
Introduction
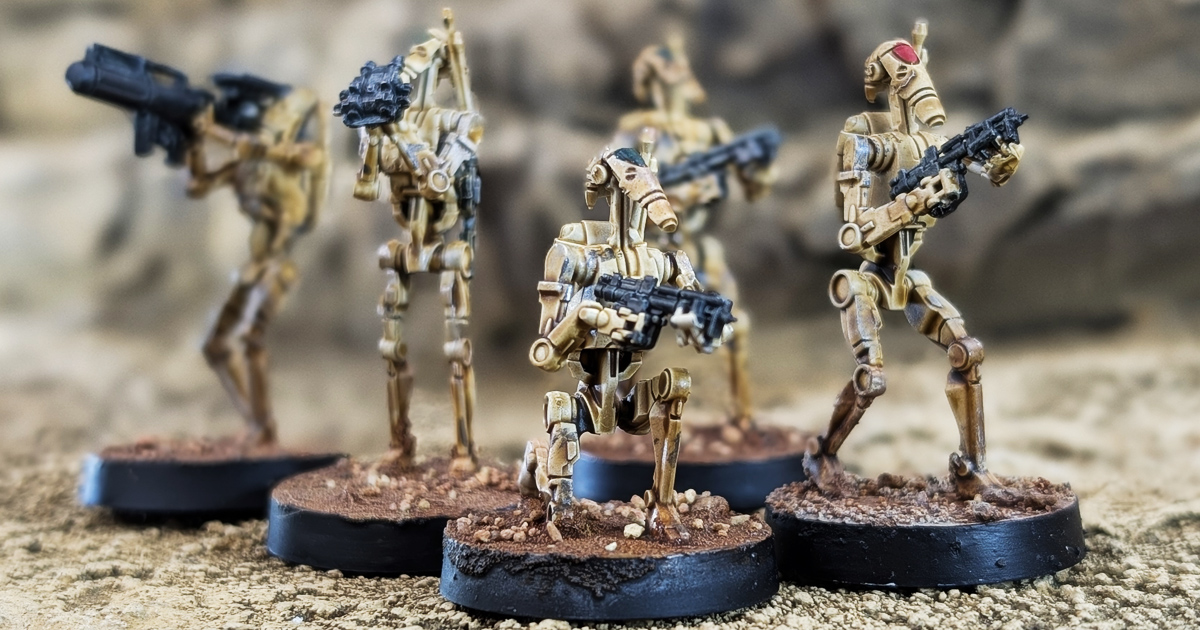
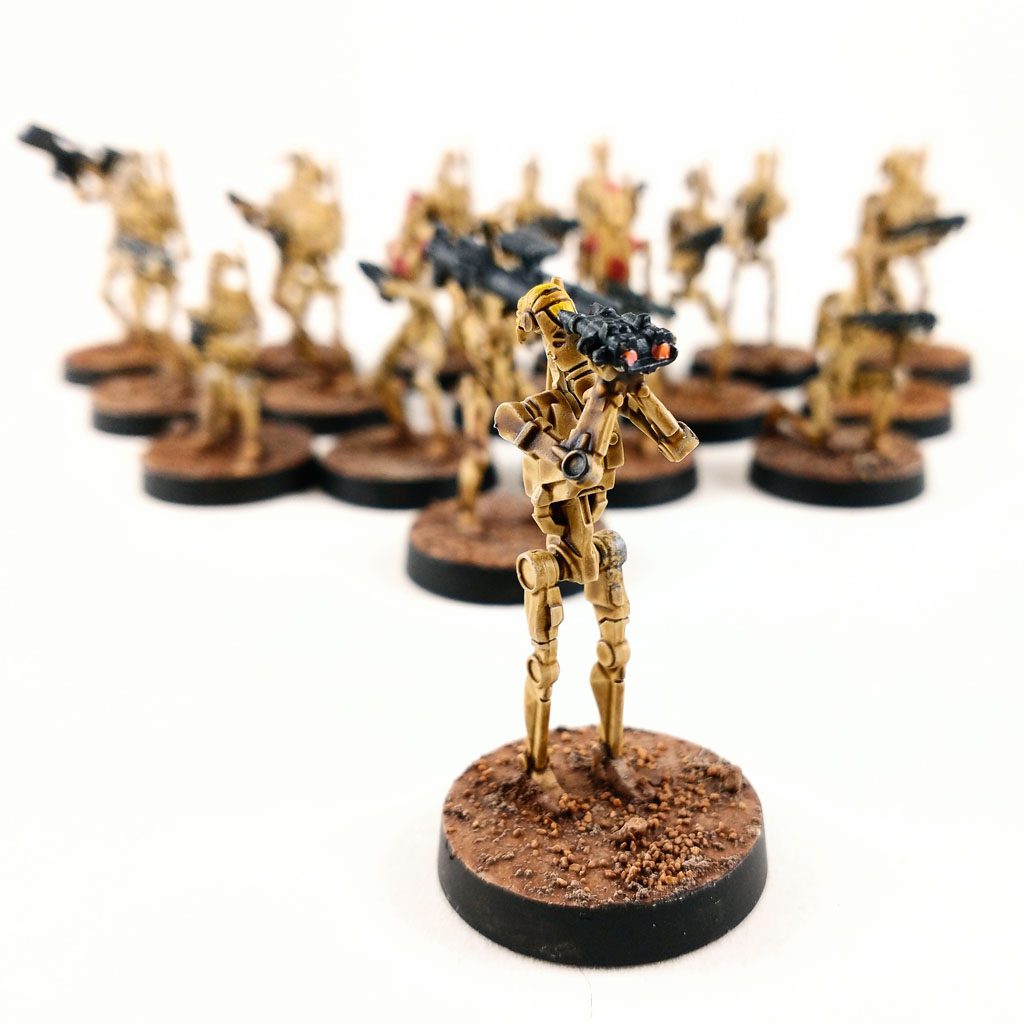
B1 Battle Droids are a great project for experimenting with Contrast paints. Their simple shapes and repeated details make them particularly well suited to a painting method that can put a lot of color and shading on the model quickly, while still leaving plenty of room for additional highlights and details.
For this project, I wanted to use a zenithal prime underneath Skeleton Horde Contrast to establish the basic light and shadow of the droids before adding a simple drybrush and a few details. The result is a quick painting process that works particularly well when you have an entire unit of B1s staring back at you from the workbench.
Along the way, we’ll look at some of the things that make Contrast paints work well, including how to control pooling, how to correct uneven areas while the paint is still wet, and how a simple drybrush can bring the details back out.
Build Your Own Hobby Desk
Every miniature project starts with a workspace. These are the paints, brushes, tools, and hobby supplies I regularly use while painting miniatures for Mythic Minis. Whether you’re just getting started or looking to upgrade your hobby desk, these resources can help make painting more enjoyable and efficient.

Where to Buy This Model
Everything you’ll need to start your own Anakin Skywalker project for Star Wars: Legion, including the miniature itself and related Republic-era Star Wars products. Whether you’re painting a display piece or preparing for the tabletop, these resources will help you get started.

Paints Used
Zenithal Prime
White Scar
Mechanicus Standard Grey
Chaos Black
Main Body
Skeleton Horde (Contrast)
Ushabti Bone
Screaming Skull
Accessories and Details
Black Templar (Contrast)
Leadbelcher
Averland Sunset
https://mythicminis.com/wp-content/uploads/2026/09/Star-Wars-Legion-B1-Battledroids-Paint-List.pdf
Shop the Paint List
What Makes Contrast Paints Different?
Contrast paints are translucent paints designed to take advantage of the surface underneath them. When applied over a light primer, the paint naturally settles into recesses and leaves raised areas lighter, creating variation in color and value without having to paint separate basecoat and shade layers.
That doesn’t mean Contrast paint does all of the work for you.
How much paint you apply, how wet the surface remains, and how you move the paint around the miniature all have a significant effect on the final result. Too little paint can leave a weak, uneven tint, while too much can collect in places where you don’t want it.
Learning to control that behavior is where Contrast painting becomes much more useful.
Step 1: Prime the Battle Droids
Contrast paints work particularly well over a light-colored primer. White produces the brightest result, while light gray or bone-colored primers give the paint a more muted appearance.
For these B1 Battle Droids, I used a zenithal prime, starting with black and gradually working upward through gray to white. The idea is to establish a basic light source before applying the translucent paint.
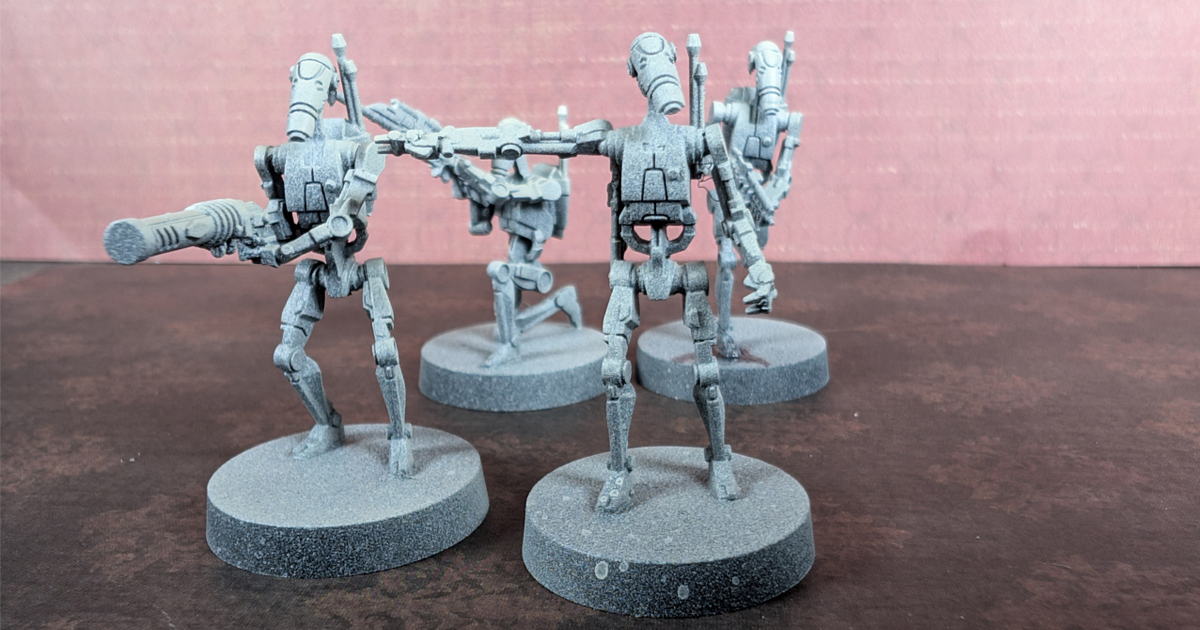
The zenithal creates a darker lower portion of the miniature and progressively lighter areas toward the top. When the Contrast paint is applied over this surface, that variation remains visible underneath the color.
How to Zenithal Prime Miniatures
A good primer is particularly important when using translucent paints because you’re effectively building the color on top of whatever is underneath it.
Step 2: Apply Skeleton Horde Contrast
With the Battle Droids primed, I applied Skeleton Horde Contrast over the entire model.
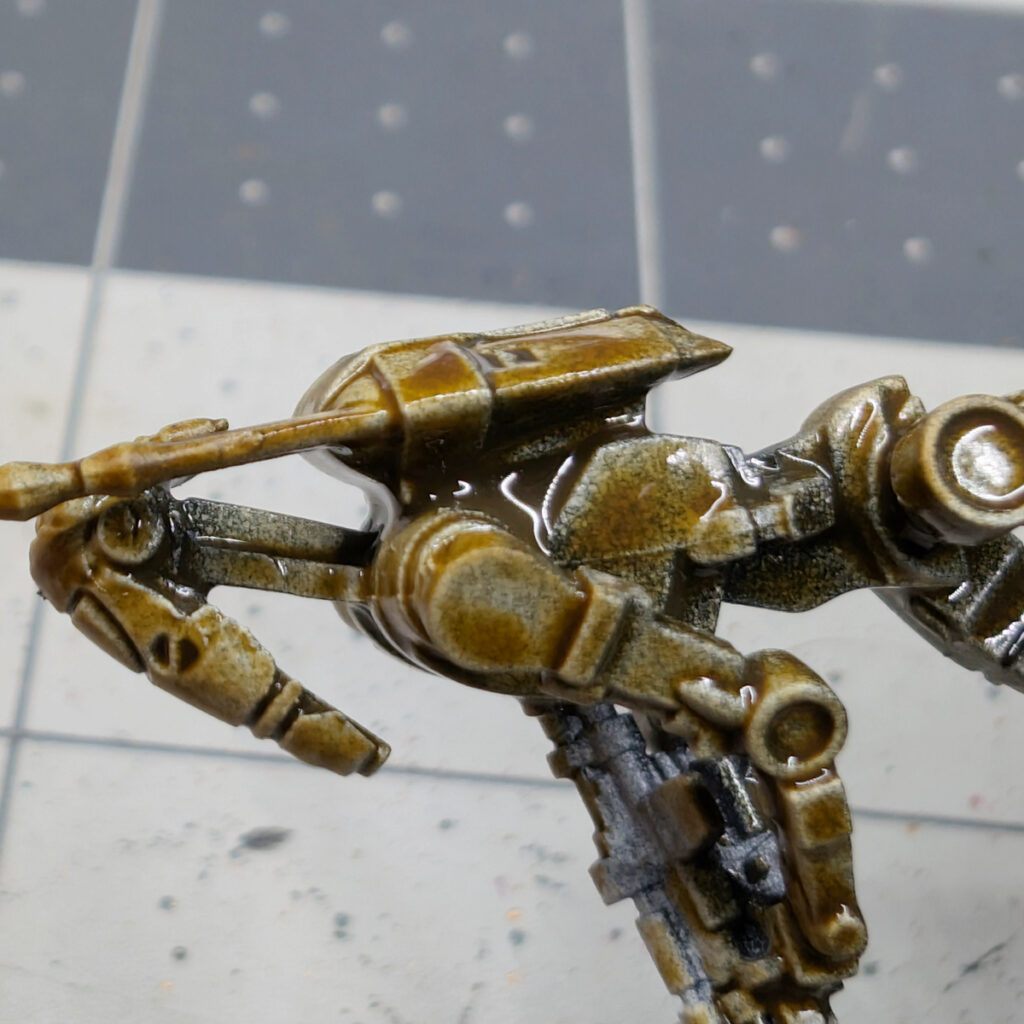
The goal here isn’t to paint one section at a time with a perfectly controlled amount of paint. Contrast needs enough paint on the surface to flow into the recesses and create the variation that makes it useful.
At the same time, you need to watch what the paint is doing.
If you see a large pool forming in a recess, don’t simply leave it there and hope it sorts itself out when it dries.
Controlling Contrast Paint While It’s Wet
Here’s a good example.
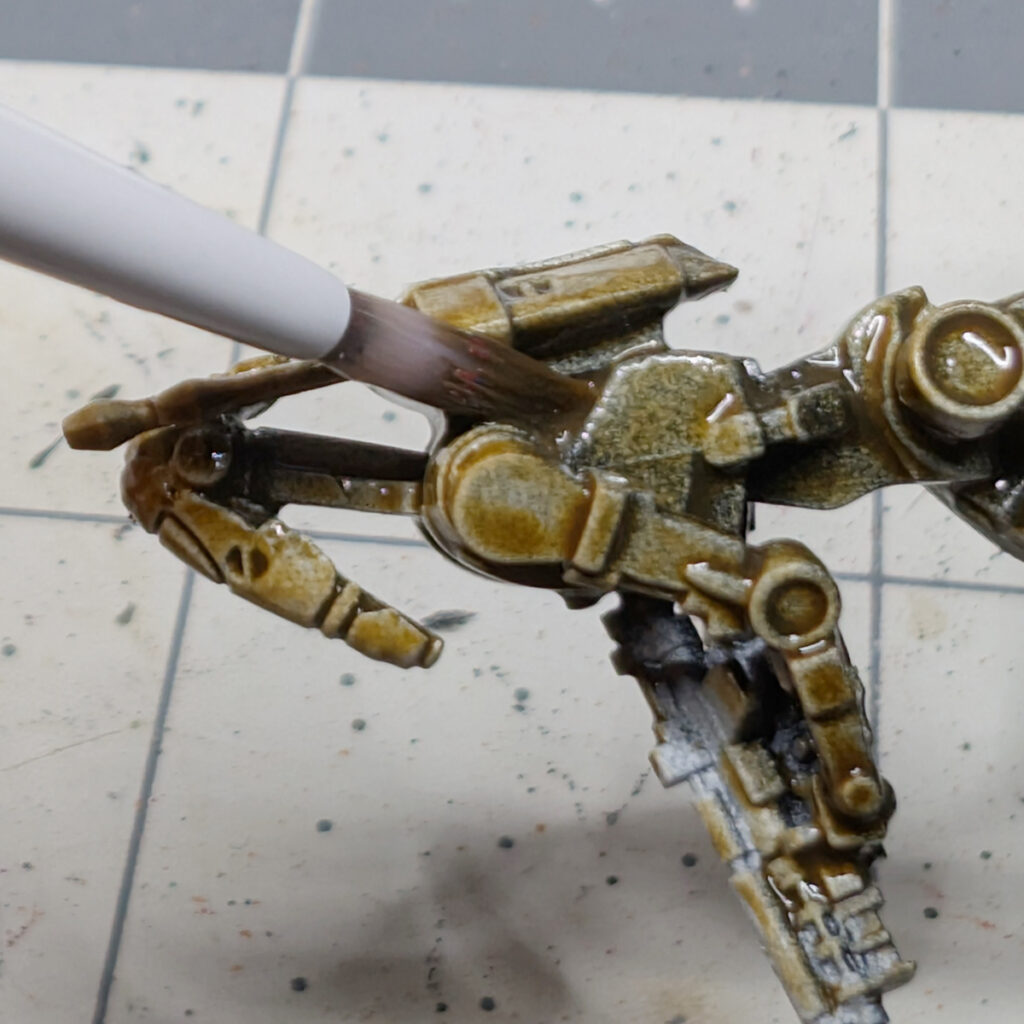
In this area between the droid’s backpack and body, the Contrast paint has collected in a small pocket behind the shoulder. If I leave it there, the paint will dry into a dark mass and obscure some of the detail.
The easiest time to fix this is right now, while the paint is still wet.
I can use my brush to pick up the excess paint and wipe it onto a paper towel. You don’t need to completely remove the paint from the area. The goal is simply to redistribute the excess so that it doesn’t dry into an unwanted pool.
Correcting Uneven Contrast
Pooling isn’t the only issue you may encounter.
Contrast paint can also collect unevenly across relatively flat or raised surfaces. Instead of flowing toward a recess, some of the paint may remain on the surface and leave a darker patch where you didn’t intend one.
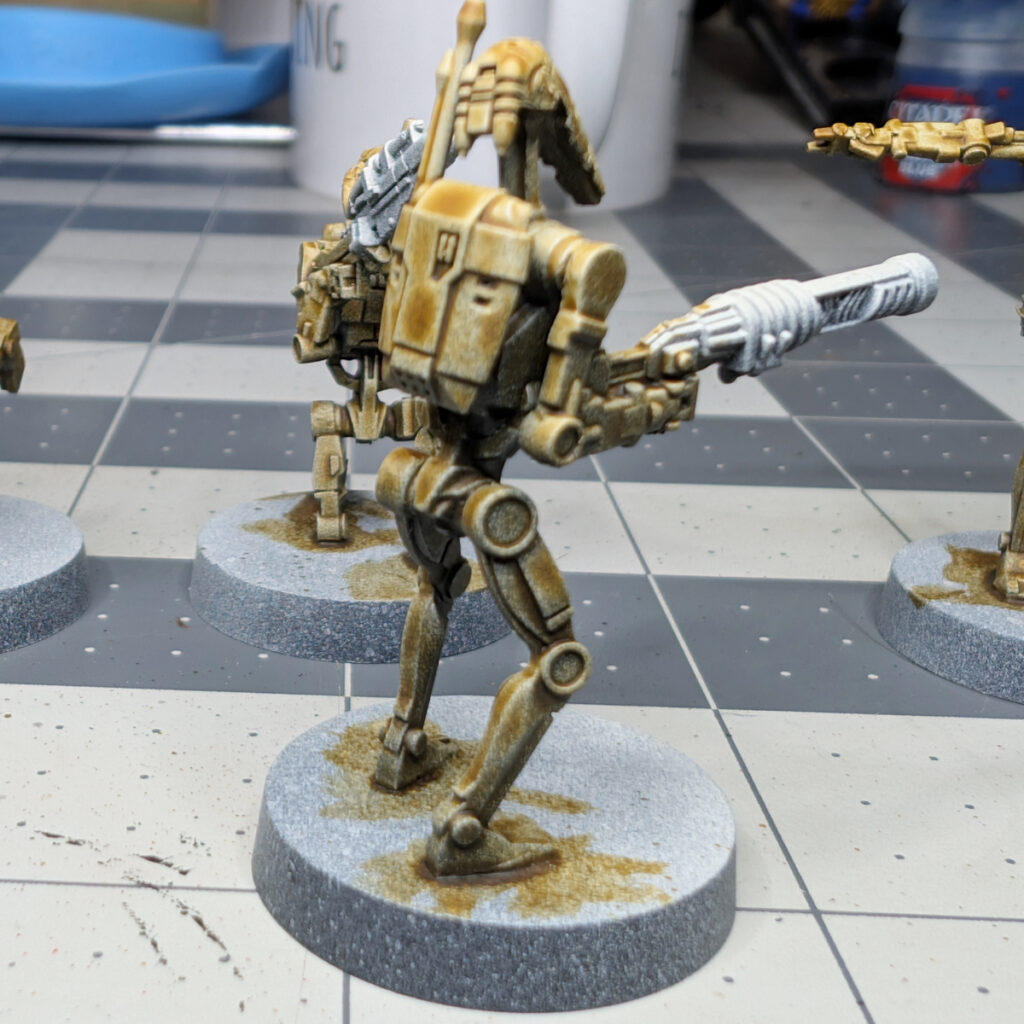
This can be particularly frustrating because removing the paint with a dry brush can disturb the surface, especially if the paint has already begun to dry.
One technique I find useful is keeping a smaller brush nearby for cleanup. Rather than using a completely dry brush, I can put a little Contrast Medium on the brush, wipe off the excess, and use it to move the existing paint around.
Contrast Medium is essentially the transparent medium used to carry the pigment in Contrast paints. Because the brush is damp with medium rather than dry, it is much less likely to drag across the partially dried paint and disturb the surface.
The important part is to catch these problems early.
Once Contrast paint has started drying, correcting it becomes considerably more difficult.
Step 3: Let the Contrast Paint Dry
Once the base coat is under control, let the model dry completely.
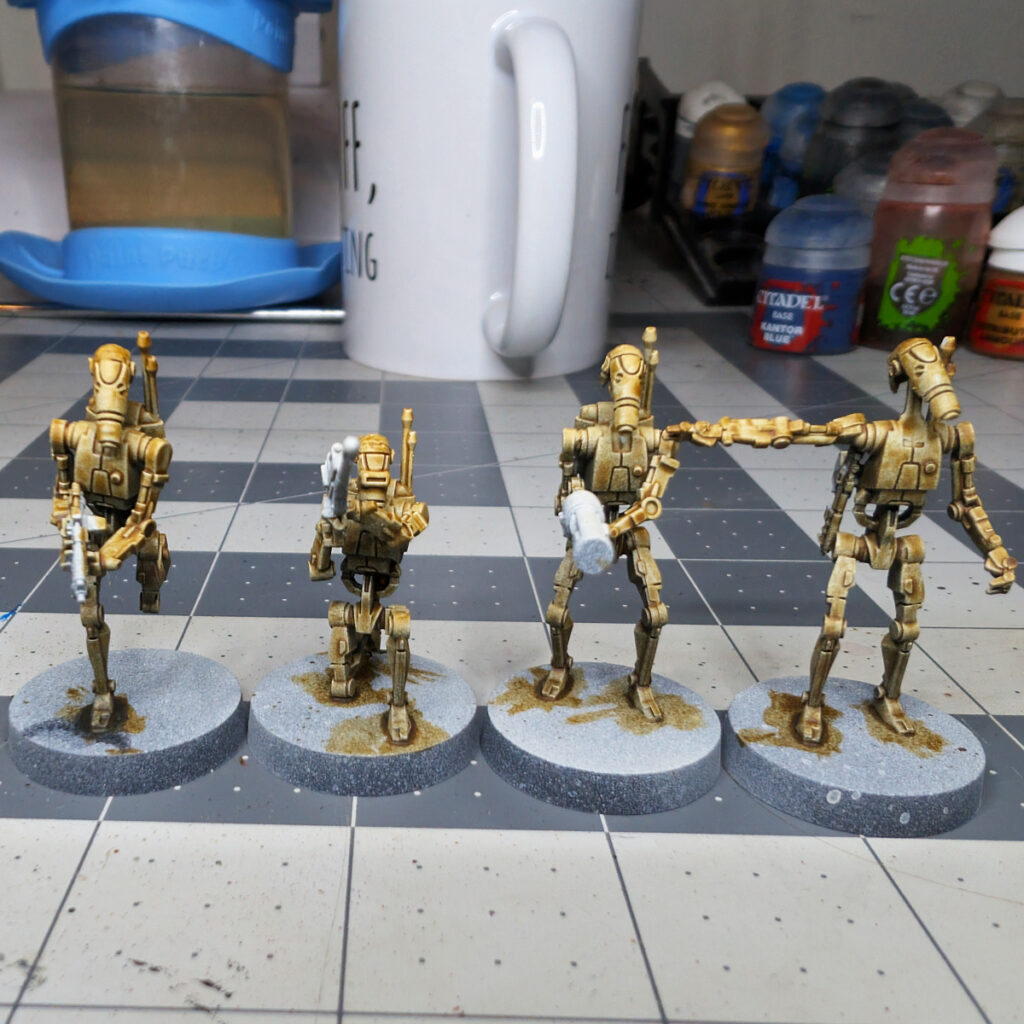
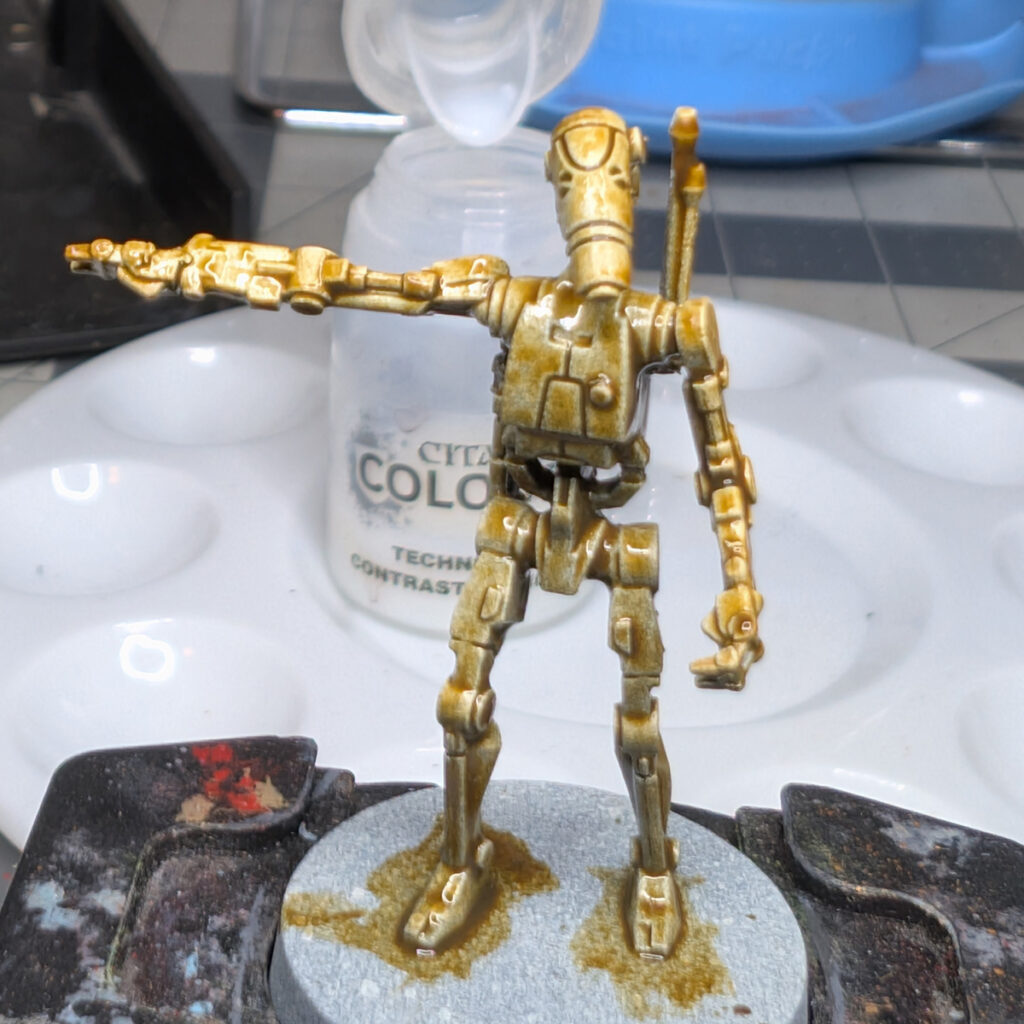
Here are the B1 Battle Droids after the Skeleton Horde has dried.
The zenithal prime is still doing some of the work underneath the translucent paint. The upper surfaces are lighter, while the areas facing away from the light remain darker.
At this point, you could technically call the basic color finished. But this is also where I like to start thinking about what the miniature needs next.
Contrast gives you a good foundation. It doesn’t mean you’re finished painting.
Step 4: Drybrush to Reinforce the Light
For these droids, I used Ushabti Bone as a light drybrush over the Skeleton Horde.
The first step is familiar to anyone who has drybrushed before: remove most of the paint from the brush before touching the miniature.
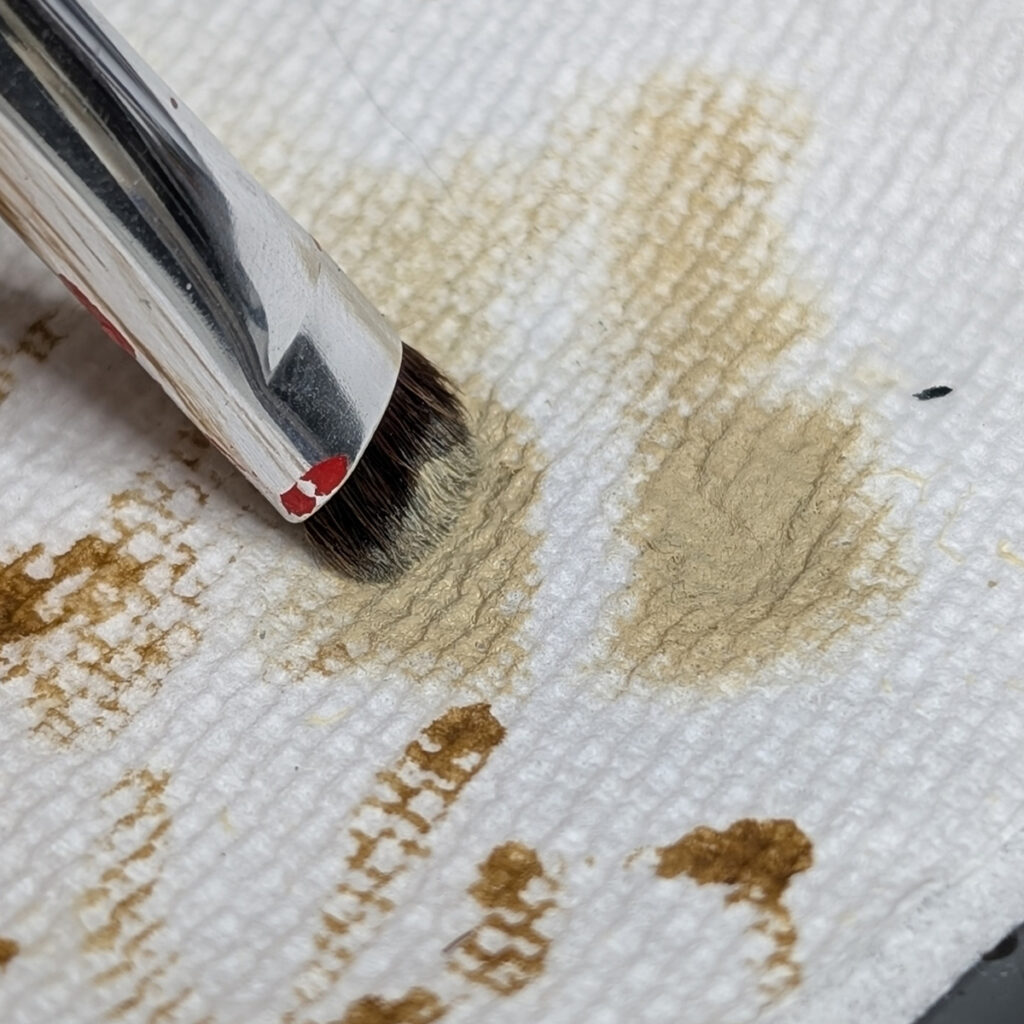
From there, I used a relatively light downward motion across the model.
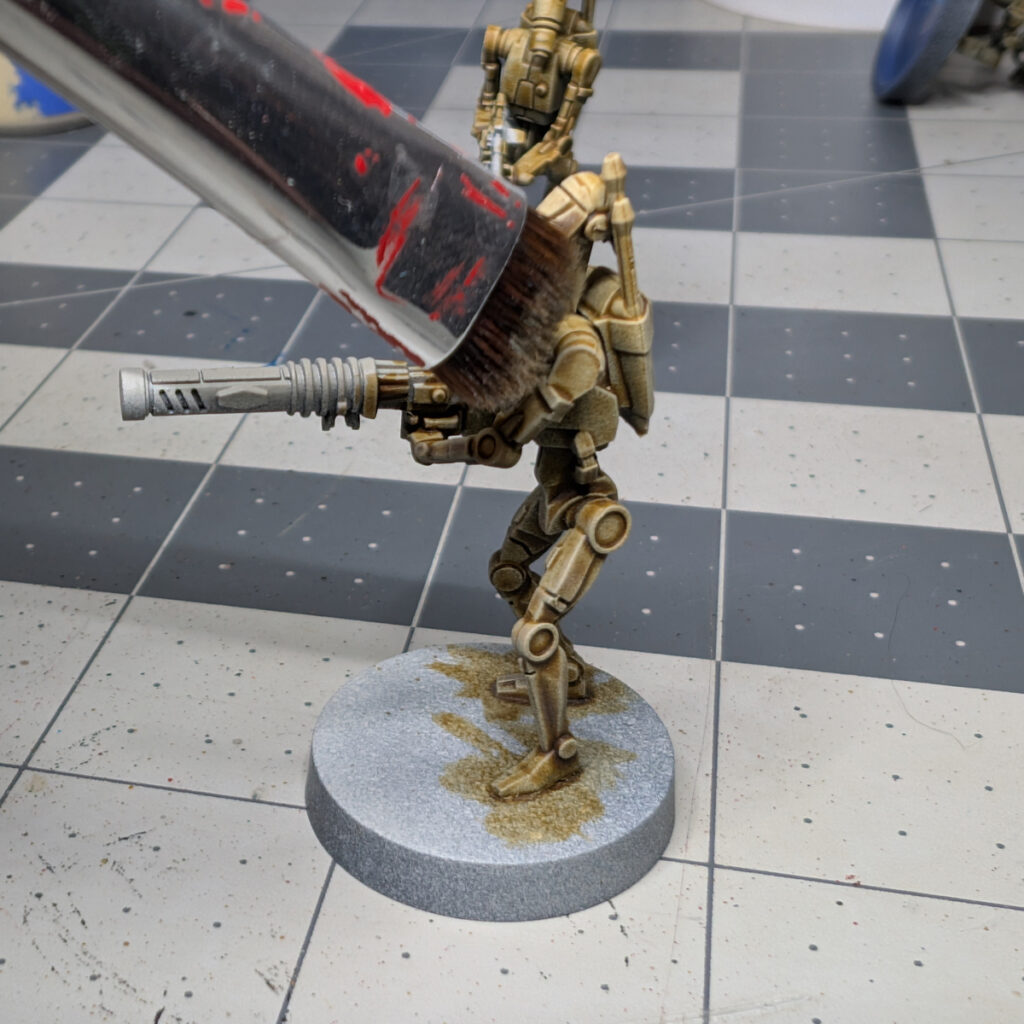
The zenithal prime established the idea that the light is coming from above. I want the drybrush to reinforce that same visual hierarchy rather than randomly putting the brightest paint everywhere.
A downward drybrush also gives you a simple way to start thinking about light direction. The goal isn’t to create a perfect lighting simulation. You’re simply allowing more of your brighter color to remain on the upper-facing portions of the model while allowing the darker Contrast underneath to remain more prominent toward the bottom.
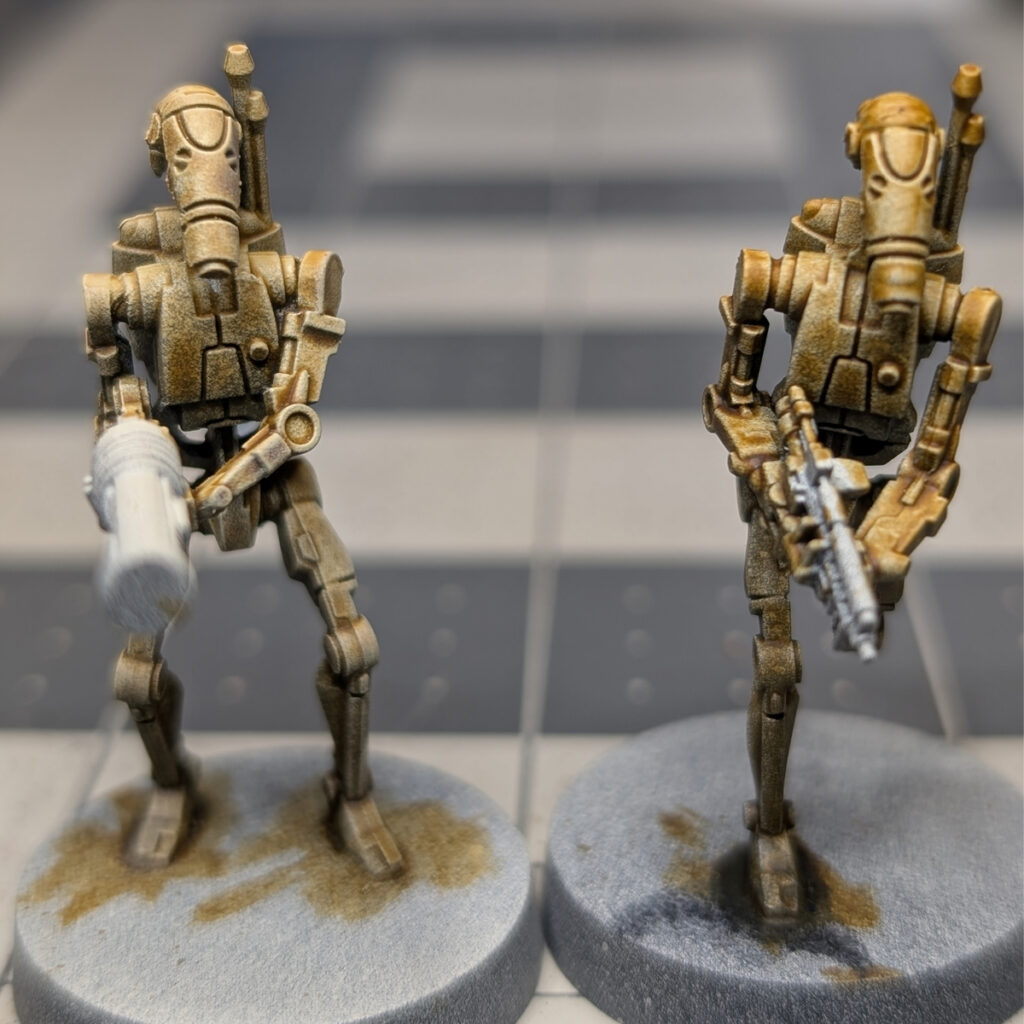
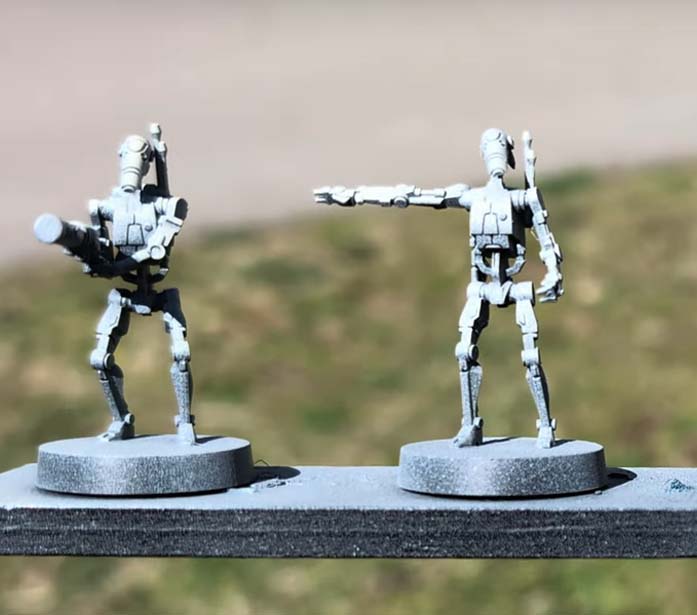
The droid on the left has received the Ushabti Bone drybrush, while the droid on the right still has only the Skeleton Horde Contrast. The drybrushing picks up the raised details and creates a smoother transition between the light and dark areas.
Step 5: Add the Details
Once the basic Contrast and drybrush work is complete, the Battle Droids don’t require a complicated finishing process.
At this point, you can pick out the weapons, mechanical details, joints, and other areas that need additional definition.
The important thing is that the Contrast paint has already done much of the heavy lifting. Instead of spending your time establishing every shadow and highlight manually, you can concentrate your effort on the details that make the finished unit look complete.
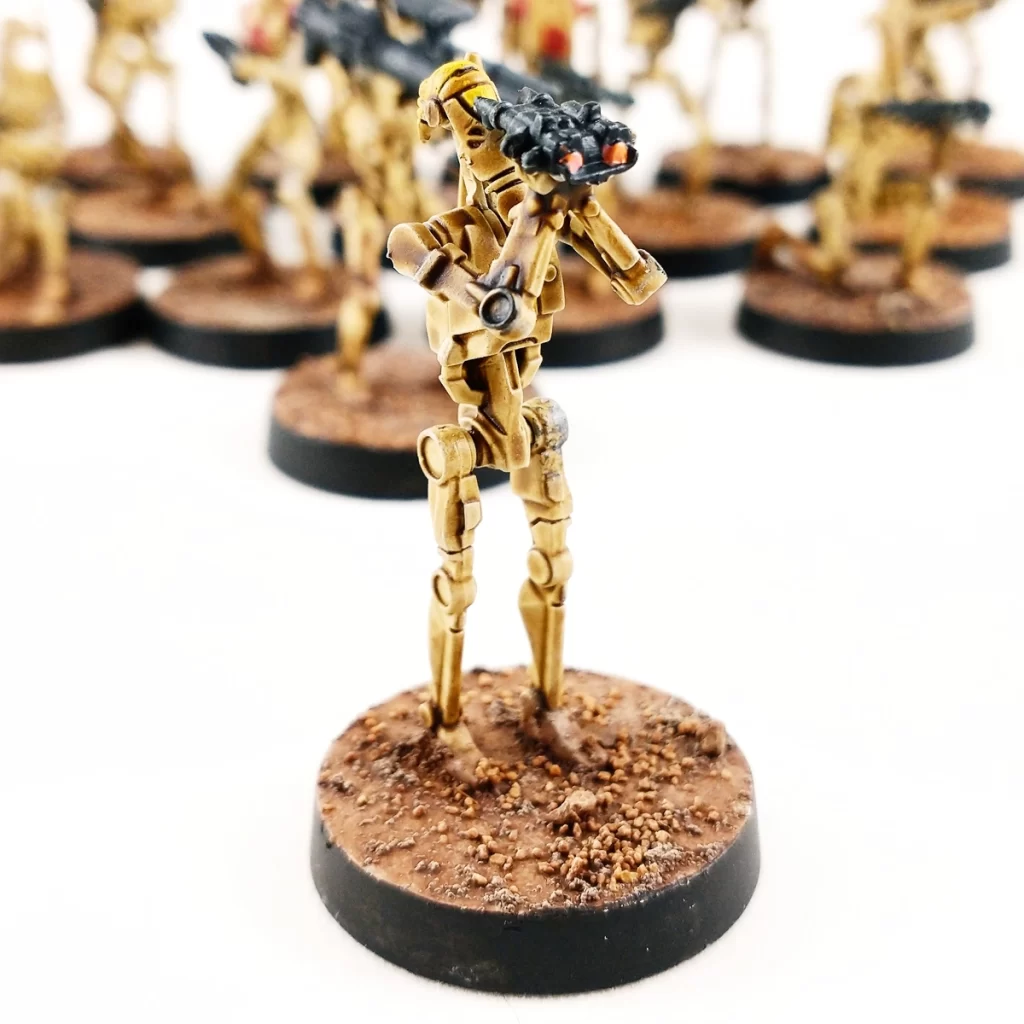
The key details and accessories are the weapons. A simple coat of Black Templar contrast paint on weapons or accessories such as the electro-binoculars makes things simple. You can highlight these with a very light drybrushing of Leadbelcher or your favorite silver.
For the rank markings I went with Averland Sunset – a simple dot on the stomach area and around the visor of the head. It’s easy to find pictures online for reference material where to paint these marks and what different colors represent on each droid.
For an army project like Star Wars: Legion, this is where the speed advantage of Contrast paints really becomes apparent.
You can get an entire unit to a convincing tabletop standard without treating every droid as a miniature painting competition entry.
Using Contrast Paint Through an Airbrush
I discovered this while painting my Persuader Tank for Star Wars: Legion, where I used an airbrush to apply several Contrast colors over a zenithal prime.
The result was considerably different from what I expected.
When sprayed through an airbrush, Contrast paint can behave more like a translucent tint across the surface rather than behaving like the familiar brush-applied Contrast layer that flows heavily into recesses. Because the paint is transparent, spraying different colors over one another can also produce unexpected color mixing.
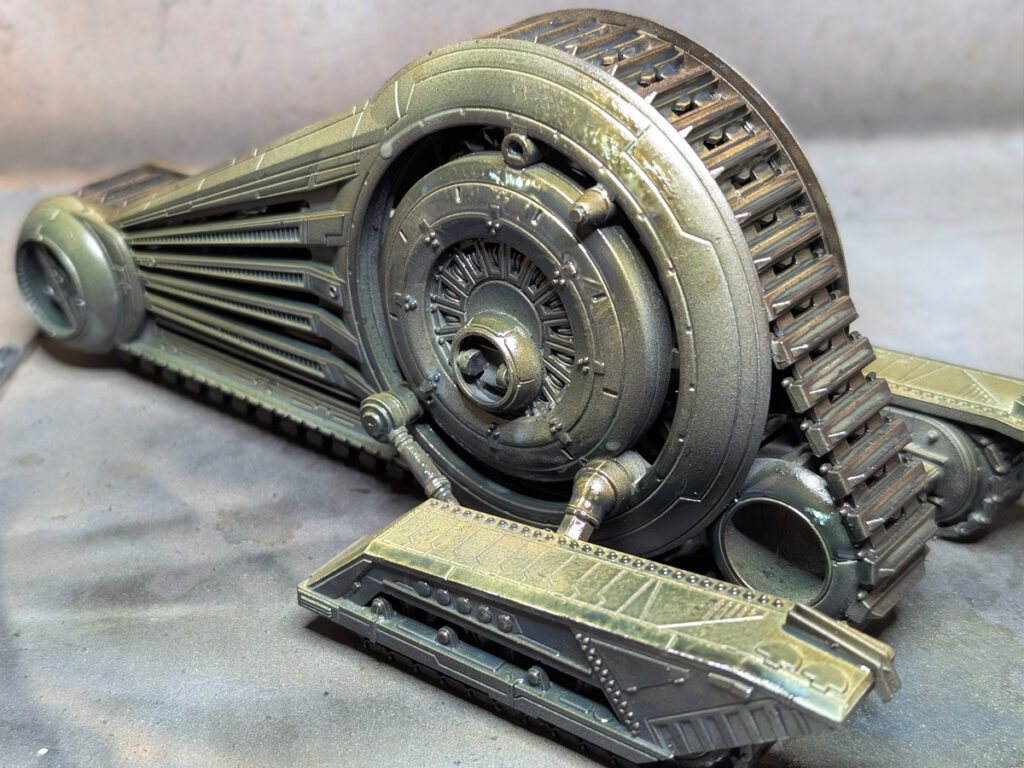
On the Persuader, I initially planned to use several colors through the airbrush to create a more colorful version of a zenithal lighting effect. Instead, the colors interacted and produced a green tone across much of the vehicle.
It wasn’t what I had planned, but it turned into an interesting result and became part of the finished model.
You can see the entire experiment here:
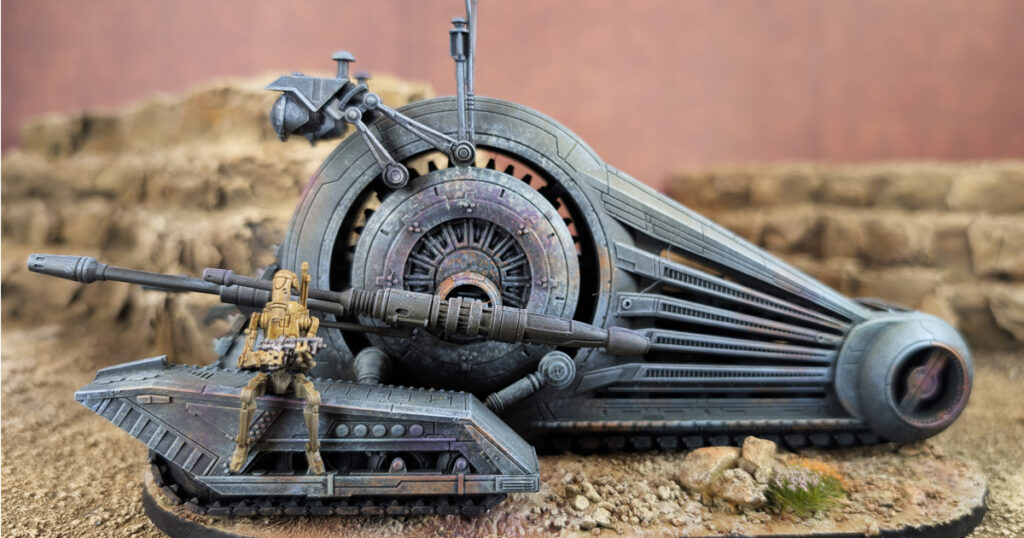
Painting the Persuader Tank
See how Contrast paints behaved when I took the technique in a completely different direction and sprayed them through an airbrush.
The experience changed the way I think about Contrast paints. They aren’t limited to the specific effect they’re known for. Because they’re transparent, you can also use them as a way of tinting an existing surface, particularly when you’re working with an airbrush.
When to Use Contrast Paints
Contrast paints are particularly useful when you want to establish a convincing base color quickly without painting every shadow individually.
They’re especially useful for:
- Large units and armies where speed matters.
- Organic textures such as skin, fur, and cloth.
- Models with lots of recessed detail that naturally catch the paint.
- Layering and glazing, where their transparency can be used to modify an existing color.
- Airbrushing, where they can be used as translucent filters or tints over an existing paint layer.
They are also useful for experienced painters. Speed doesn’t have to mean sacrificing quality. A fast basecoat can simply give you more time to spend on the parts of a model where additional work actually matters.
Final Thoughts
Contrast paints are best understood as a tool rather than a shortcut that automatically finishes a miniature.
They can establish color, value, and shading very quickly, but the quality of the result depends heavily on how you apply and control them. Learning to recognize pooling, move excess paint while it’s wet, and reinforce the result with a simple drybrush can take a basic Contrast paint job considerably further.
The B1 Battle Droids were a perfect project for learning this because there were enough models to make speed important, but enough detail to show what the technique was doing.
And once you’ve learned how Contrast behaves with a brush, it’s worth experimenting with what happens when you change the application method entirely.
That’s where things start getting interesting.
Continue Your Painting Journey
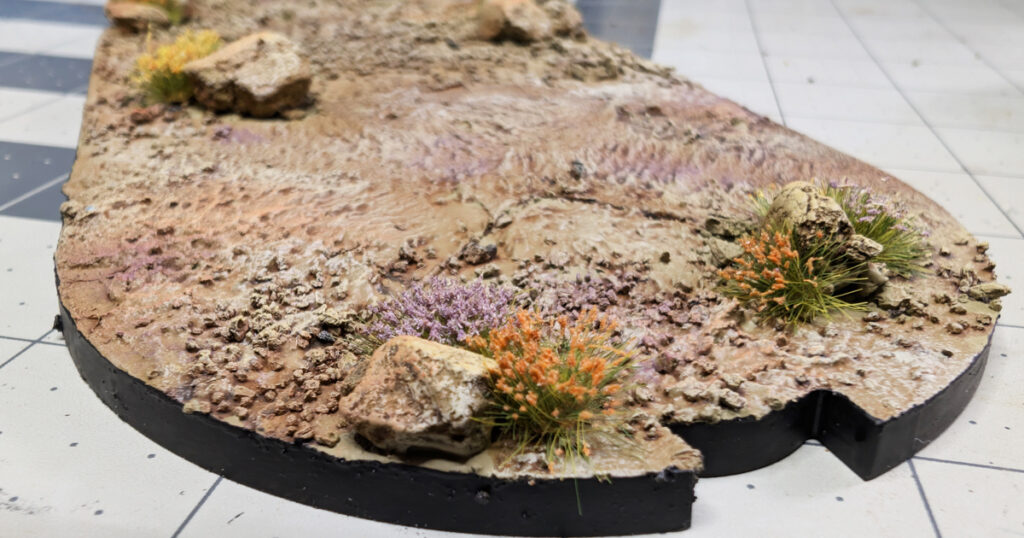
Build the Environment
Give your B1 Battle Droids an environment to match. Create a dry, rocky desert base inspired by Geonosis using texture, rocks, washes, drybrushing, and simple vegetation.
Build Beyond the Base
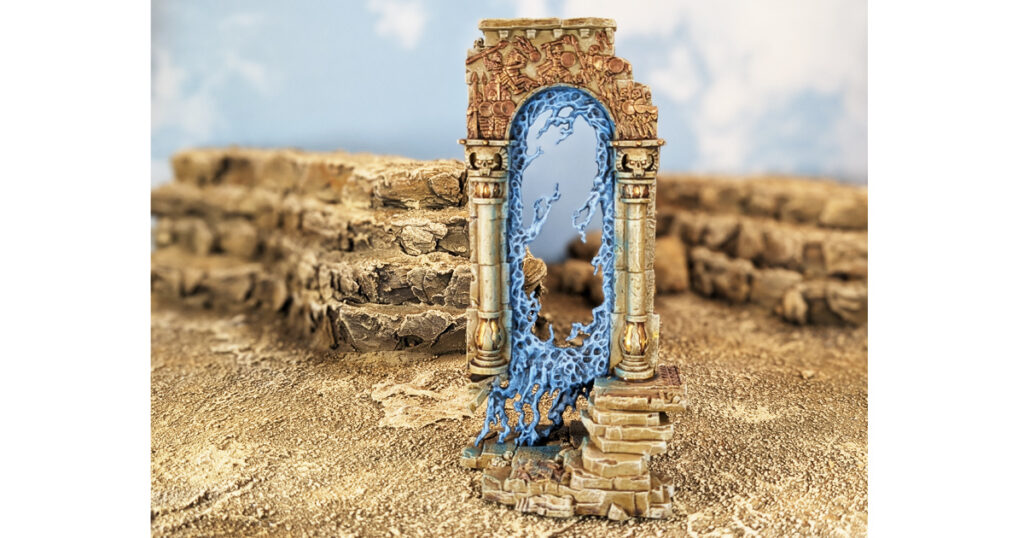
Take your desert environment beyond individual miniature bases with a weathered Realmgate, painted in warm stone, metallics, colorful mosaics, and a cool magical portal.