Disclaimer: This post contains affiliate links. As an Amazon Associate, I earn from qualifying purchases at no extra cost to you. [Learn More]
Introduction
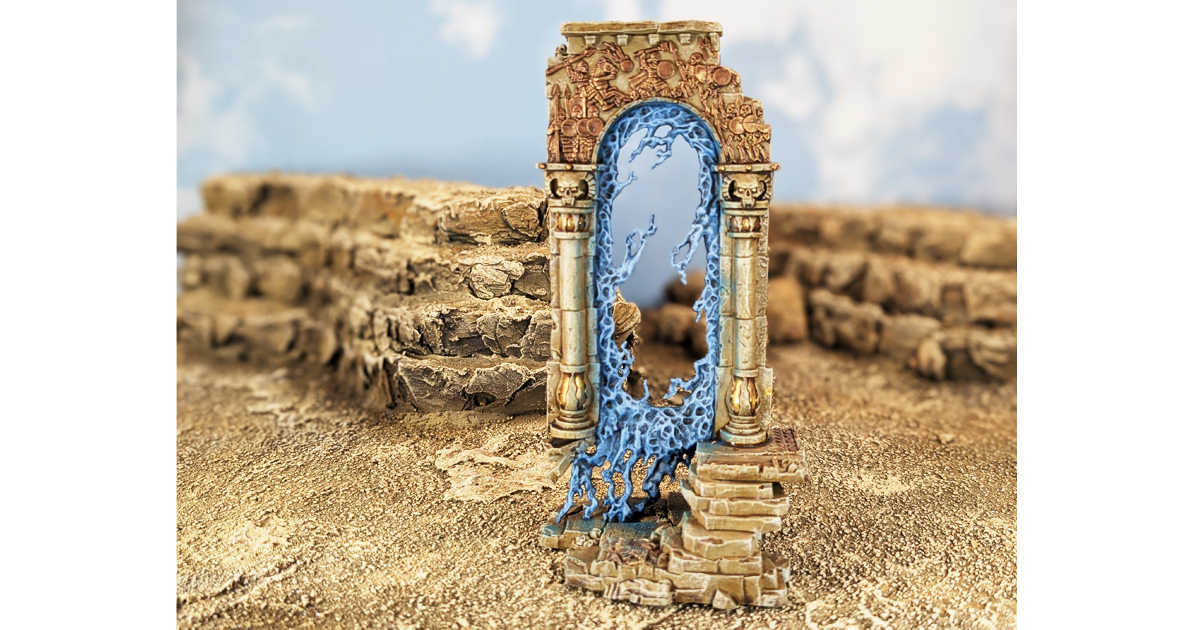
I had been planning to paint an Age of Sigmar Realmgate in a desert or Tomb Kings-inspired style for years. The model seemed like an obvious candidate for a warm, weathered stone palette, but for whatever reason, I kept putting it off.
Eventually, I pulled it out and painted it.
There isn’t anything particularly complicated about the process. Most of the model relies on progressive layers of drybrushing, with washes used to establish the shadows and more detailed color recipes reserved for the metal, mosaics, and magical portal.
The result is a piece of terrain that has plenty of visual interest without requiring an elaborate painting technique. If you’re looking for a straightforward way to paint a Realmgate or similar stone terrain piece, this is the approach I used.
Build Your Own Hobby Desk
Every miniature project starts with a workspace. These are the paints, brushes, tools, and hobby supplies I regularly use while painting miniatures for Mythic Minis. Whether you’re just getting started or looking to upgrade your hobby desk, these resources can help make painting more enjoyable and efficient.

Shop Age of Sigmar Terrain Pieces
Paints Used
https://mythicminis.com/wp-content/uploads/2026/09/Age-of-Sigmar-Realmgate.pdf
Painting the Stone and Ground
The main stone structure and the ground were treated as one material, so I used the same basic recipe across both areas.
The entire stone-and-ground recipe is:
Zandri Dust → Seraphim Sepia → Ushabti Bone → Screaming Skull → Wraithbone
For this model, I substituted Two Thin Coats Ivory Tusk for Wraithbone for the final drybrush.
Zandri Dust
I started by priming the entire stone structure and ground with Citadel Zandri Dust.
This gives the model a warm, sandy foundation that suits the desert-style appearance I wanted.
Seraphim Sepia
Once the primer was dry, I covered the stone and ground with Seraphim Sepia.
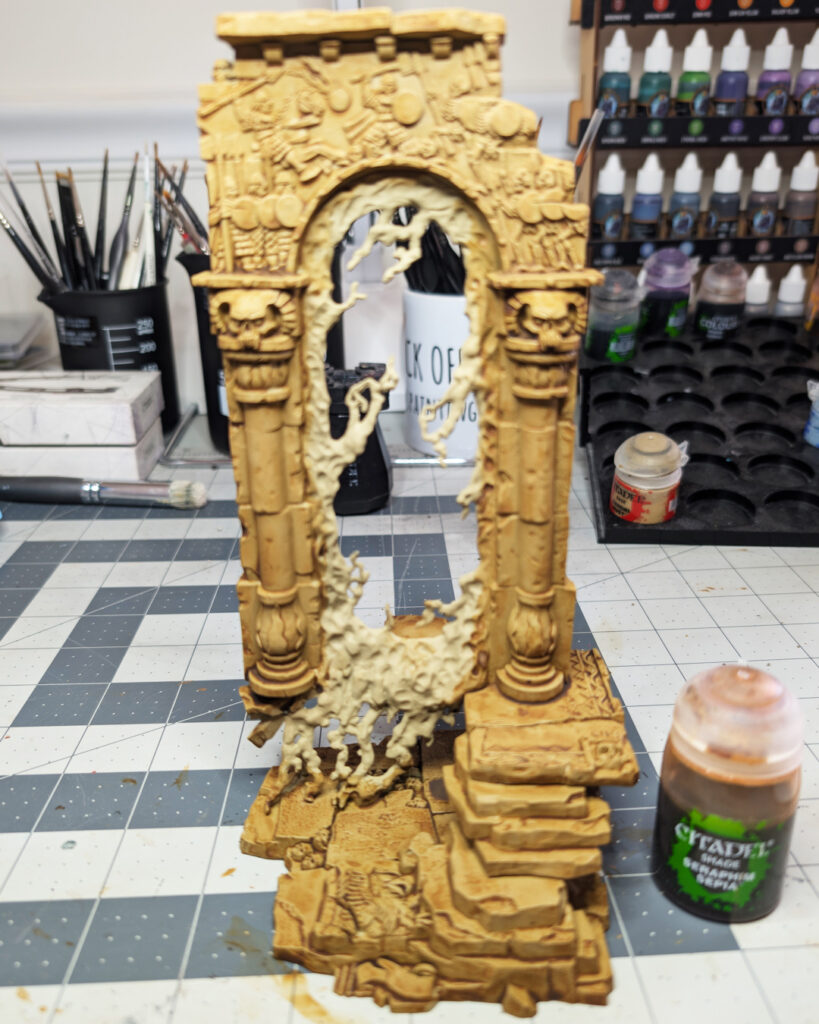
The wash settles into the recesses and texture of the model, establishing the darker tones that will remain visible beneath the drybrushing. My apologies for the blurry picture. I was either being hasty or my lens was dirty.
At this point, the model will look considerably darker and more brown than the finished result. That’s exactly what we want. The following drybrush layers will progressively bring the stone back up.
Ushabti Bone
After the Seraphim Sepia had dried completely, I applied a heavy drybrush of Ushabti Bone over the entire stone and ground surface.
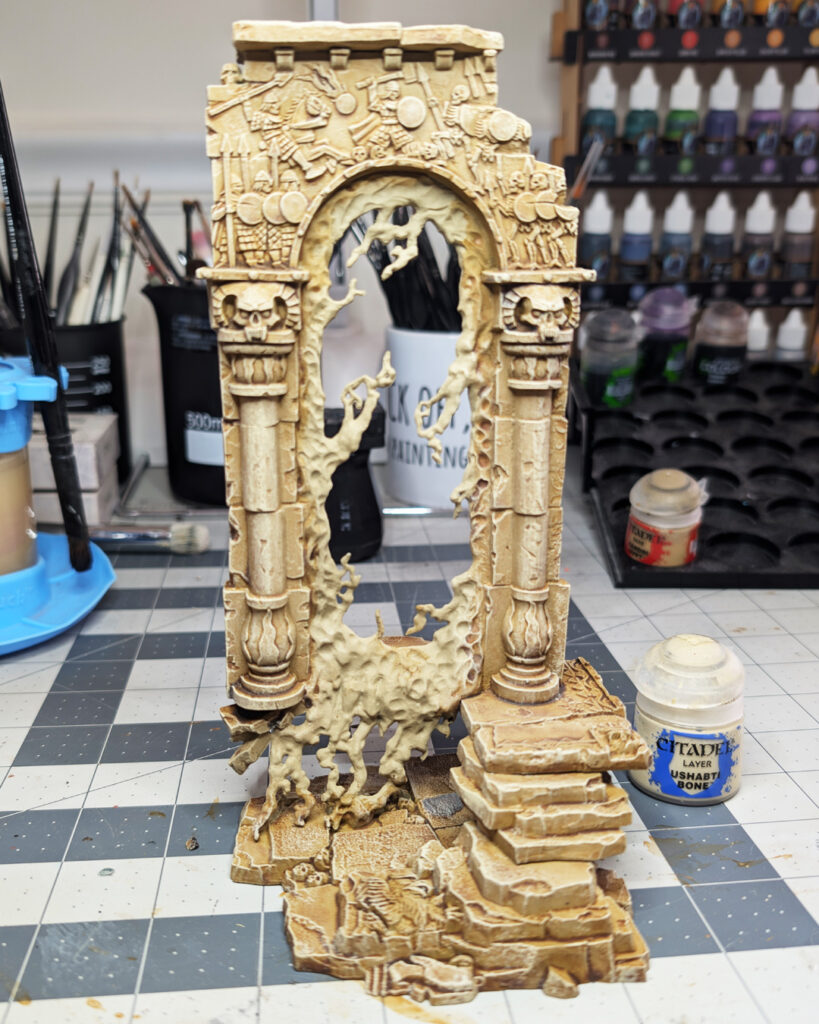
This is the first major step toward the final stone color. Because this is a heavy drybrush, it covers most of the raised surface while allowing the Sepia to remain visible in the recesses and deeper texture.
Screaming Skull
Next came a medium drybrush of Screaming Skull.
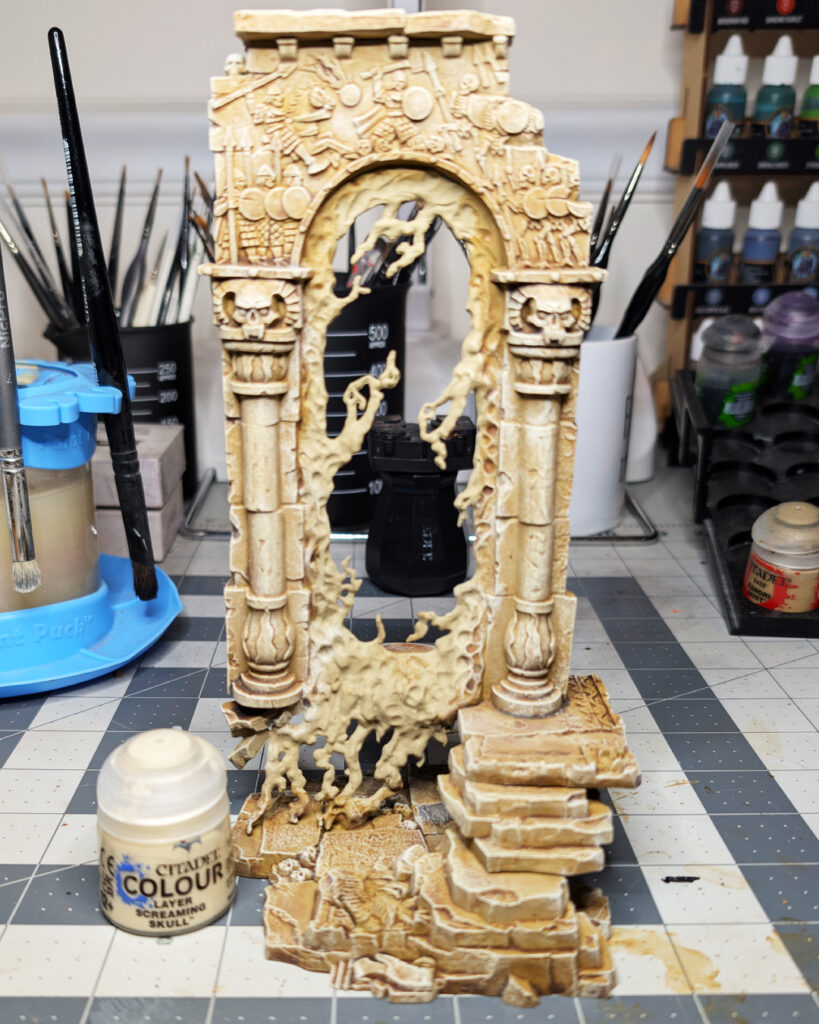
This lighter color builds on the Ushabti Bone and starts pushing the stone toward a much lighter, sun-bleached appearance.
I still worked this across the broader stone surfaces rather than trying to pick out individual details. The heavier Ushabti Bone layer provides the transition underneath, while the Screaming Skull gradually shifts the overall value upward.
Wraithbone
The final drybrush was a light pass of Wraithbone.
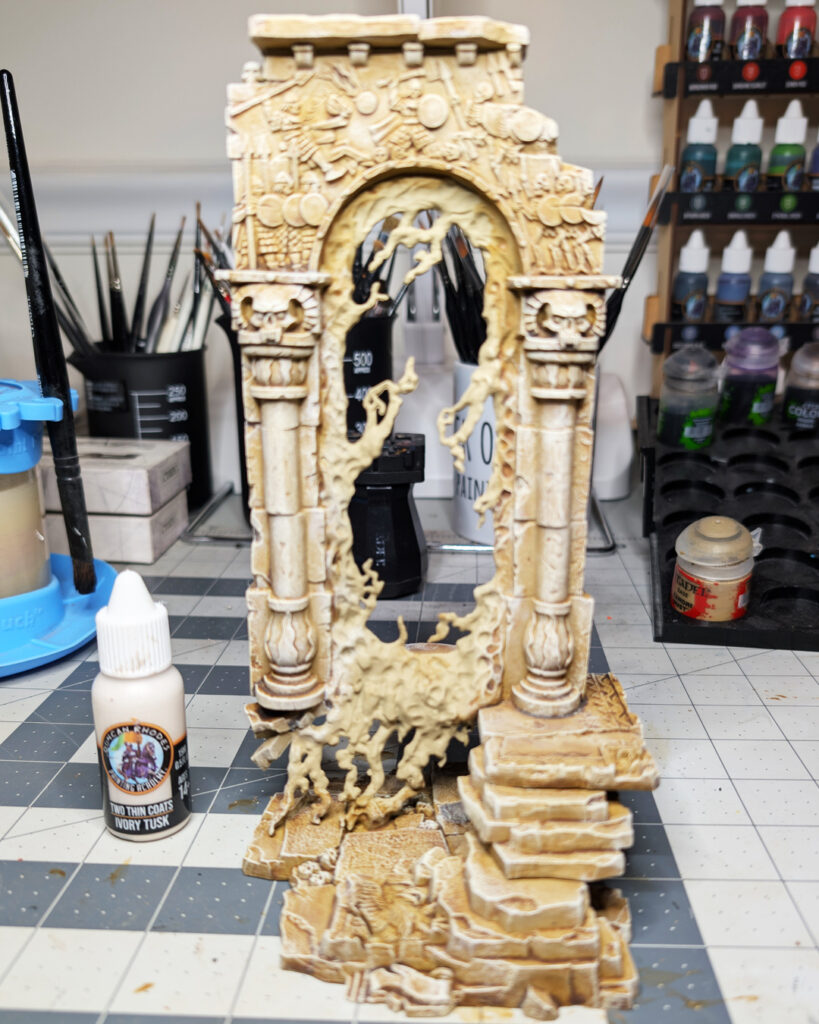
I actually used Two Thin Coats Ivory Tusk for this step. It’s a very similar role: a pale final drybrush that catches the most prominent texture and pushes the stone toward its finished highlight.
This should be a lighter pass than the previous two. You want the earlier layers to remain visible so the stone retains some variation rather than becoming a uniform off-white.
At this point, the stone and ground are finished. The entire effect comes from one base color, one wash, and three progressively lighter drybrushes.
Bringing the Stone Back Together
After finishing the drybrushing, I gave the entire Realmgate one more pass to bring the colors back together.
I mixed Contrast Medium and Seraphim Sepia at roughly a 1:1 ratio and brushed the mixture over the entire stone structure and ground.
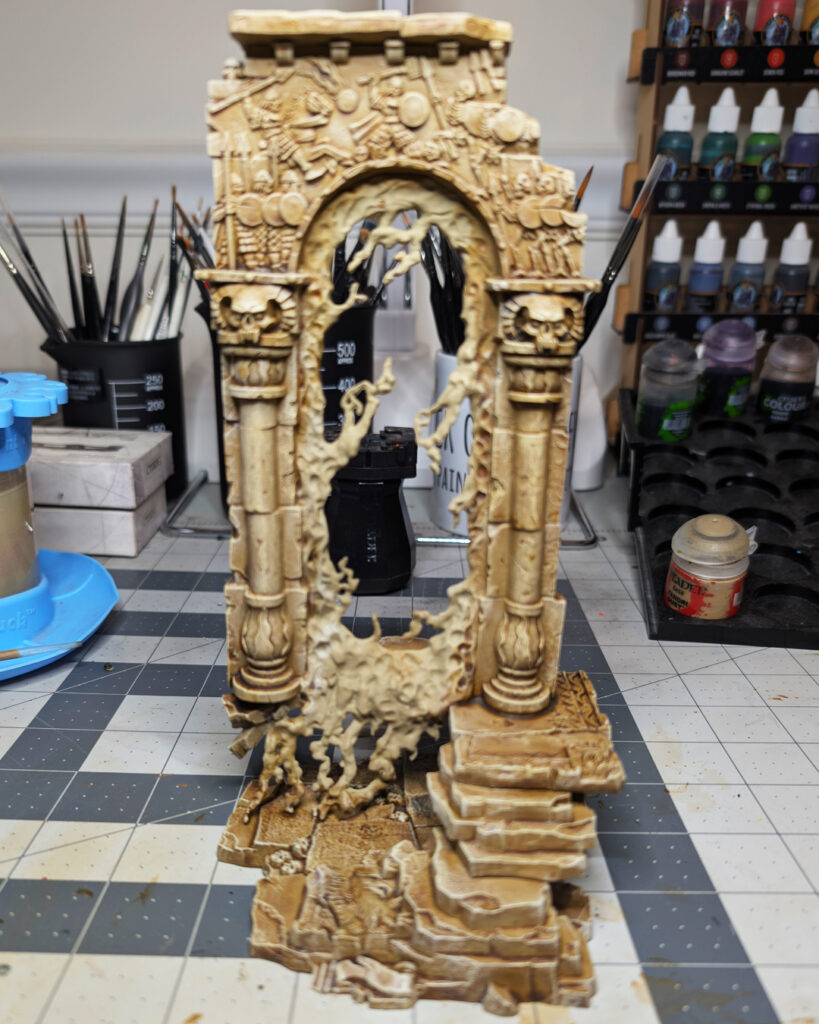
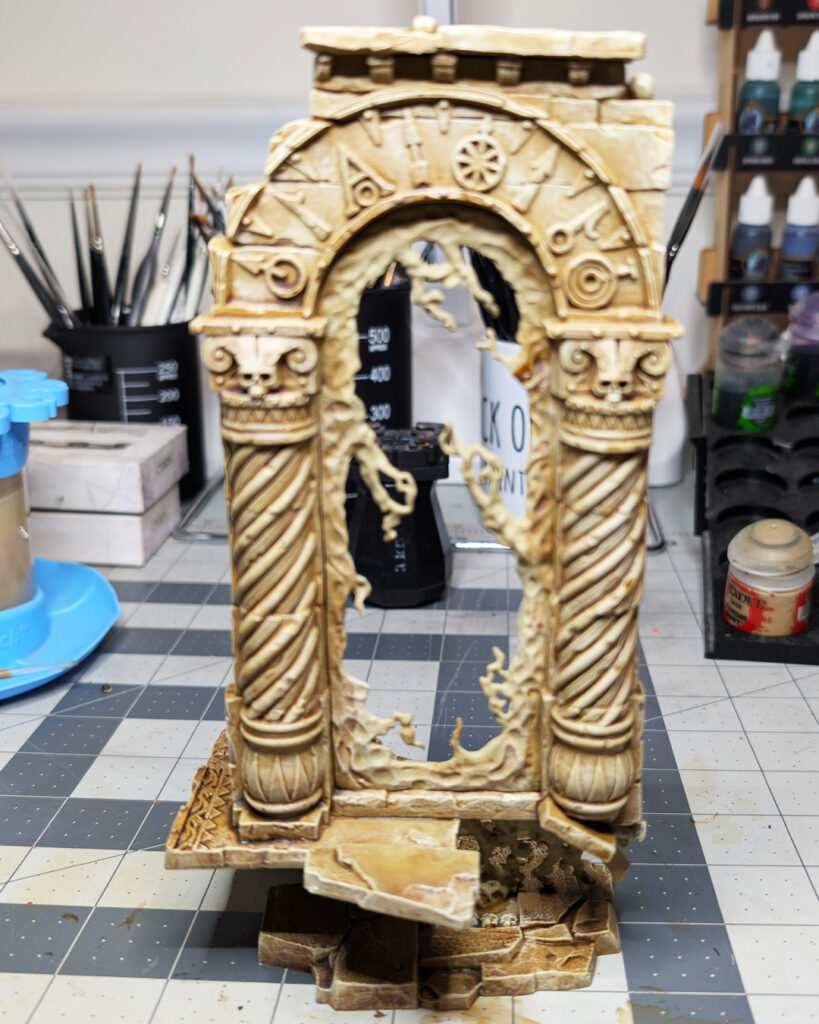
The purpose wasn’t to shade the model again. Instead, this thin layer knocks back some of the brightest color, brings a little warmth back into the darker stone, and helps restore some of the contrast between the raised surfaces and recesses.
It also helps deal with one of the drawbacks of heavy drybrushing: the surface can sometimes develop a slightly chalky or dusty appearance. The thin Sepia mixture settles over those transitions and visually blends the layers together, making the drybrushed colors feel more unified.
I find this particularly useful on terrain. You can build up a surface with several drybrush layers to establish the highlights, then use a thin transparent color to bring everything back into the same visual range.
Once this final pass had dried, the stone and ground were finished.
Painting the Metal
The metal areas use another simple progression, this time starting with a bronze base.
Balthasar Gold
I painted the metal areas with Balthasar Gold.
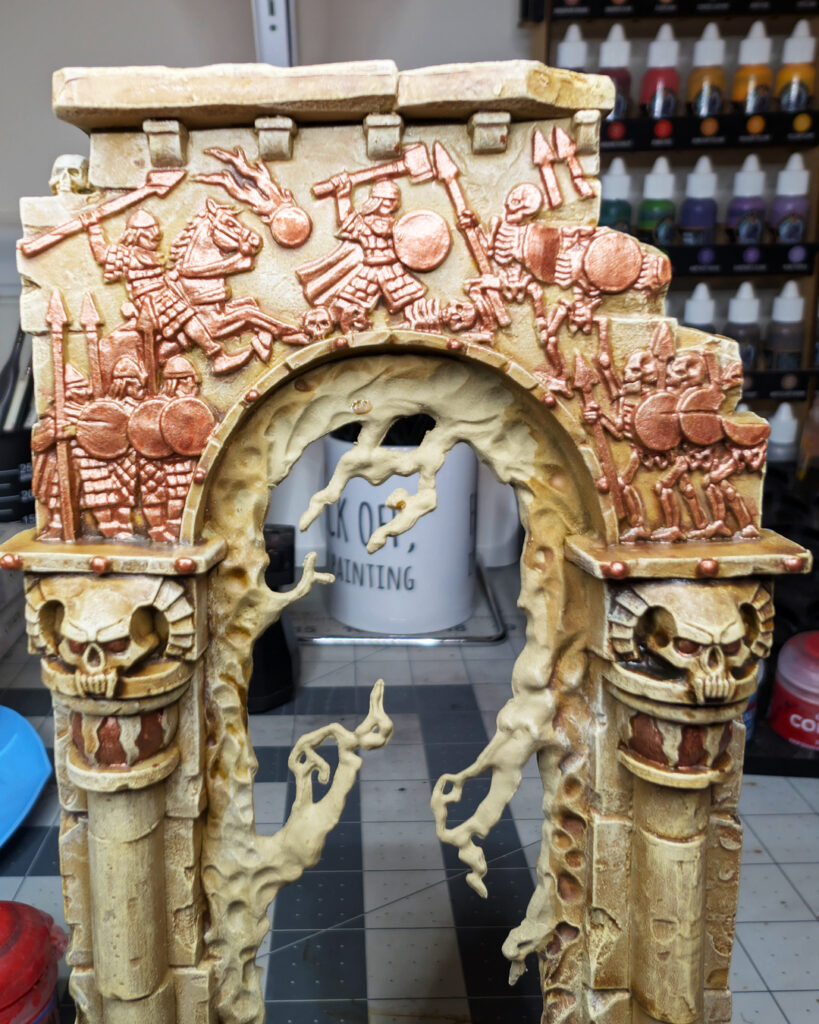
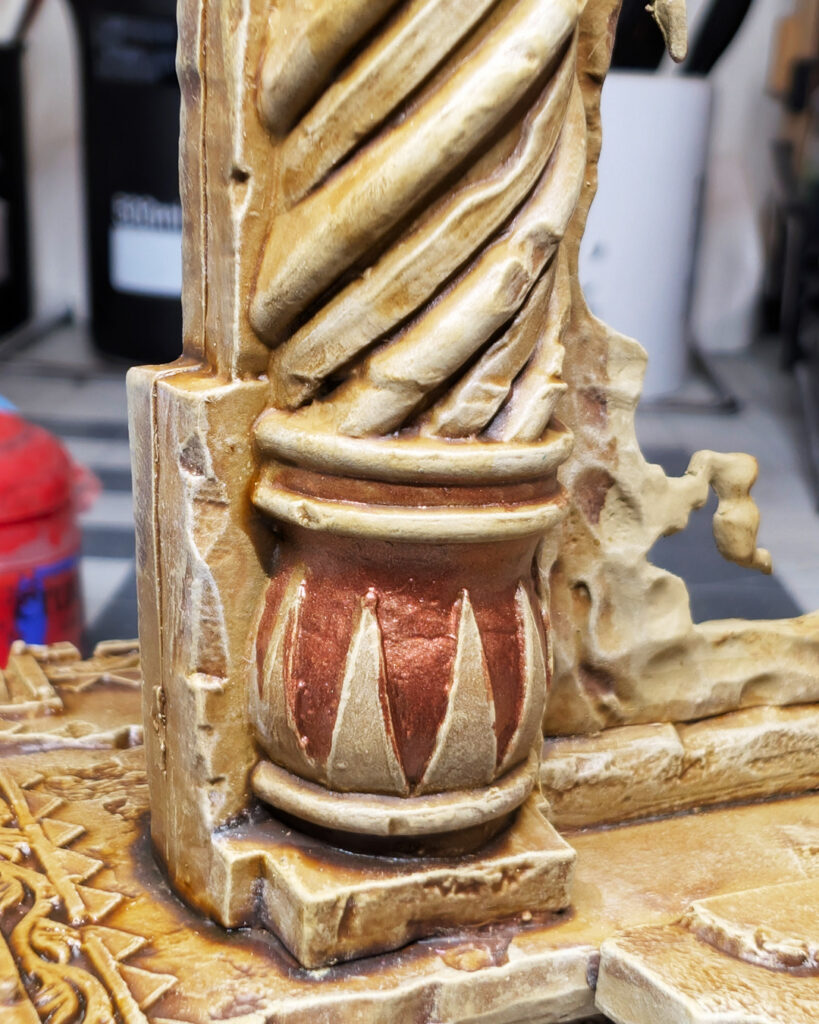
Once the basecoat was dry, I applied Agrax Earthshade over the metal.
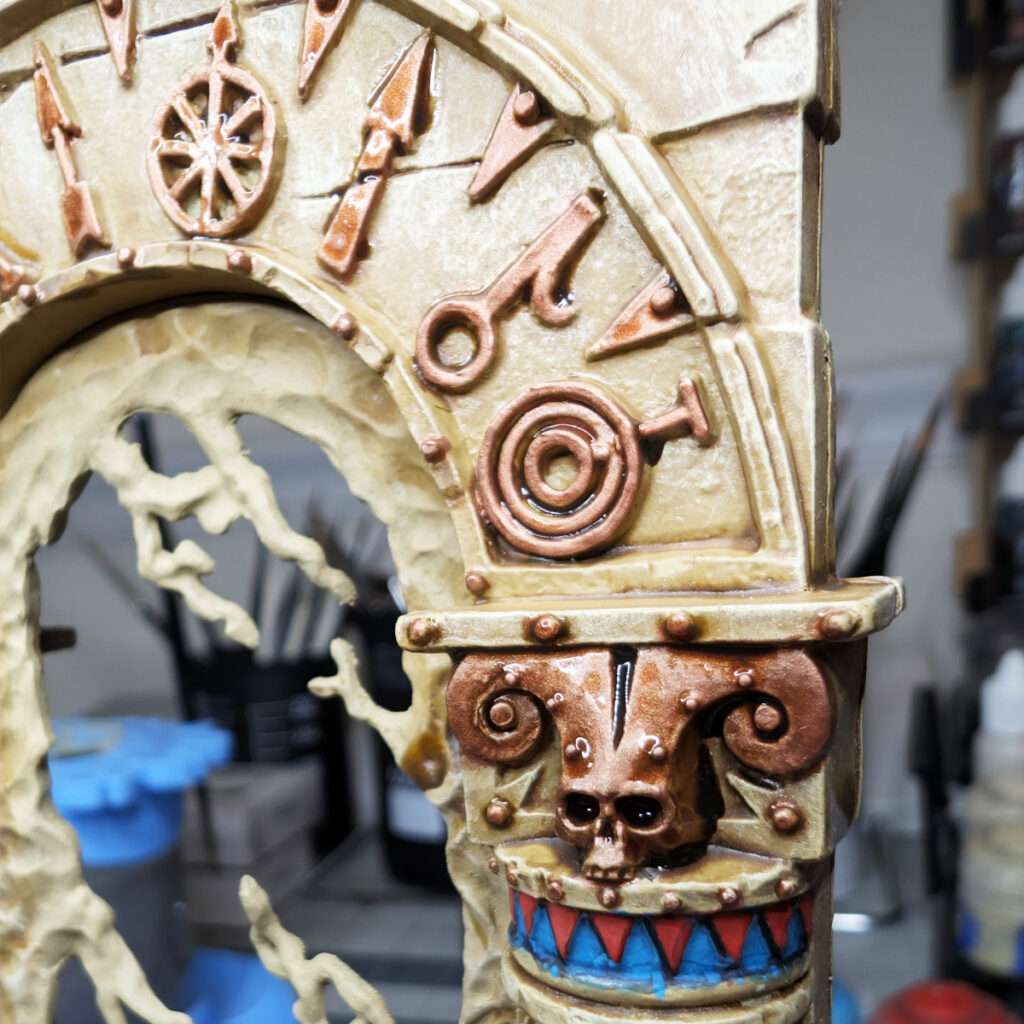
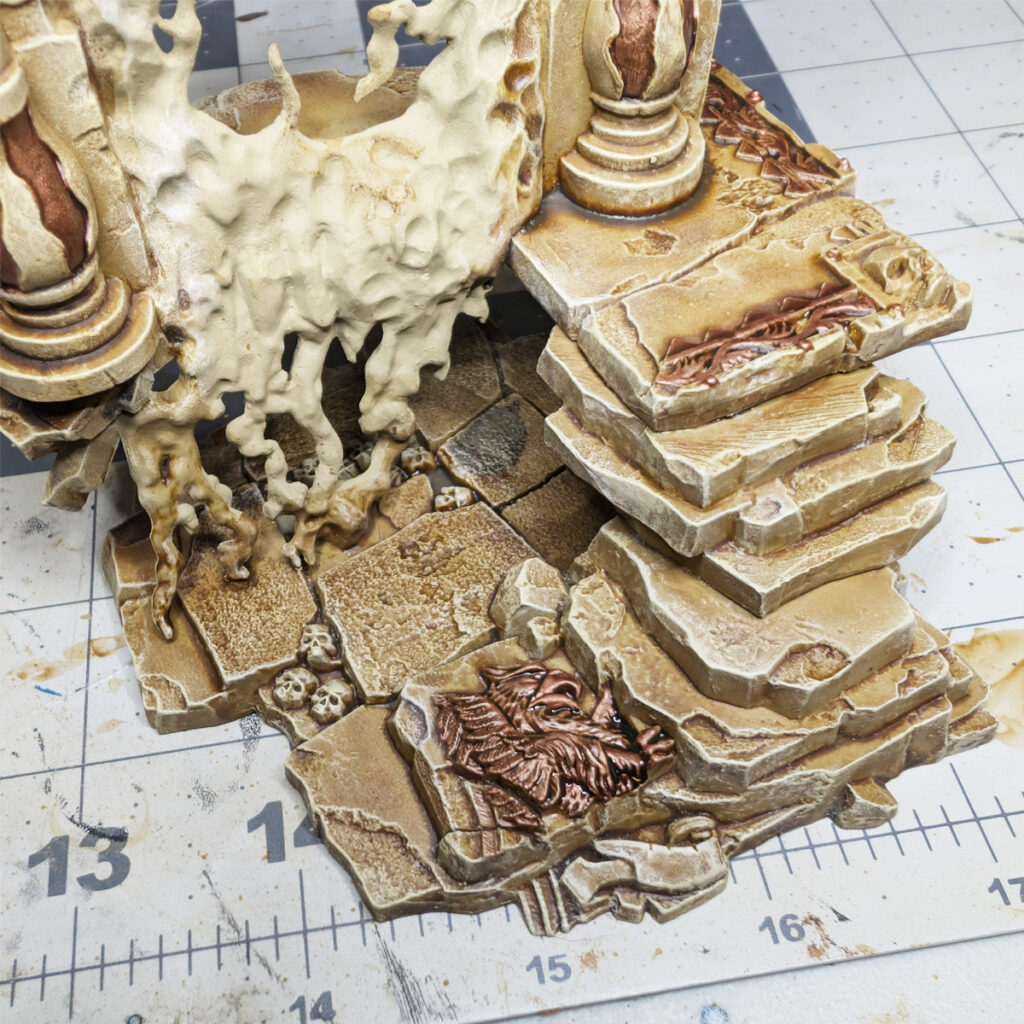
The Agrax Earthshade settles into the recesses and takes some of the brightness out of the Balthasar Gold, giving the metal a more weathered appearance.
Gehenna’s Gold
After the shade dried, I gave the metal a medium drybrush of Gehenna’s Gold.
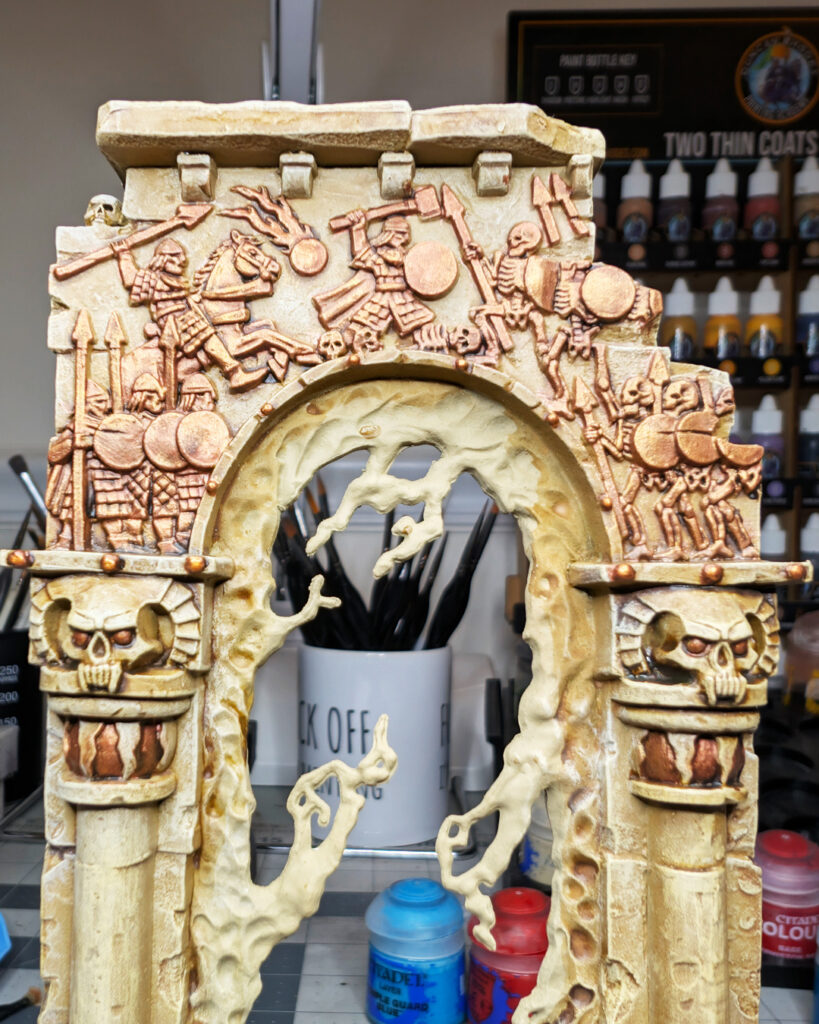
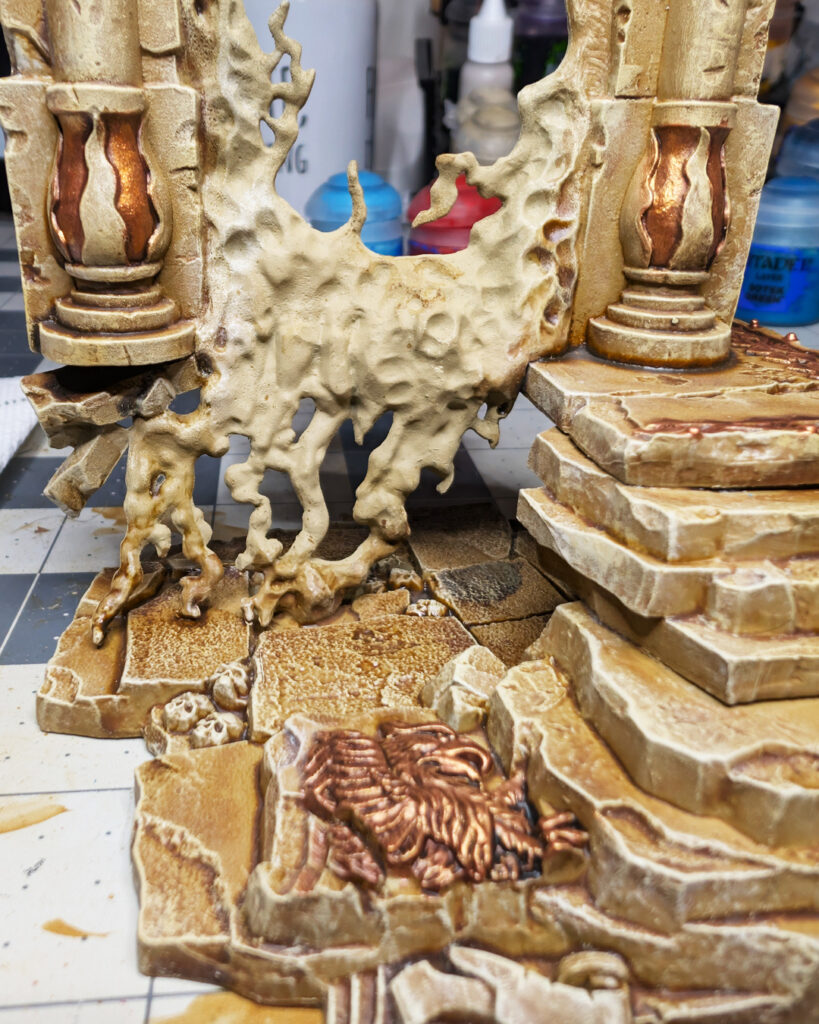
This brings the brighter metallic color back onto the raised surfaces while leaving the darker Agrax Earthshade visible around the details.
Auric Armour Gold
Finally, I applied a light drybrush of Auric Armour Gold.
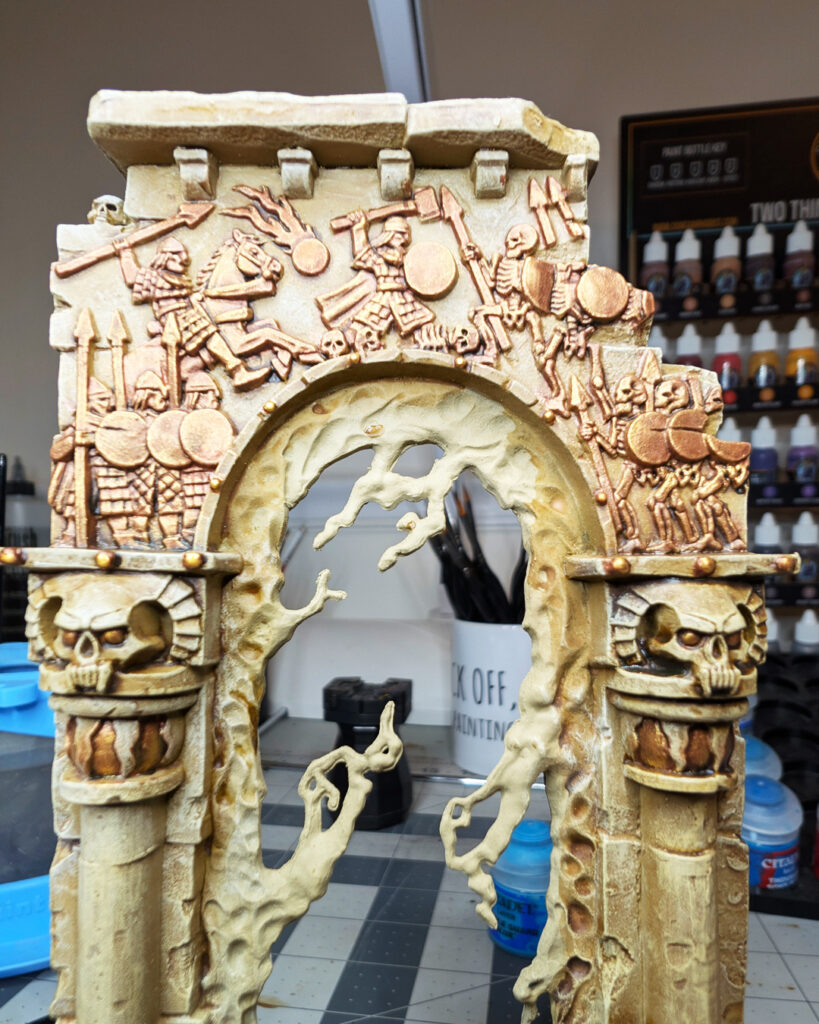
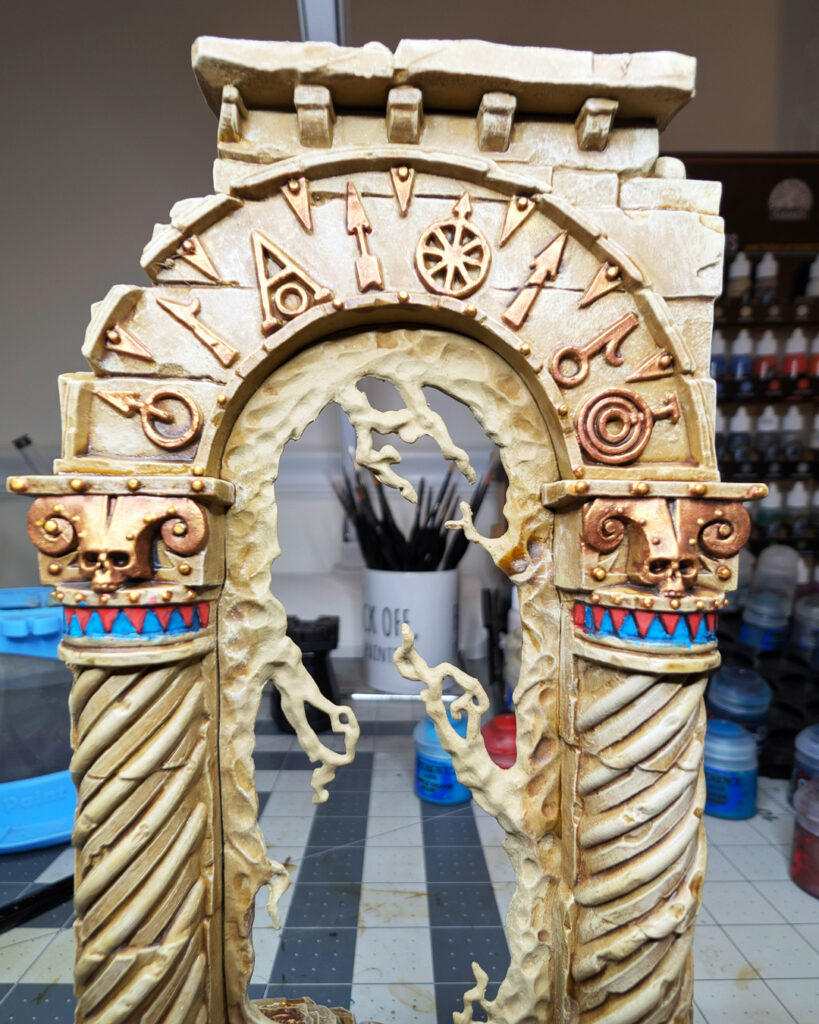
The lighter gold catches the highest details and gives the metal enough variation to stand apart from the surrounding stone.
The metal follows the same basic philosophy as the stone: establish the darker foundation first, then use progressively lighter drybrushes to bring the surface back up.
Painting the Mosaic Tiles
The mosaics on the back of the Realmgate gave me an opportunity to introduce some stronger colors into what is otherwise a fairly restrained palette.
I painted the tiles in red and blue, using separate color progressions for each.
Red Mosaic
For the red tiles, I used:
- Mephiston Red — base
- Carroburg Crimson — shade
- Evil Sunz Scarlet — highlight
- Wild Rider Red — final highlight
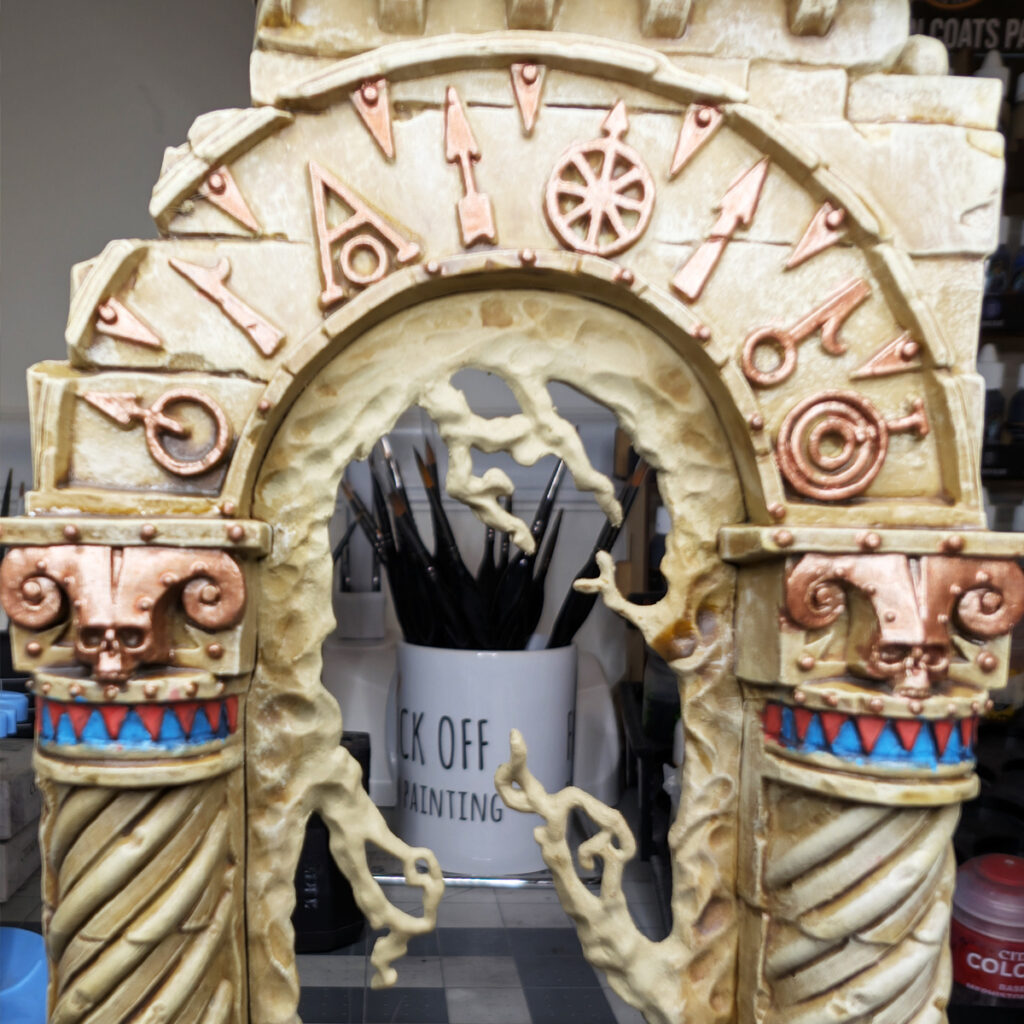
The Carroburg Crimson settles into the spaces between the tiles and gives the red a deeper base. The two progressively brighter reds then bring the individual tiles back up.
You don’t need to apply the highlights perfectly to every tile. Keeping some variation between the individual pieces helps the mosaic look like a collection of small colored tiles rather than one uniformly painted surface.
Blue Mosaic
For the blue tiles, I used:
- Caledor Sky — base
- Drakenhof Nightshade — shade
- Alaitoc Blue — highlight
- Hoeth Blue — final highlight
The blue follows the same basic principle as the red: establish the color, deepen it with a wash, then progressively pick out the raised surfaces with lighter colors.
The contrast between the red and blue tiles also gives the back of the Realmgate some much-needed color variation against the warm stone.
Painting the Portal Goop
The portal was the one part of the model where I wanted something distinctly different from the surrounding stone and metal.
I used a blue-gray recipe to create the strange, magical-looking material inside the gate.
Thousand Sons Blue
I started with Thousand Sons Blue as the base color.
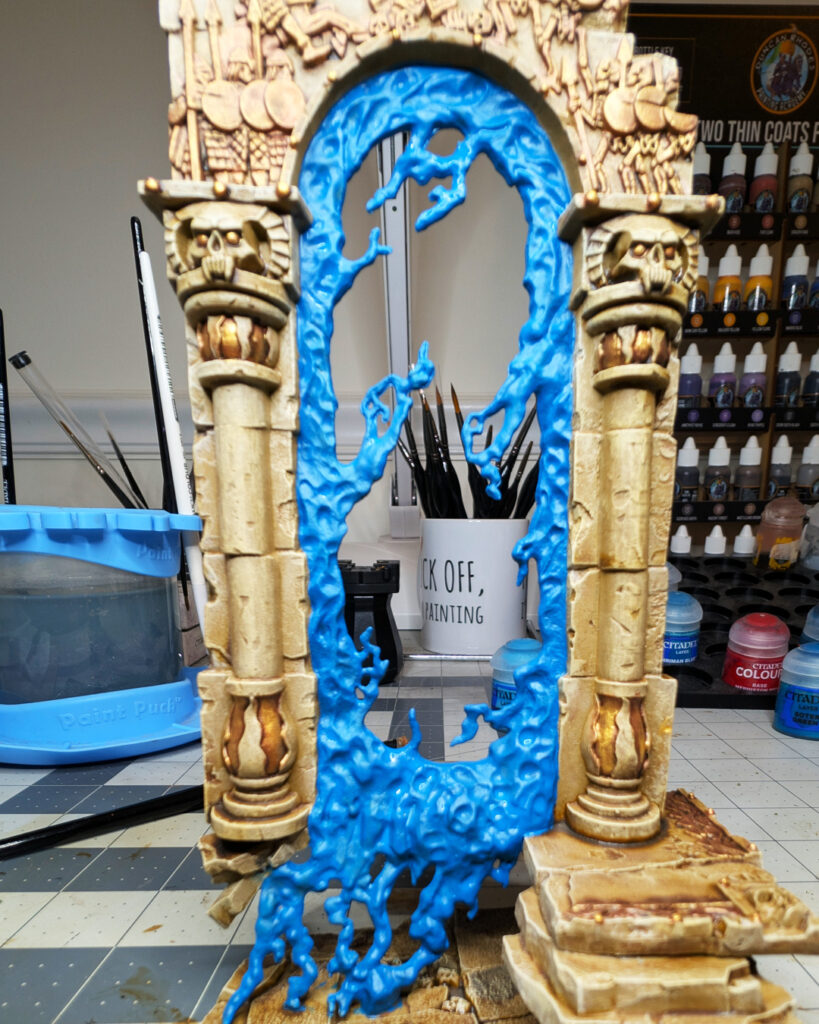
I then applied Nuln Oil over the surface to darken the recesses and give the goop some definition.
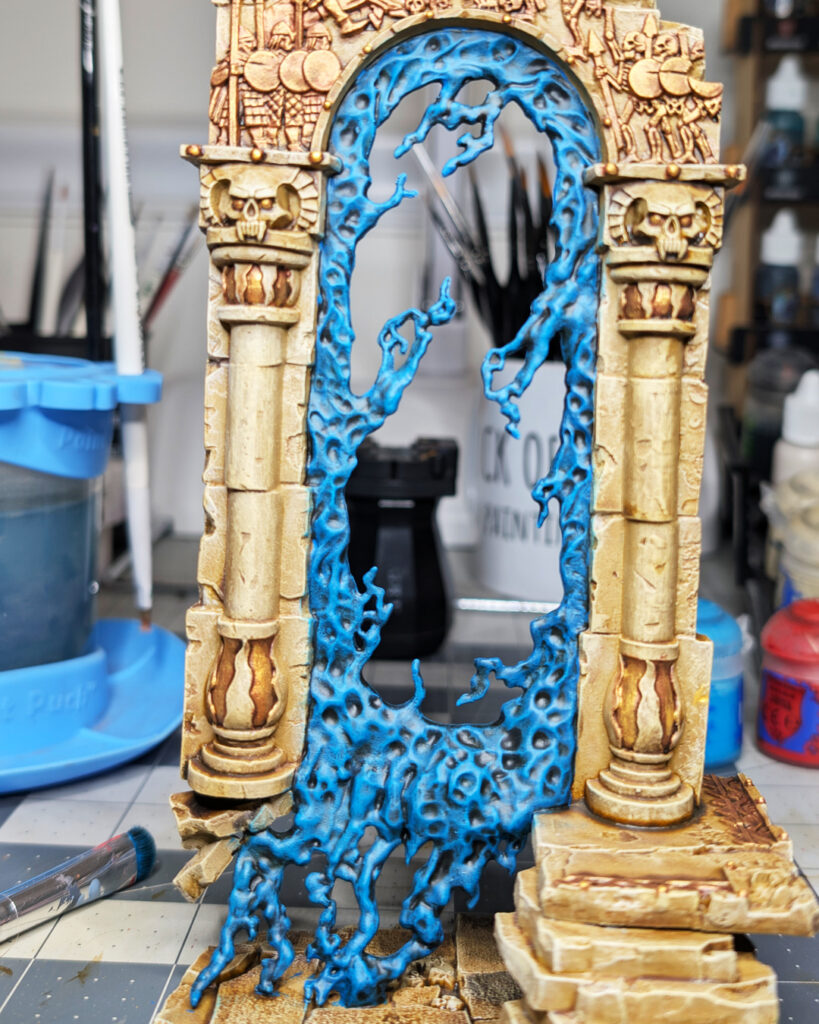
Once that was dry, I started building the color back up with Ahriman Blue, followed by Fenrisian Grey.
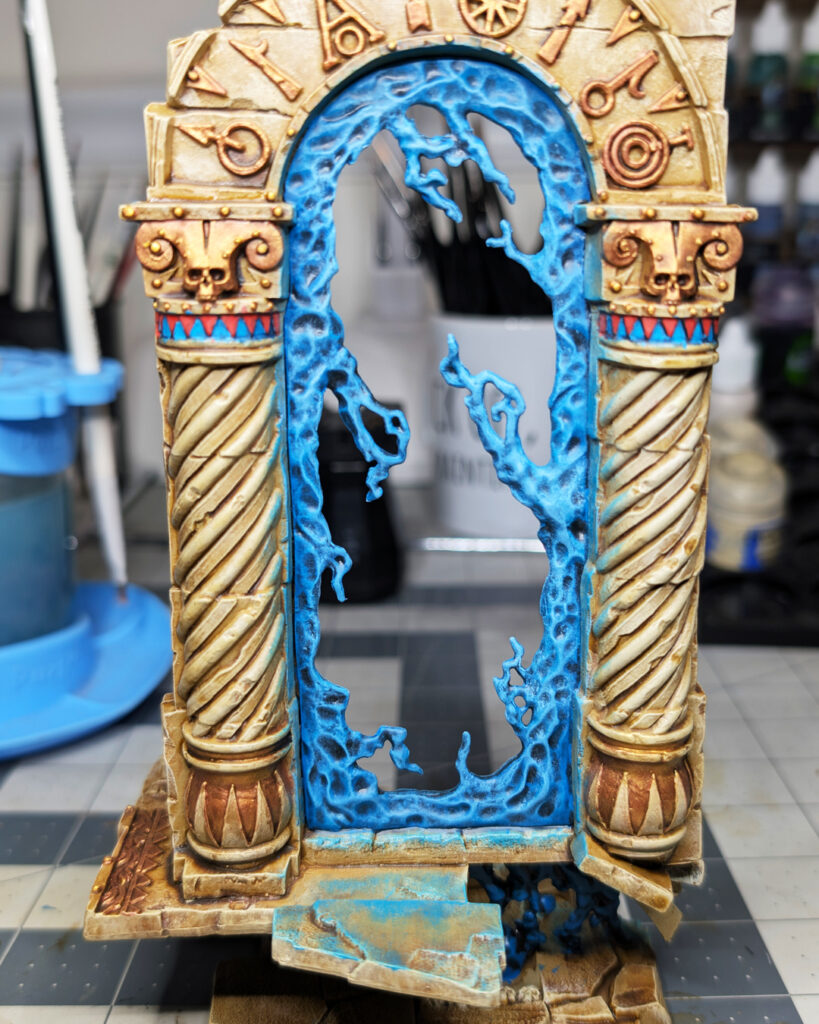
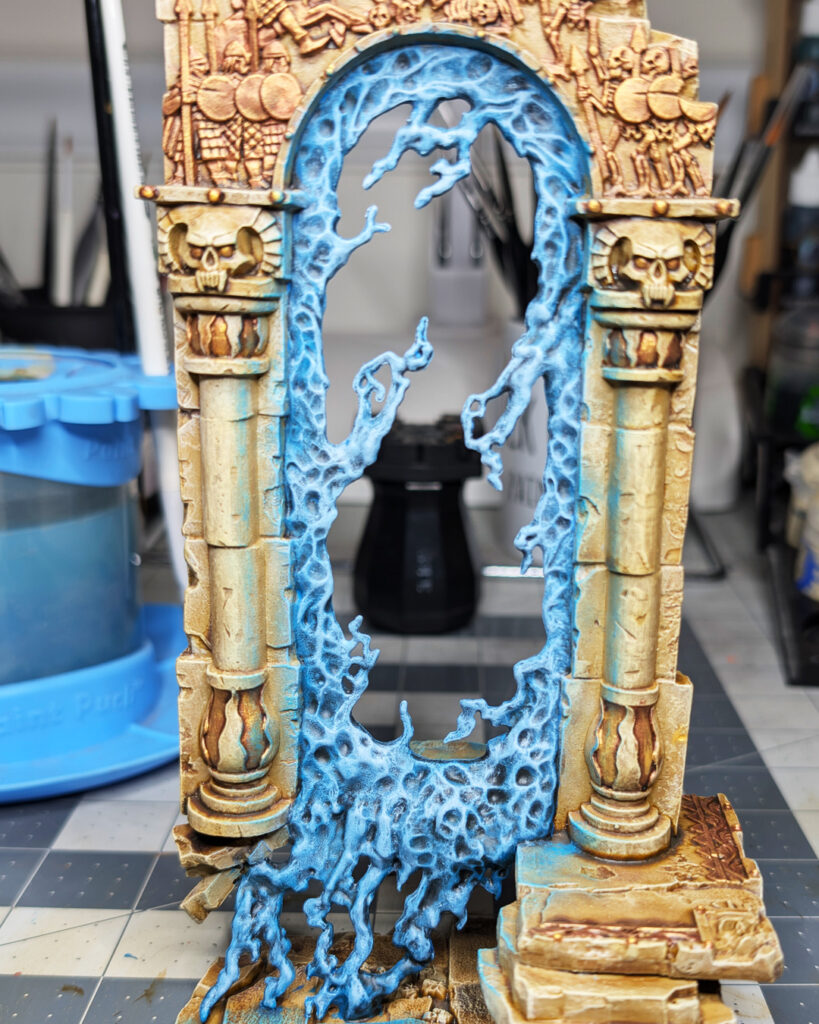
For the final highlight, you can add a little white to the Fenrisian Grey to make it even lighter.
I used this lighter color sparingly, concentrating it toward the center of the portal. You can also lightly drybrush around the very center of the goop to push the highlight a little further.
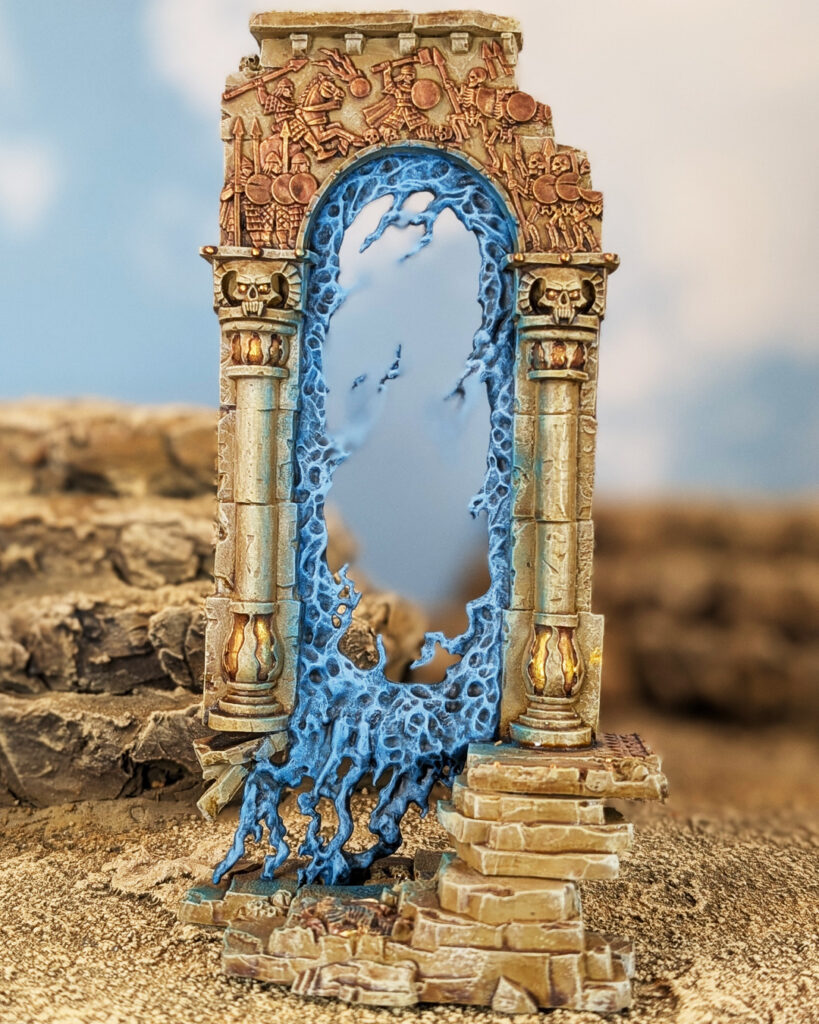
This doesn’t require a complicated glowing effect. The combination of the dark Nuln Oil, progressively lighter blue-gray layers, and the brighter center is enough to make the portal stand out from the rest of the model.
The Finished Realmgate
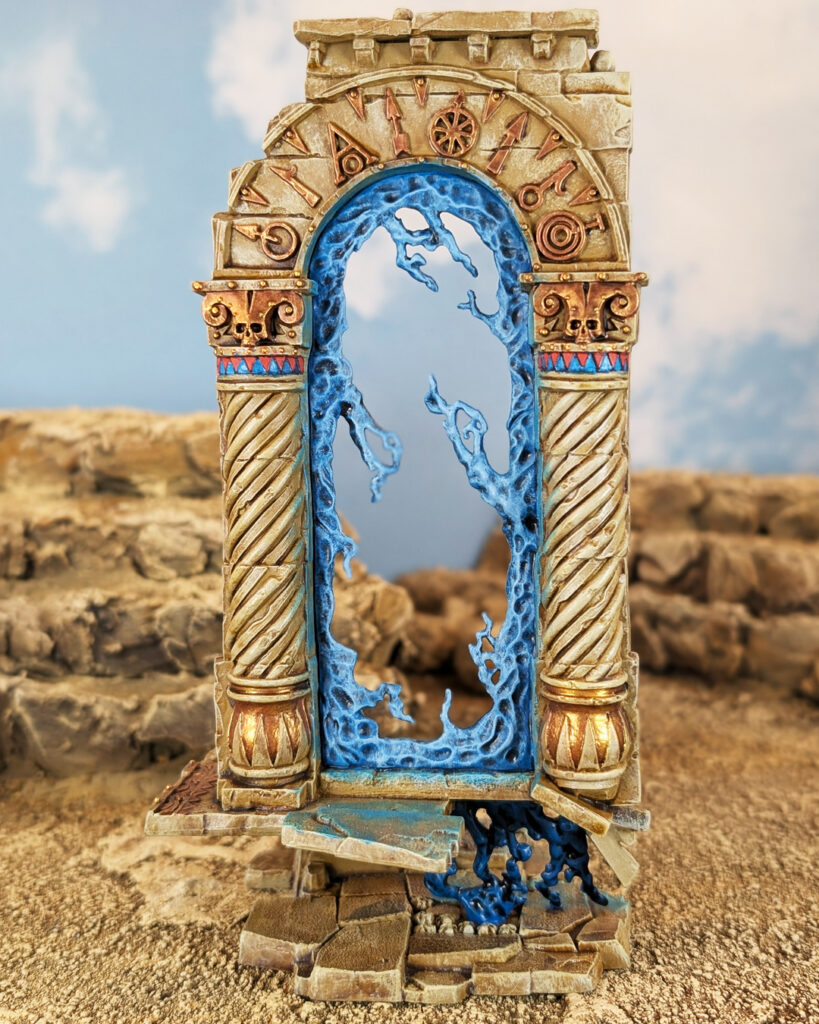
And that’s really all there was to it.
The Realmgate relies heavily on drybrushing, which is hardly an exotic technique for painting terrain, but it works particularly well here. The sculpt already provides plenty of texture for the brush to catch, so progressive drybrushing does most of the work of establishing the stone.
The warmer stone and bronze metal give the model the desert character I had originally envisioned, while the red and blue mosaics and cool portal provide enough contrast to keep the whole thing from becoming one large block of beige.
More importantly, I finally painted the Realmgate I’d been thinking about for years.
Sometimes that’s reason enough to pull a model off the shelf and get started.
Continue Your Painting Journey
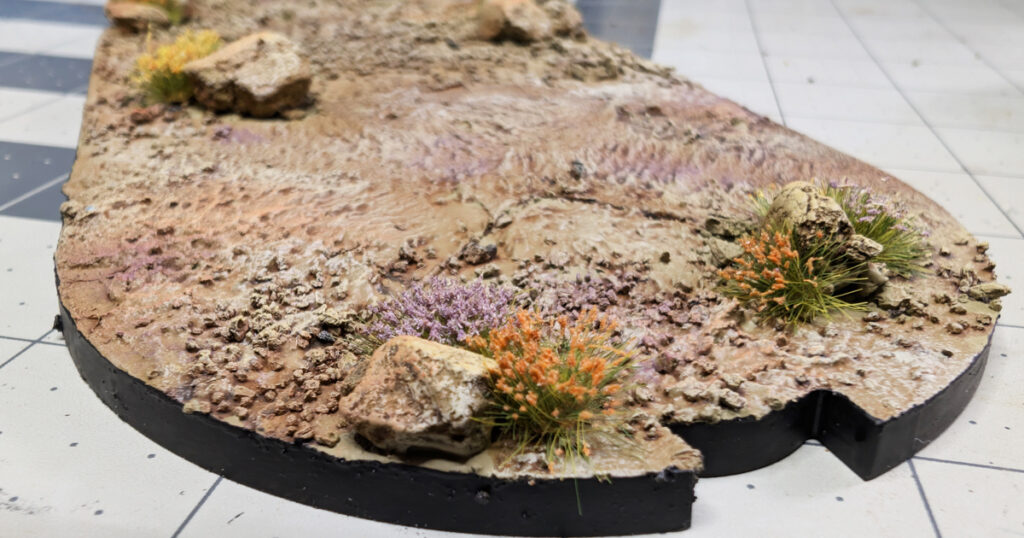
Create a Geonosis-Style Desert Base
Take the desert environment a step further with a flexible basing method using textured ground, natural rocks, washes, drybrushing, and simple vegetation.