Disclaimer: This post contains affiliate links. As an Amazon Associate, I earn from qualifying purchases at no extra cost to you. [Learn More]
An Experiment of Airbrushing Contrast Paints
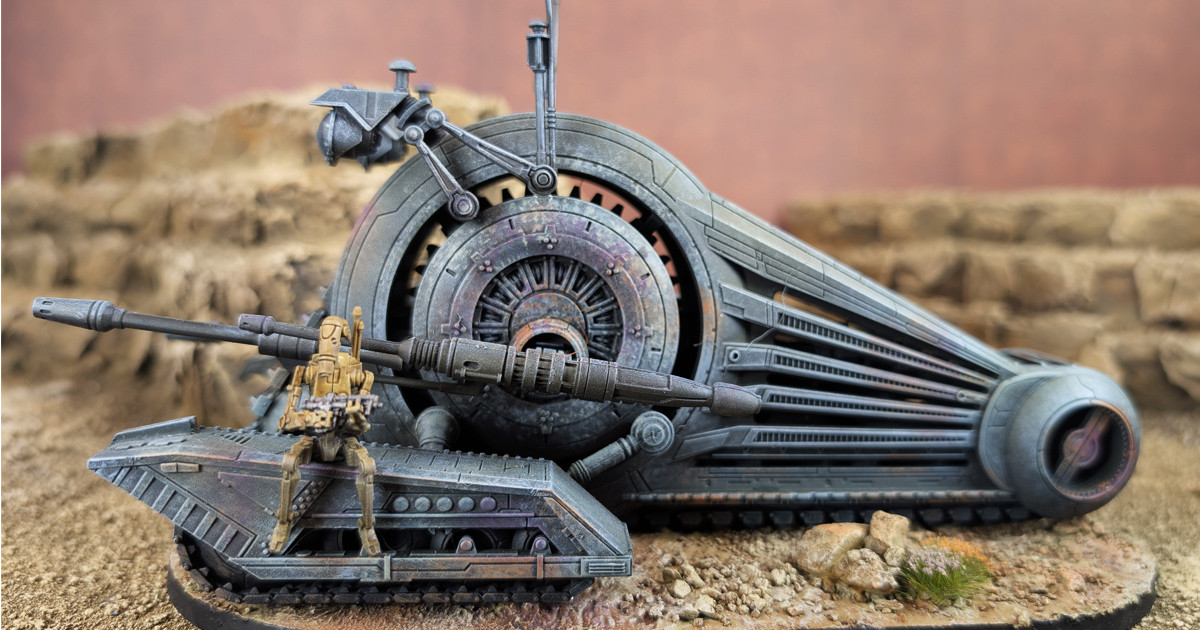
The Persuader-class droid enforcer is one of those Star Wars: Legion models that looks like it should be a complicated painting project. There’s a lot of machinery packed into a relatively small vehicle, along with the long articulated body, exposed gears and those strange little eye slits at the front. I wanted mine to look like a machine that had spent some time operating on Geonosis, but I also wanted to find a way to get some of the work done without spending hours picking out every individual panel.
This was also an experiment for me. I had recently started using an airbrush for more than just priming, and I wanted to see what would happen if I used Contrast paints through it over a zenithal undercoat. My thinking was that I could create something like a color version of the slap-chop approach: Basilicanum Grey toward the bottom, Gryph-Charger Grey through the middle, and Skeleton Horde from above. I was hoping the transparent colors would produce some interesting transitions while the zenithal underneath provided the underlying definition.
It didn’t quite work that way.
The colors blended together far more than I expected, producing a greenish surface rather than the dusty grey I had envisioned. At first, that looked like a problem. After letting the model dry, however, I started to realize that the accidental color wasn’t necessarily a bad thing. The darker green toward the bottom of the vehicle actually gave the wheels and machinery a naturally dirty appearance, while the lighter areas above it began to look more like a worn, sun-faded machine.
The result reminded me of something I had seen years earlier, before Contrast paints existed. A friend had painted some Nurglings over white primer using colored shades thinned with Lahmian Medium. Rather than behaving like a traditional wash and collecting heavily in the recesses, the diluted color stained the white primer across the surfaces. The result was a collection of remarkably bright pastel reds, greens and blues that looked almost like Smarties candy.
That experience came back to me while working on the Persuader. Spraying Contrast paint through an airbrush produces a very different effect from applying it heavily with a brush. Instead of relying on the paint to flow into recesses, I was essentially tinting the surface with transparent color. Once I understood what I was looking at, the unexpected green became something I could work with.
From there, I stopped trying to force the Persuader back toward the result I had originally imagined and started working with what was actually on the model. A little Aethermatic Blue cooled the green and brought some of the grey-metal character back. Drybrushing picked up the machinery and edges, and some deliberately placed purple, orange and brown gave the otherwise drab vehicle a little more life.
This isn’t a step-by-step recipe for reproducing the exact model. It’s a look at the process I actually went through, including an experiment that didn’t behave as expected and the decisions that turned it into something I was happy to put on the table.
My Approach
I wanted to keep the painting process relatively simple and let the shape of the Persuader do some of the work. The vehicle has plenty of mechanical detail, so I didn’t think it needed a complicated recipe applied to every individual component.
The plan was to establish the overall lighting and color with the airbrush, then use drybrushing and a handful of carefully chosen colors to bring the details back into focus. That meant the zenithal undercoat was particularly important. It would give me a value structure to work from before I started adding transparent color.
I also wanted the finished vehicle to feel appropriate for Geonosis. That meant dusty, worn machinery rather than a clean factory-floor finish.
Zenithal Priming
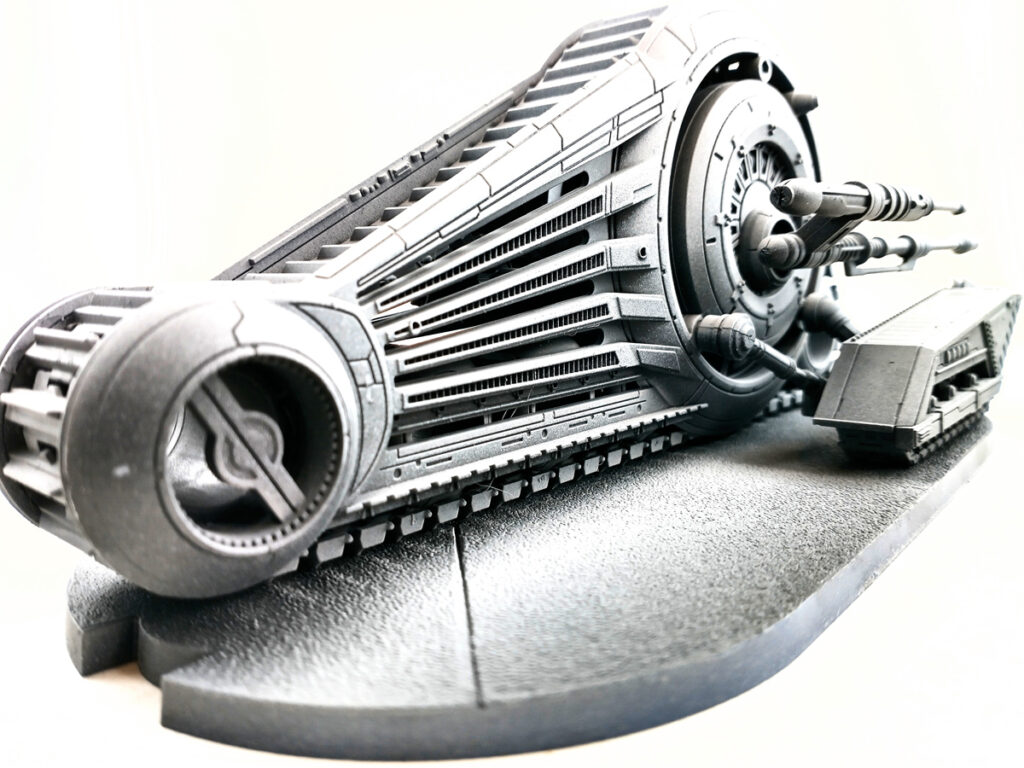
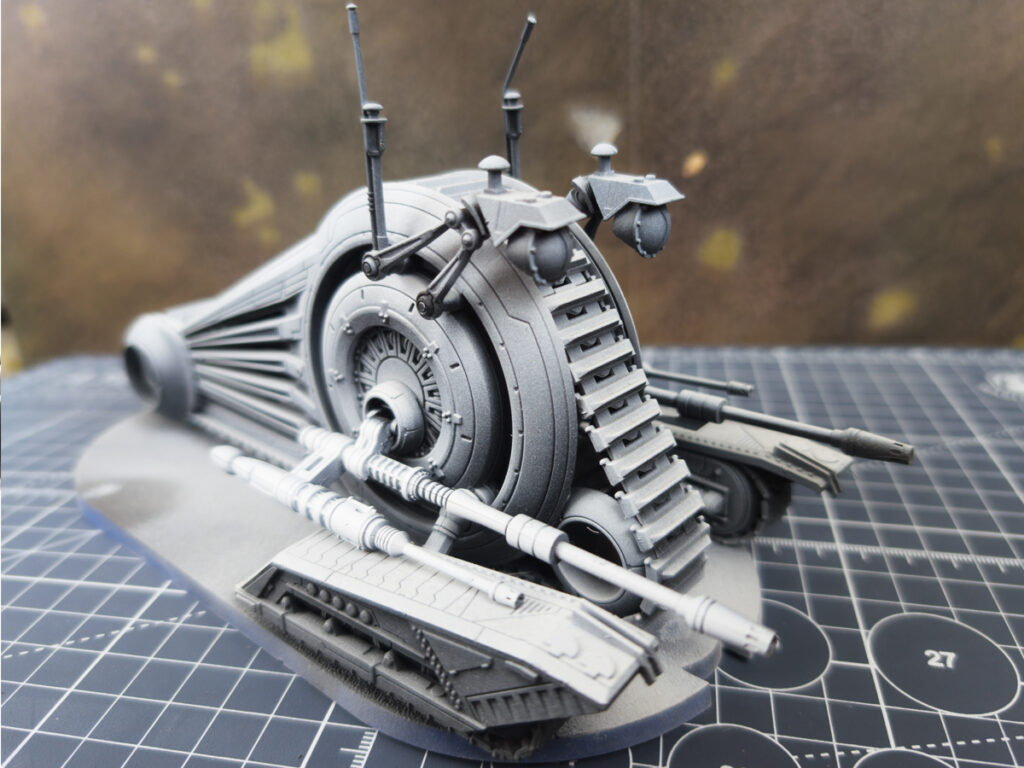
I started with a black primer over the entire model, followed by grey sprayed from roughly a 45-degree angle and white sprayed from above. This was actually my first time using an airbrush to apply primer, so the Persuader was something of an experiment from the beginning.
The idea behind the zenithal was straightforward: establish the lighting before adding color. The black would provide the deepest shadows, while the grey and white would progressively brighten the areas facing upward.
I’ve written more about this process in my guide to [How to Zenithal Prime Miniatures], but the important thing for this project was simply having that light-to-dark foundation already established before I started spraying color.
Airbrushing Contrast Paints
This is where things got interesting.
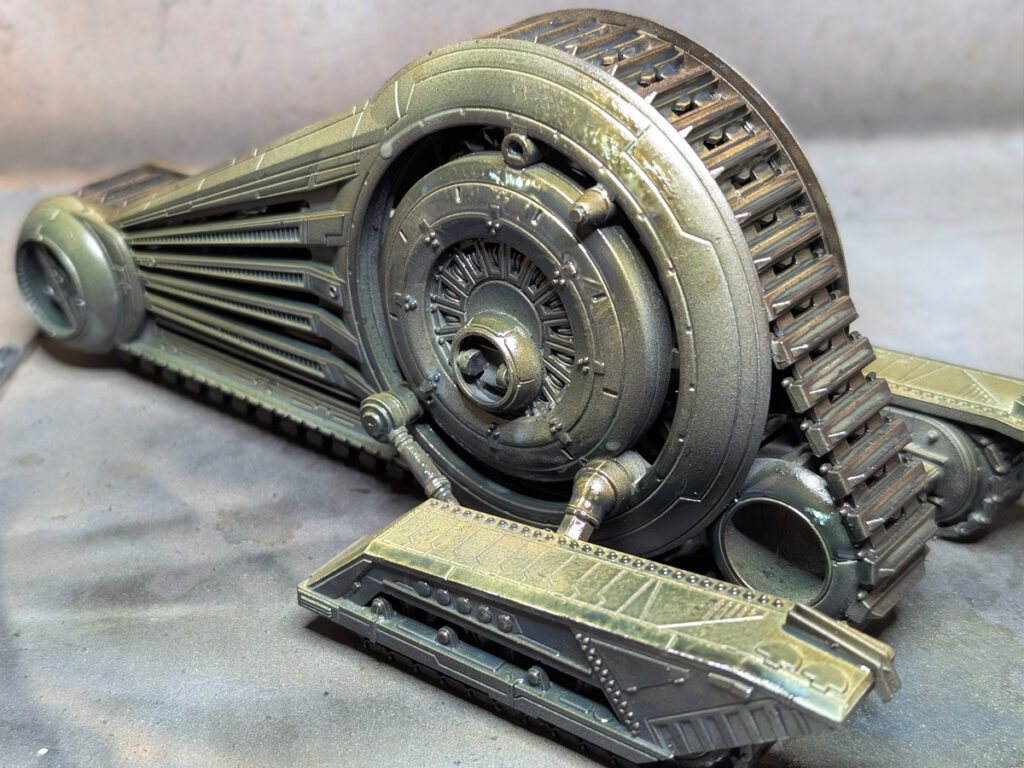
My original plan was to use three Contrast paints to create a kind of color zenithal. I started with Basilicanum Grey toward the underside of the vehicle, intending to establish the darkest areas around the wheels, gears and lower machinery. I then moved upward with Gryph-Charger Grey before finishing with Skeleton Horde from above.
In my head, I was imagining something like a wet blend. I expected the three colors to transition into one another while the zenithal underneath continued to provide the value structure.
Instead, they mixed.
The result was much greener than I expected, particularly through the middle of the vehicle. The Gryph-Charger Grey and Skeleton Horde were effectively combining on the surface rather than producing the separate grey and dusty tones I had envisioned. The Basilicanum Grey toward the bottom made that area darker and dirtier, which actually worked surprisingly well around the wheels and gears.
I think part of the problem was the way I was approaching the process. I was thinking about the colors as though I were performing a wet blend, and I wasn’t allowing each layer to dry completely before introducing the next one. That gave the transparent paints plenty of opportunity to interact with one another on the model.
There’s an interesting distinction here between spraying Contrast paint and applying it with a brush. Contrast paint is designed to create variation as it flows across a surface, with more pigment accumulating in recesses and thinner coverage over raised areas. When you put that same type of paint through an airbrush, you’re capable of laying down a much more even, translucent layer across the surface.
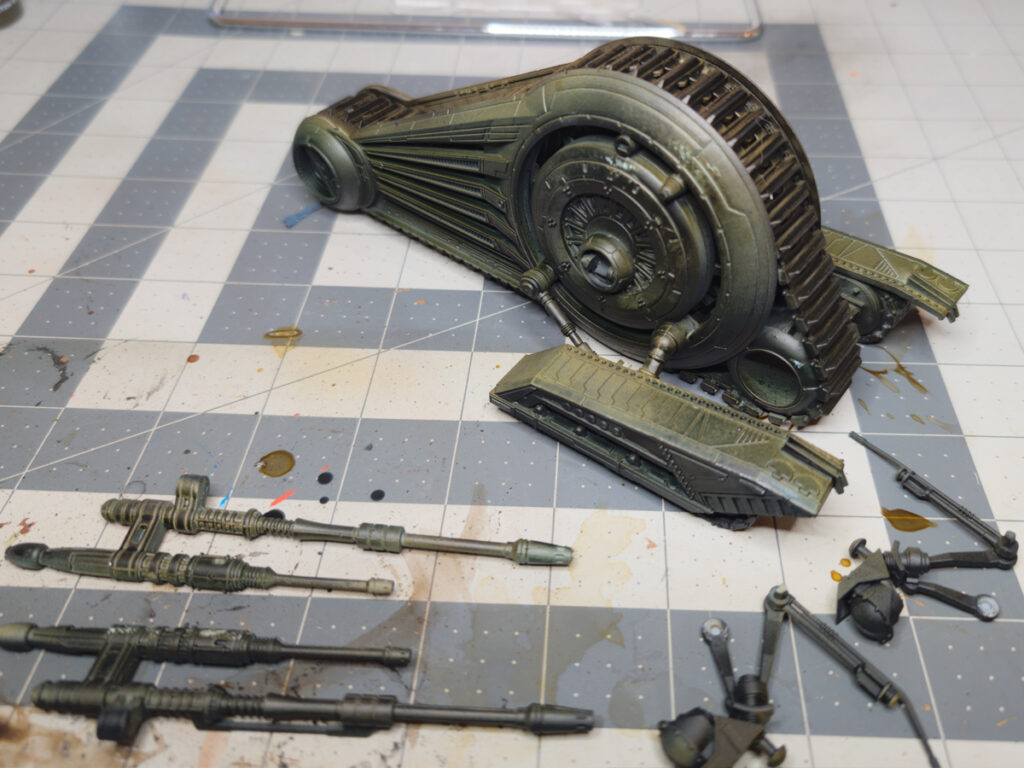
The result can be closer to tinting the miniature with transparent color than what you normally expect from a brush-applied Contrast paint.
That reminded me of an experiment I had seen with Nurglings several years ago. Before Contrast paints were available, a friend had primed Nurglings white and then used colored shades thinned with Lahmian Medium. The colors stained the white surface instead of simply collecting in the recesses. The result was an almost candy-like collection of pastel reds, greens and blues.
The Persuader wasn’t quite that extreme, but the principle felt similar. The transparent colors were changing the character of the zenithal underneath rather than simply behaving like traditional shaded paint.
And while the green wasn’t what I had planned, it wasn’t necessarily a disaster.
In fact, the darker color toward the bottom gave the vehicle a naturally dirty appearance around the wheels and mechanical areas. I decided to let the model dry completely before making another decision.
Working With the Green
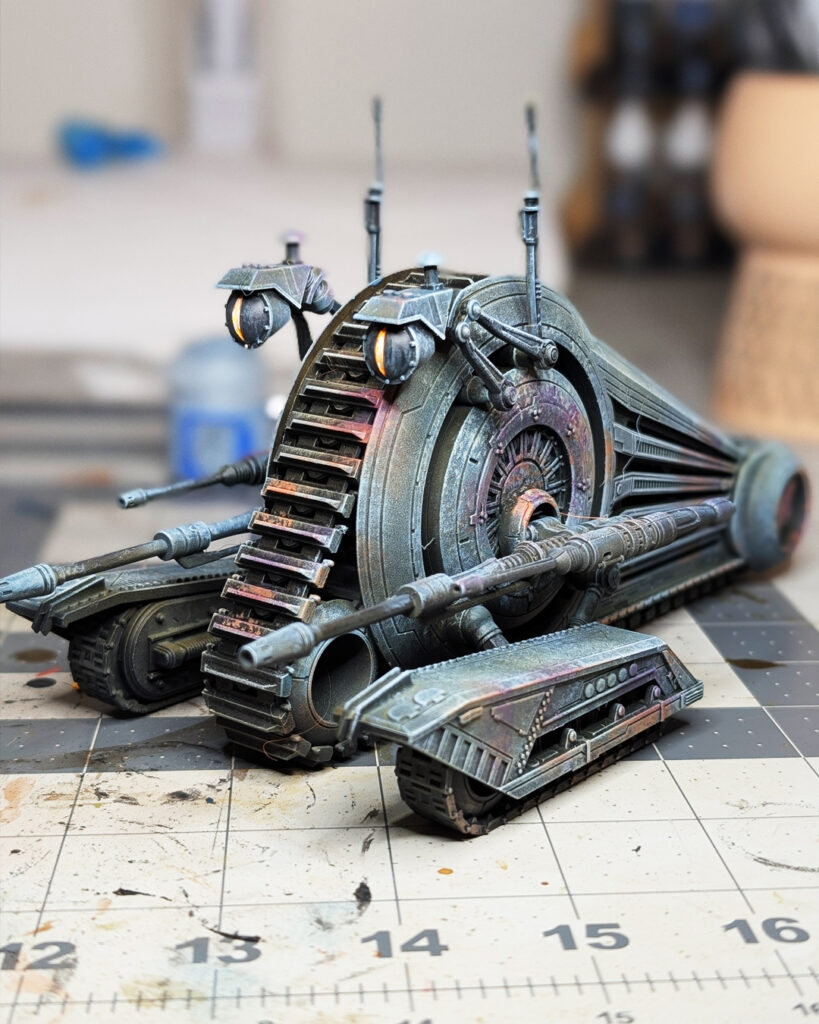
Once the paint had dried, I decided not to strip the model and start again. Instead, I wanted to see whether I could steer the color closer to the cool, grey-metal appearance I had originally imagined.
I used Aethermatic Blue over portions of the surface to cool the green and knock it back. The effect was subtle, but it helped restore some of the colder metallic character I was looking for.
This was one of those situations where letting the miniature dry made a difference. While the paint was still wet, the green looked much more alarming. Once everything had settled, there was actually quite a bit of variation across the surface, particularly between the lighter upper areas and the darker machinery underneath.
At that point, I was no longer trying to recreate the original plan. I was painting the miniature that was actually in front of me.
That is probably one of the more useful things I took away from this project. A painting experiment doesn’t have to work exactly as intended to be useful. Sometimes the next step is simply figuring out what the result you already have can become.
Bringing Back the Definition
After allowing the model to dry, I came back with a moderate drybrush of Dawnstone. This helped pick up the raised mechanical details and the various lines and edges across the vehicle.
I followed that with a lighter drybrush of Administratum Grey, concentrating more on the edges and upper surfaces.
The two stages were enough to bring a lot of the structure back into the model. The airbrushed colors had created the overall character, but the drybrushing gave the eye something to grab onto.
At this point the Persuader was beginning to read clearly as a vehicle rather than simply a collection of transparent colors over a zenithal primer.
It was also beginning to look a little too drab.
Adding Some Character
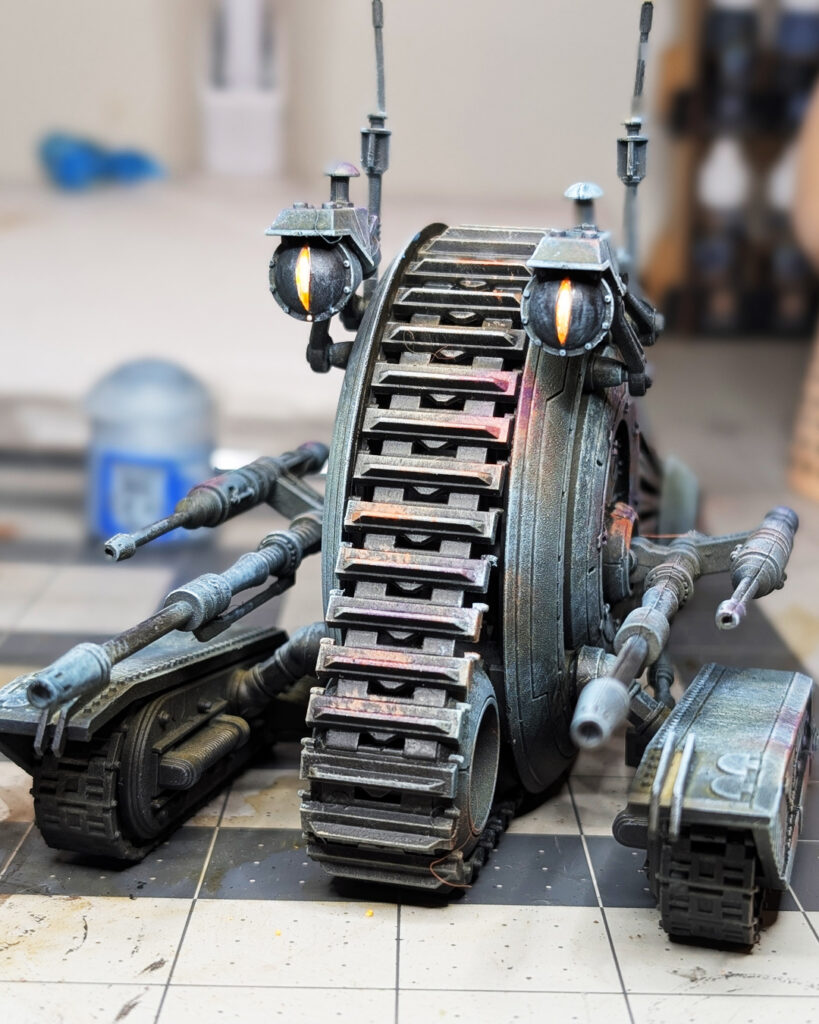
The grey-green body had plenty of variation, but it still felt somewhat lifeless. Since I was already thinking about the dusty environment of Geonosis, I started thinking about the colors I wanted around the model and how I could introduce some of that visual interest into the vehicle itself.
For whatever reason, I settled on purple and orange.
I used Xereus Purple and Fire Dragon Bright as small areas of stippled color across the body. These weren’t intended to become major features. I simply wanted little interruptions in the otherwise muted surface.
That small amount of stronger color made a surprising difference. The vehicle still looked dusty and worn, but it no longer felt like it was made from one large block of grey-green.
I used a similar approach on the main treads. Skrag Brown provided a dirty, rusty base, followed by some stippling with Fire Dragon Bright to suggest areas where the underlying metal had weathered or rusted.
The goal wasn’t realistic corrosion on every surface. I just wanted enough variation to make the machine look like it had actually been operating rather than sitting untouched in a display cabinet.
Painting the Eye Slits
The eye slits were one of the final details, and I wanted them to provide a strong point of contrast against the relatively muted body.
I started with Fire Dragon Bright across the slit, then worked Flash Gitz Yellow toward the center while leaving some of the orange visible around the outside. Finally, I added an extremely thin line of White Scar through the center of the eye.
It’s a very small detail, but the combination of orange, yellow and white gives the eye slits a convincing glow without requiring an elaborate object-source-lighting effect.
It’s also a good example of how a miniature can change dramatically near the end of a project. After spending most of the painting process working with muted greys, greens and browns, those tiny areas of bright color immediately draw attention to the front of the vehicle.
The Finished Persuader
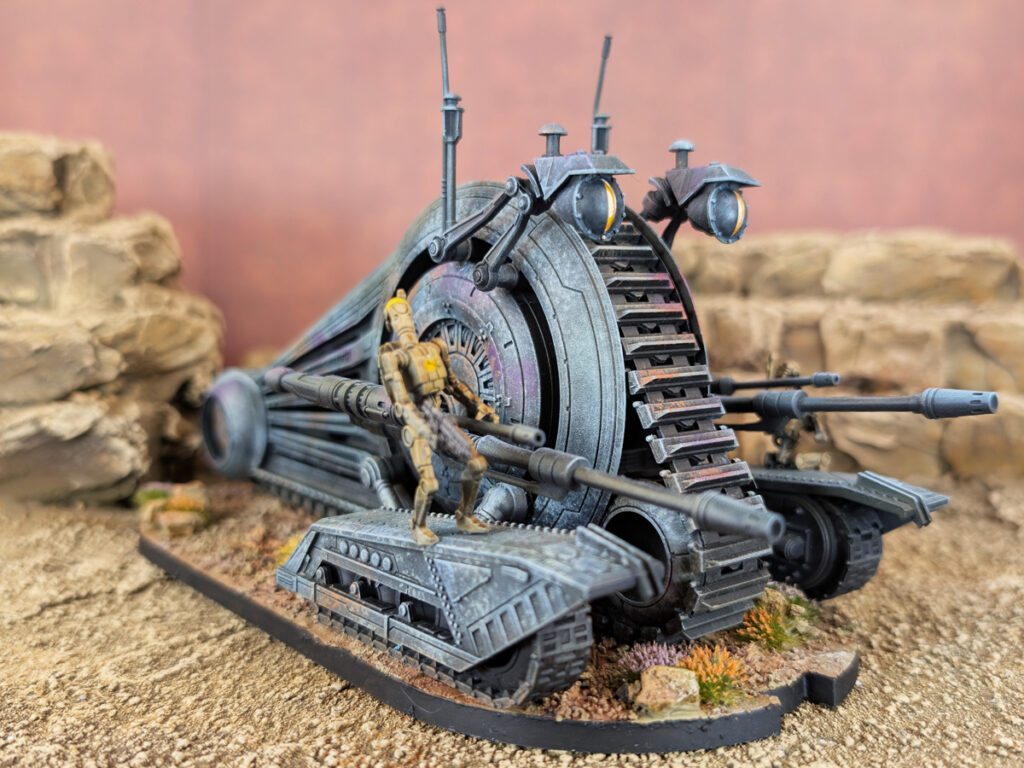
The finished Persuader ended up looking quite different from the model I had originally imagined.
I had started with the idea of creating a dusty grey vehicle through a color version of a zenithal slap-chop technique. Instead, the transparent colors mixed into a greenish surface, and I had to decide what to do with the result.
Rather than starting over, I kept working.
Aethermatic Blue cooled the color. Dawnstone and Administratum Grey restored definition. Purple and orange broke up the drab surfaces, while brown and orange gave the treads some additional weathering. Finally, the bright eye slits gave the front of the vehicle a focal point.
The result isn’t a precise reproduction of what I had pictured when I started, but I think that’s part of what makes the project worth documenting.
The most useful painting experiments aren’t always the ones where everything goes according to plan. Sometimes you learn more when the miniature takes an unexpected turn and you have to figure out where to go from there.
Continue Your Painting Journey
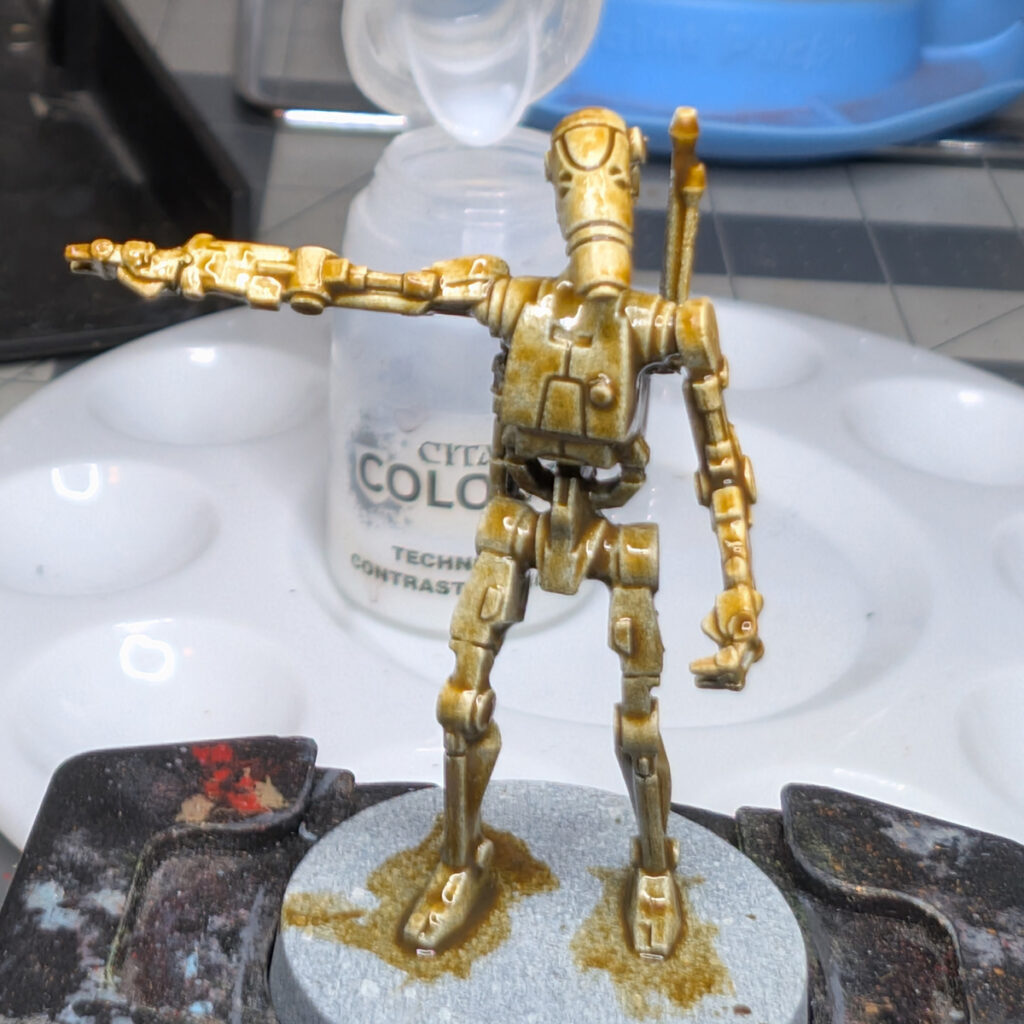
How to Paint Miniatures with Contrast Paints
See another approach to using Contrast paints, this time applied to the distinctive B1 Battle Droids of Star Wars: Legion.
How to Zenithal Prime Miniatures
Learn how to use a zenithal undercoat to establish light and shadow before you begin painting.