Disclaimer: This post contains affiliate links. As an Amazon Associate, I earn from qualifying purchases at no extra cost to you. [Learn More]
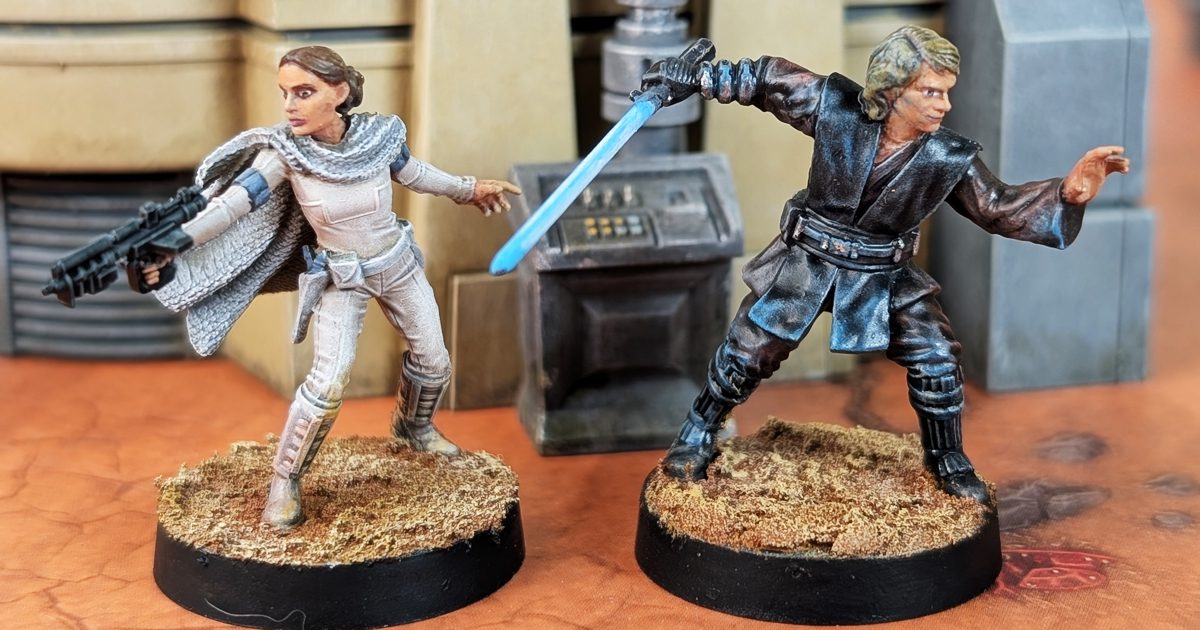
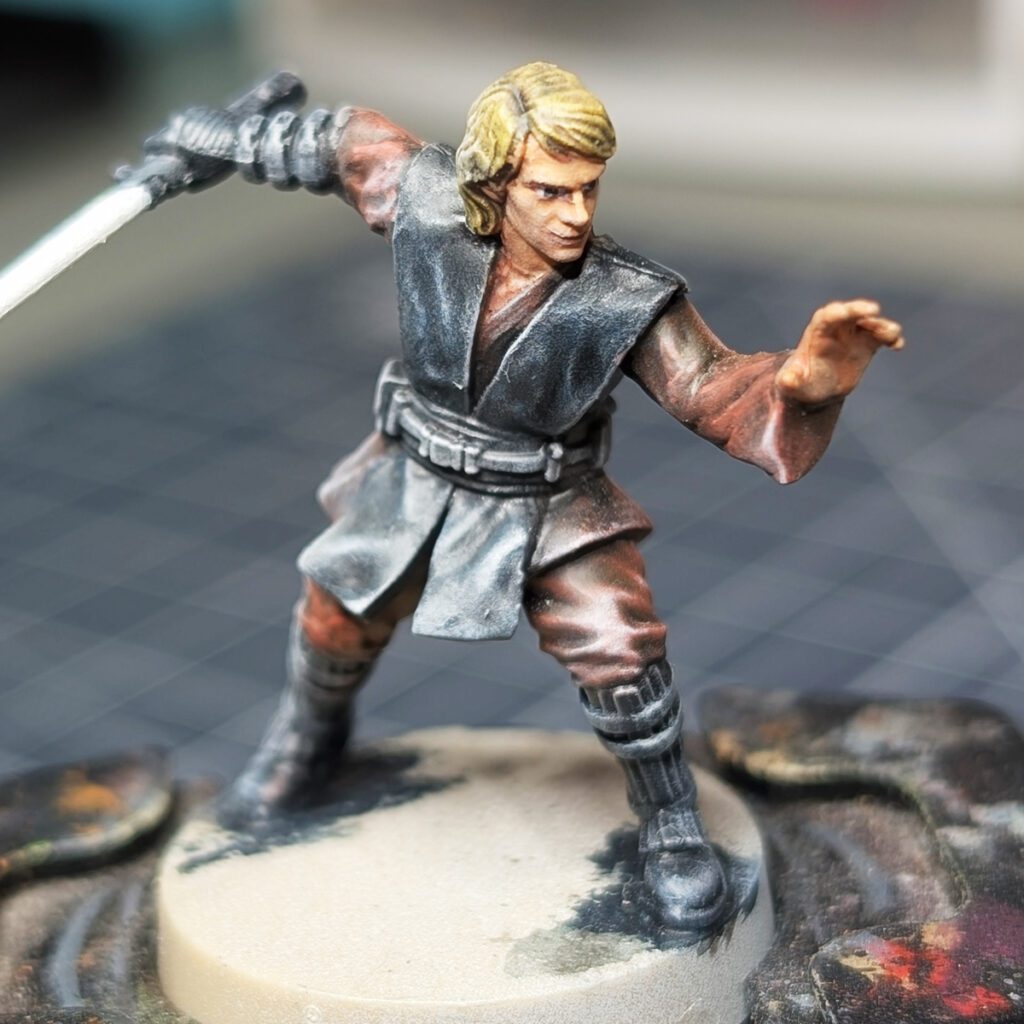
Anakin is a deceptively simple model – broad surfaces, dark clothing, and a face that can easily fall flat if you don’t push it.
The goal here is about simplicity and control:
- clean separation
- efficient highlighting
- and a focused finish
Build Your Own Hobby Desk
Every miniature project starts with a workspace. These are the paints, brushes, tools, and hobby supplies I regularly use while painting miniatures for Mythic Minis. Whether you’re just getting started or looking to upgrade your hobby desk, these resources can help make painting more enjoyable and efficient.

Where to Buy This Model
Everything you’ll need to start your own Anakin Skywalker project for Star Wars: Legion, including the miniature itself and related Republic-era Star Wars products. Whether you’re painting a display piece or preparing for the tabletop, these resources will help you get started.

Paints Used
Pants / Tunic
Rhinox Hide
Nuln Oil
Gorthor Brown
Baneblade Brown
Boots / Belt / Glove / Hilt
Corvus Black
Nuln Oil
Dawnstone
Administratum Grey
Vest
Dark Sea Blue (Vallejo)
Stegadon Scale Green
Dawnstone
Administratum Grey
Skin / Eyes
Bugman’s Glow
Reikland Fleshshade
Cadian Fleshtone
Kislev Flesh
Corax White
Abaddon Black
Hair
Steel Legion Drab
Tallarn Sand
Zamesi Desert
Averland Sunset
Lightsaber / Details
Teclis Blue
Lothern Blue
Corax White
Shop the Paint List
Step 1 — Clean Basecoats (Set the Foundation)
All major colors are blocked in and clearly separated.
At this stage:
- The clothing reads, but lacks depth
- The face is visible, but flat
- Dark elements (boots, belt, vest) are very similar in value
I used Dark Sea Blue on the Vest and Corvus Black on the other black leather accessories. With the bright lighting they are very indistinguishable in the photo, but I’m hoping layer and highlight colors will bring out the nuance in the base coats.
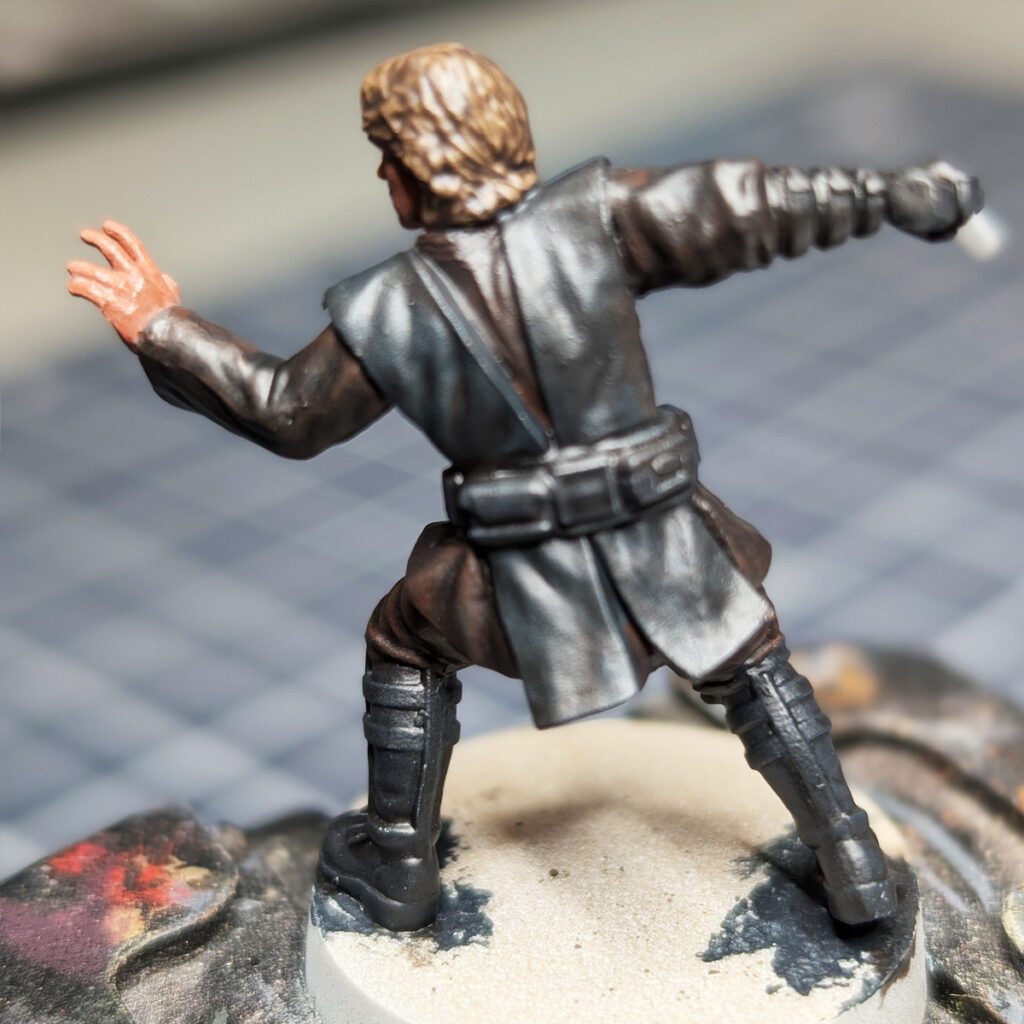
Step 2 — Controlled Shading

Apply:
- Nuln Oil to the body
- Reikland Fleshshade to the face
Keep it controlled. Let the wash settle into recesses without flooding flat surfaces.
What you’re doing here:
Creating separation, not staining the model.
If you overdo this step, everything becomes dull—and you spend the rest of the process trying to bring it back. Be especially around the eyes – having to go back and fix mistakes on the face at this point is a headache.
Step 3 — Drybrush Rebuild (Fast and Effective)
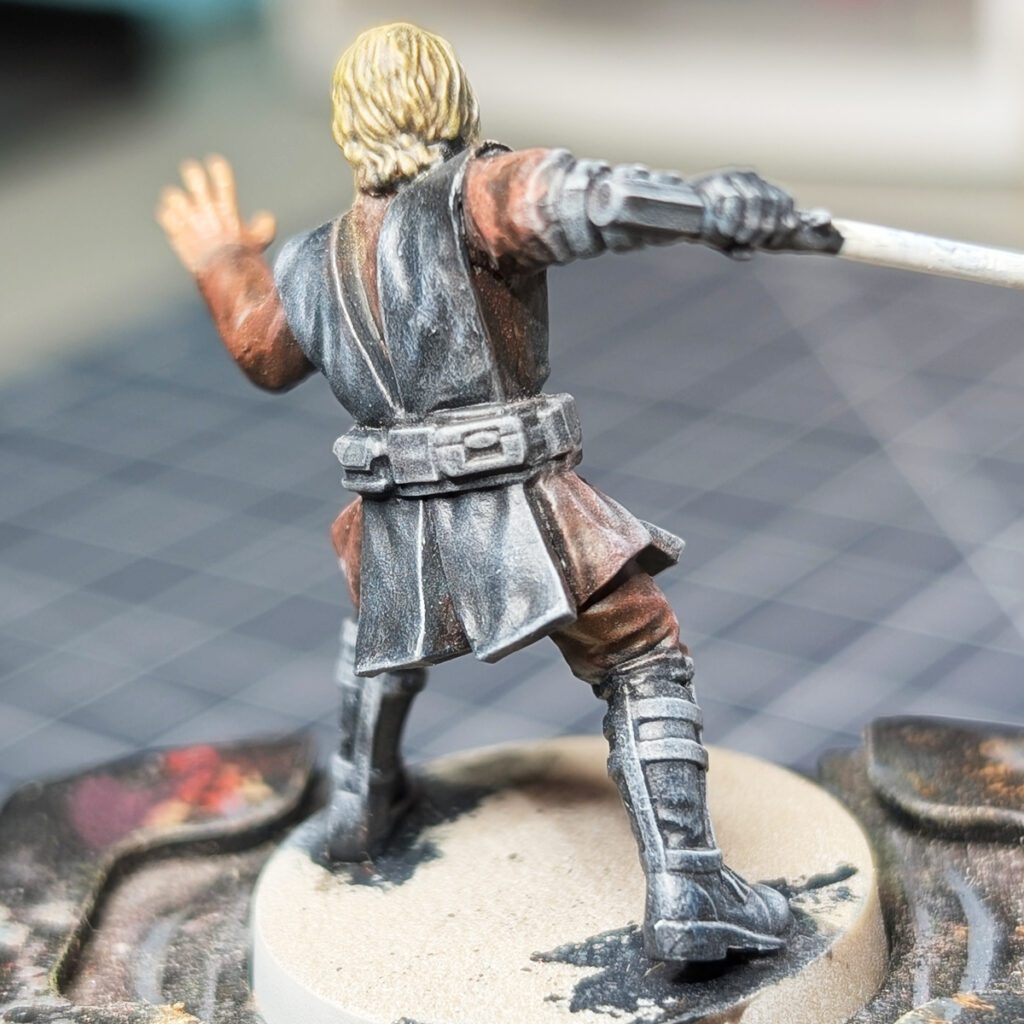
This is where your process really starts to work.
Instead of slow layering, you rebuild the model using drybrush passes:
- Pants/Tunic: Gorthor Brown → Baneblade Brown
- Vest: Stegadon Scale Green → Dawnstone → Administratum Grey
- Black elements: Dawnstone → Administratum Grey
Why this works:
You’re restoring mid-tones quickly while creating natural texture and contrast.
This is efficient, and efficiency matters if you want to paint consistently.
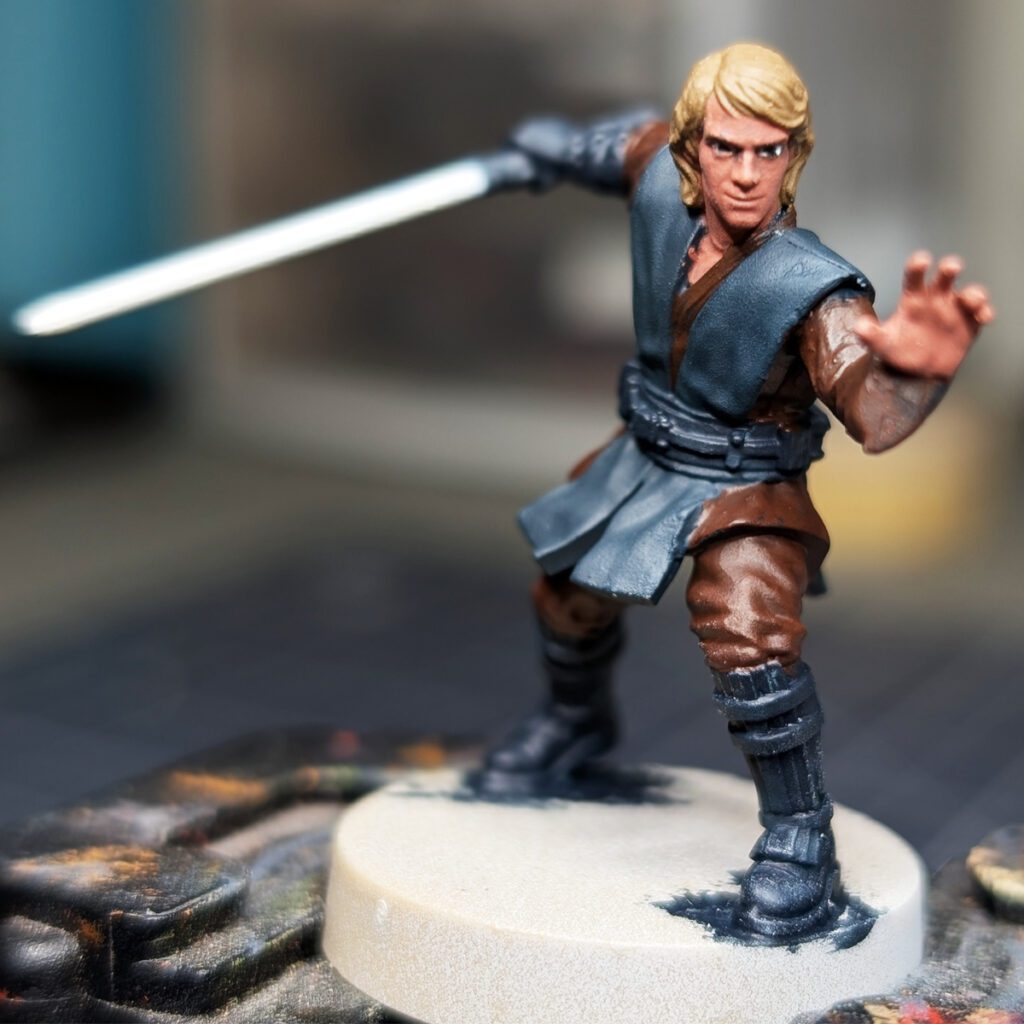
Step 4 — Face and Hair (The Model Lives Here)
Refine the focal point:
- Skin: Cadian Fleshtone → Kislev Flesh
- Hair: Tallarn Sand → Zamesi Desert → Averland Sunset
Focus highlights on:
- Nose
- Cheeks
- Brow
Why this matters:
If the face reads well, the model reads well. Everything else supports this. See the images above for reference.
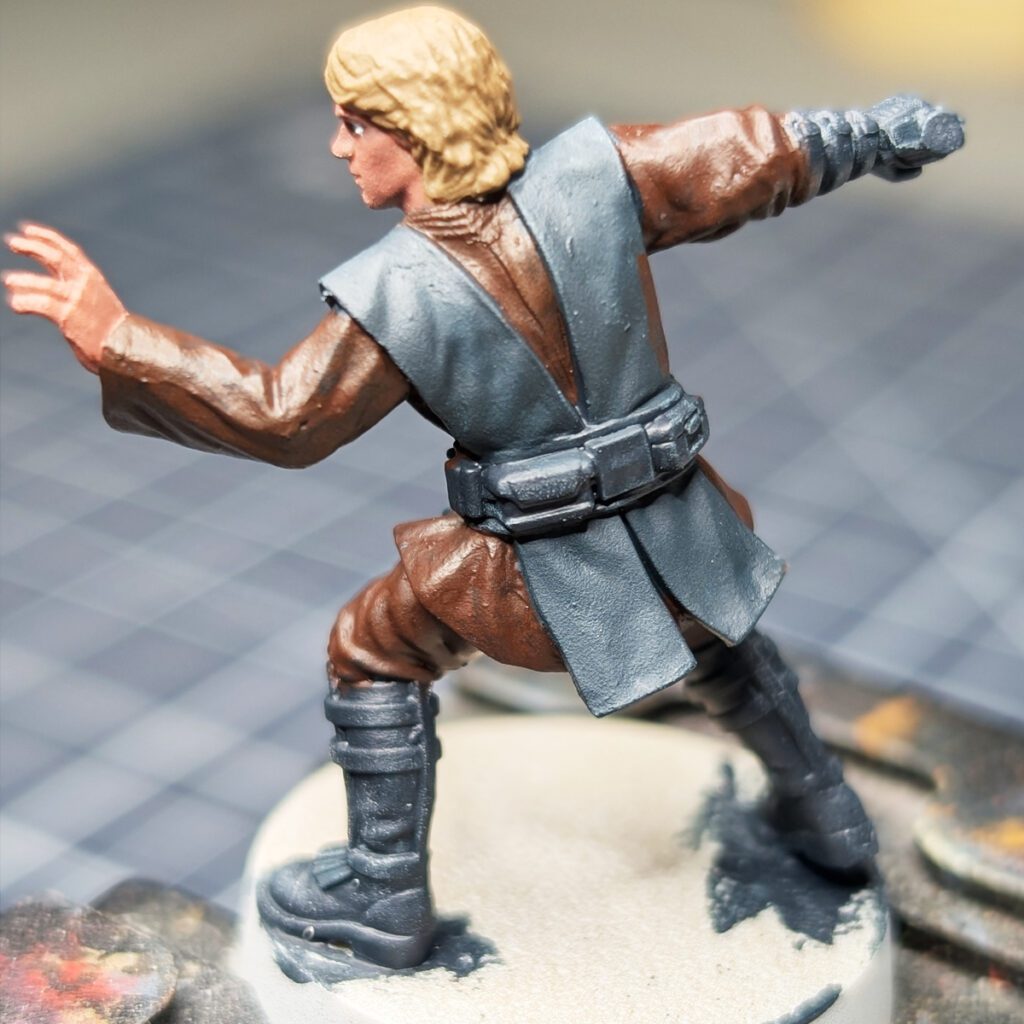
Step 5 — Building the OSL on the Vest
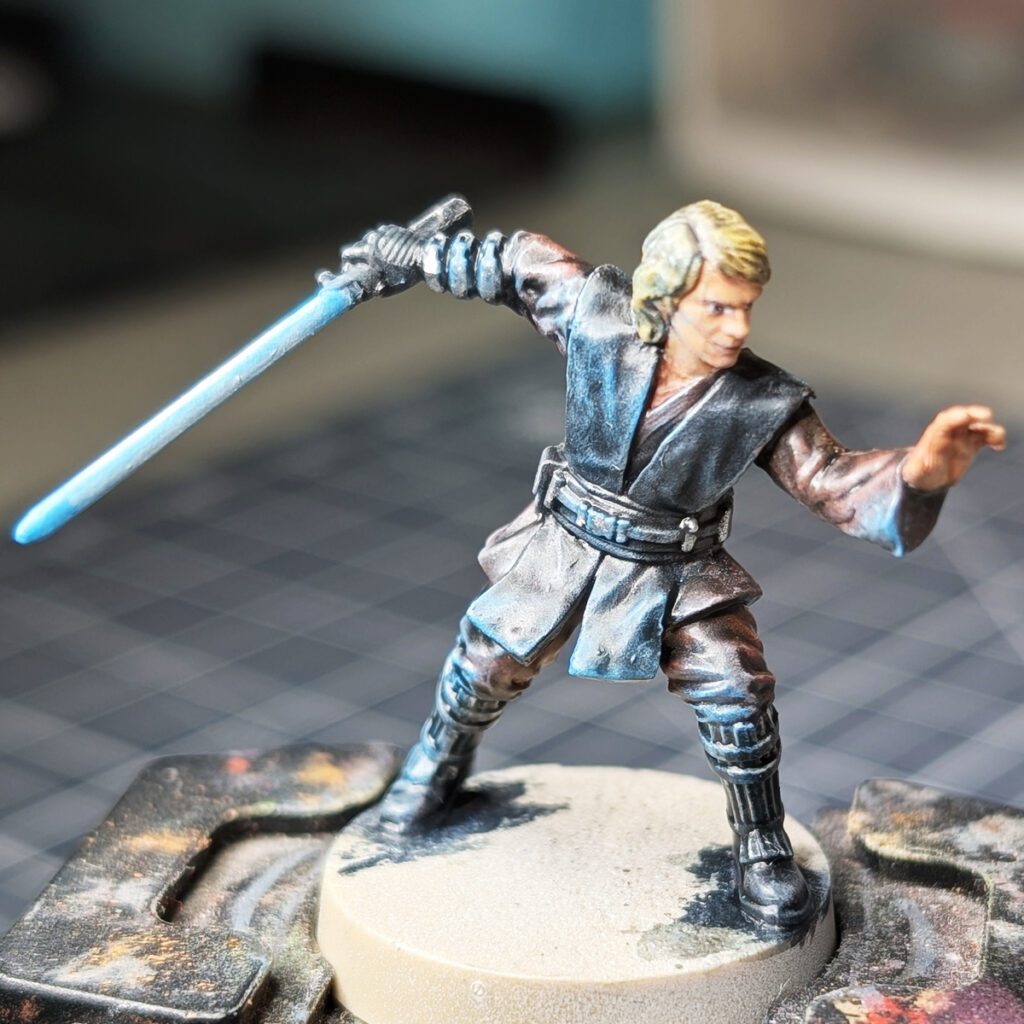
Start introducing the glow effect:
- Light drybrush of Teclis Blue
- Sharper highlights with Lothern Blue
Keep this subtle.
Key idea:
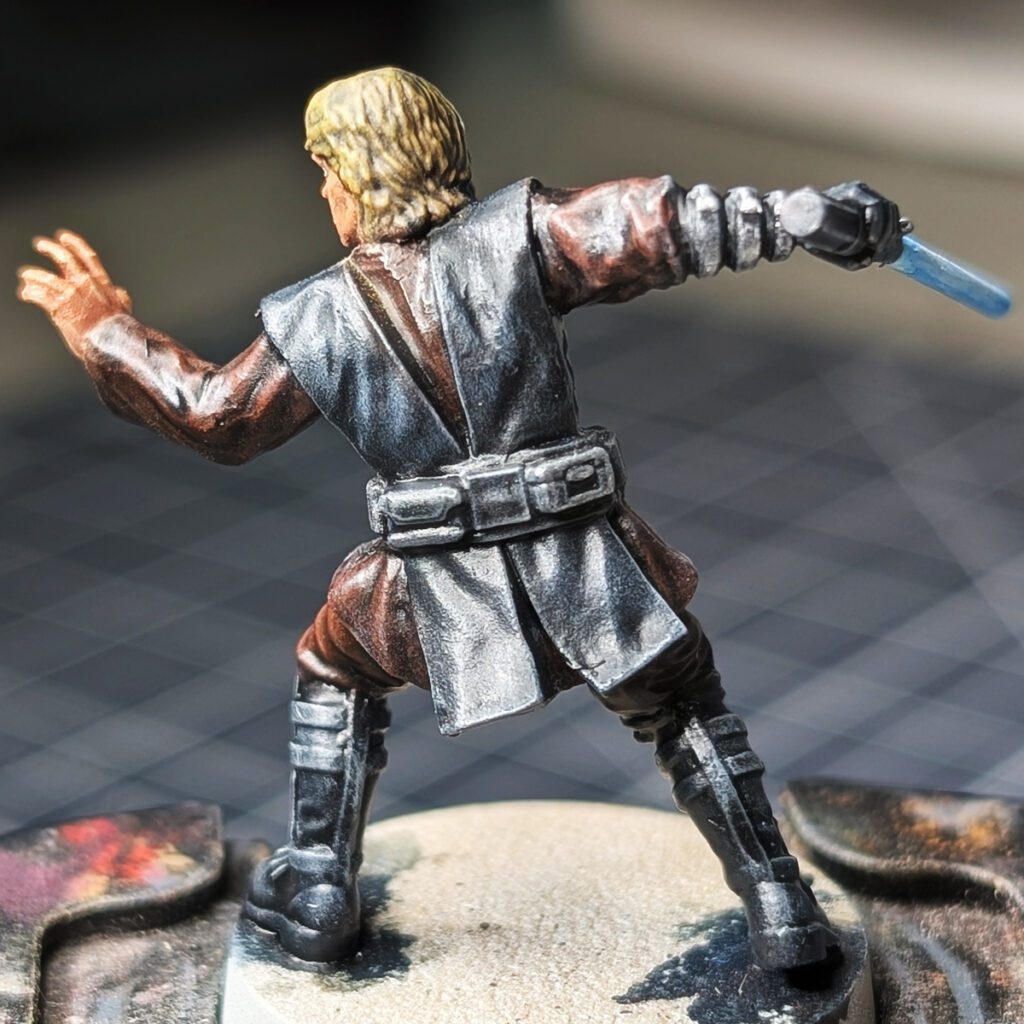
OSL works when it’s layered and restrained. If you try to force it all at once, it looks artificial. Notice the back of the model has no OSL from the lightsaber because the saber is to the front and side of Anakin. I tried to hit the point where the glow would hit the most. Even the sleeve of Anakin’s left hand may be a bit too strong because of the distance from the lightsaber blade.
Step 6 — Lightsaber (Controlled Brightness)
Build the blade in layers:
- Teclis Blue glaze
- Lothern Blue toward the center
- Corax White applied in layered lines:
- Full length
- 2/3 length (centered)
- 1/3 length (centered)
This creates a compressed, bright core.
Why this works:
You’re simulating light intensity, not just painting a bright color. See images above for reference.
Step 7 — Final Pass (Where the Model Becomes Finished)
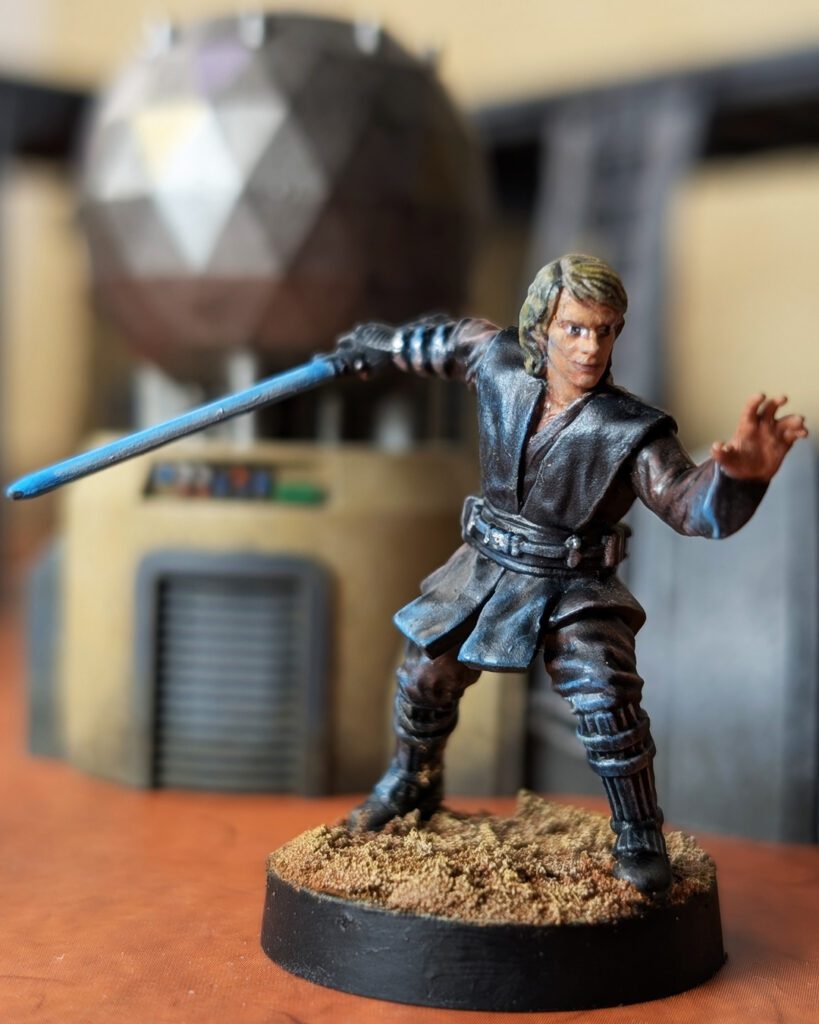
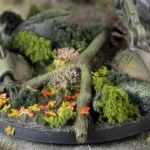
Most painters might call it quits here, but we still need to tie in some final highlights and a light glaze of contrast color paint to push the light and darkness and texture of materials. A simple base will suffice as well. I’ve made a Geonosis style base to match Padme in this case.
- Metallic accents: Runefang Steel or Stormhost Silver
- Unifying glaze: Black Templar + Contrast Medium (50/50)
- Base: texture → wash → drybrush
What this step does:
It ties everything together, softens transitions, and removes the “painted in parts” look.
For the Base:
- Vallejo Brown Earth texture paint (allow to dry thoroughly)
- Shade with Agrax Earthshade and Fuegan Orange (Cit) 50/50 mix (allow to dry thoroughly)
- Drybrush using Vallejo Model Color Iraqui Sands and Yellow Ochre
Final Thoughts
Anakin isn’t a complex model – but he rewards deliberate decisions.
The drybrush rebuild does most of the heavy lifting, but the model only comes together when you:
- refine the face
- control the glow
- and unify everything at the end
This model is a great opportunity to experiment with some OSL techniques and push contrast to bring out the details of this Jedi for the Galactic Republic.
Continue Your Painting Journey
Adopt the Creator Mindset
Finishing character models is one of the fastest ways to build confidence and improve your painting skills.
Paint More Star Wars Legion Miniatures
Build your collection with additional Star Wars Legion tutorials, color recipes, and project guides.