Getting Started: How to Paint the Knight of Shrouds on Ethereal Steed
Learning how to paint the Knight of Shrouds on Ethereal Steed can be a rewarding project for Warhammer enthusiasts, as this model’s eerie details and ghostly silhouette make it a stunning addition to any Nighthaunt army. In this guide, we’ll walk through each step needed to capture the supernatural essence of the Knight of Shrouds, from selecting the right color palette to mastering ethereal highlights. Follow along to bring this haunting commander to life on the battlefield and make it the perfect centerpiece for your undead forces.
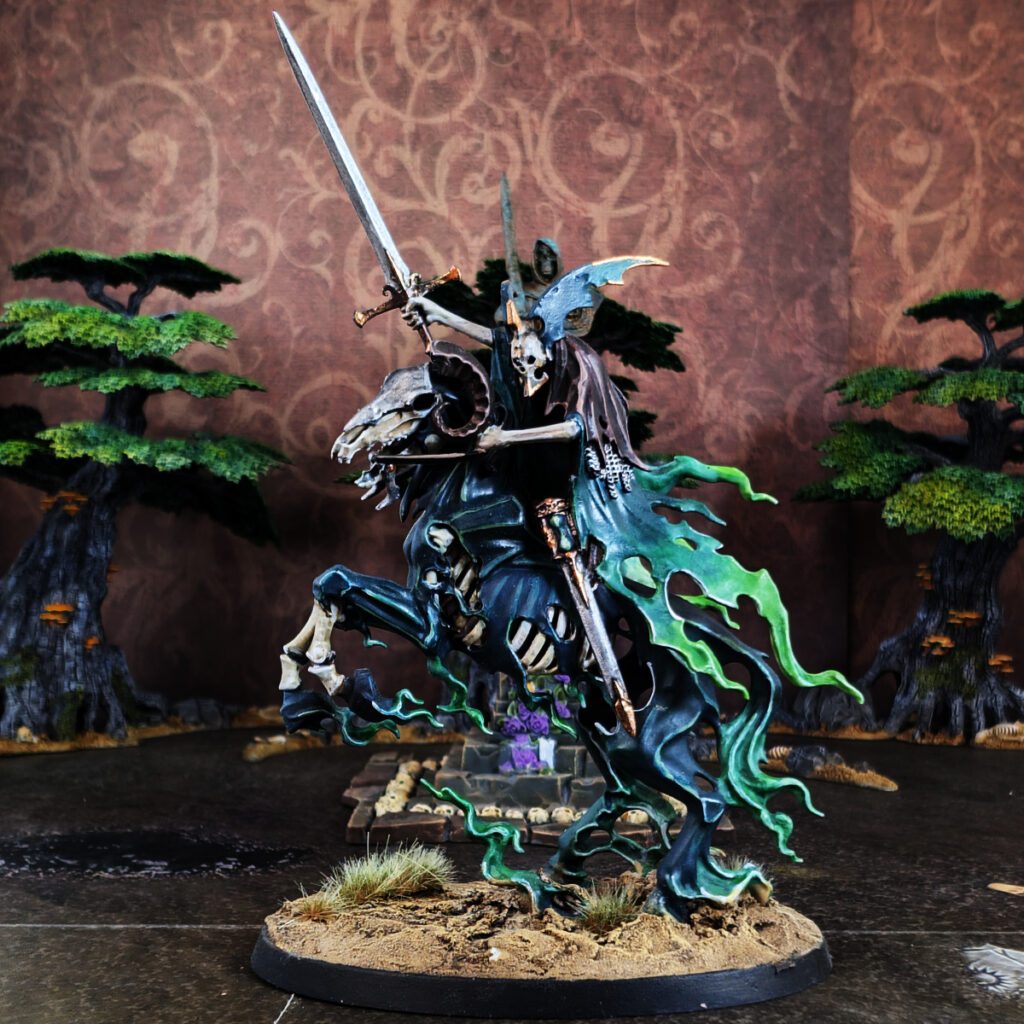
Battlefield Role and Strategy for the Knight of Shrouds on Ethereal Steed
The Knight of Shrouds on Ethereal Steed excels as a fast-moving support piece that can both deal damage and sustain itself, making it an ideal leader for aggressive or frontline Nighthaunt units. Strategically, it’s often best to position the Knight near units like Grimghast Reapers or Chainrasps, maximizing the benefit of the reroll aura. Its speed also lets it capitalize on opportunities to strike at enemy flanks, contest objectives, or reinforce vulnerable areas quickly. By balancing its roles as a support and melee presence, the Knight of Shrouds on Ethereal Steed can help anchor your army and apply pressure where it’s needed most.
Why I Painted the Knight of Shrouds on Ethereal Steed
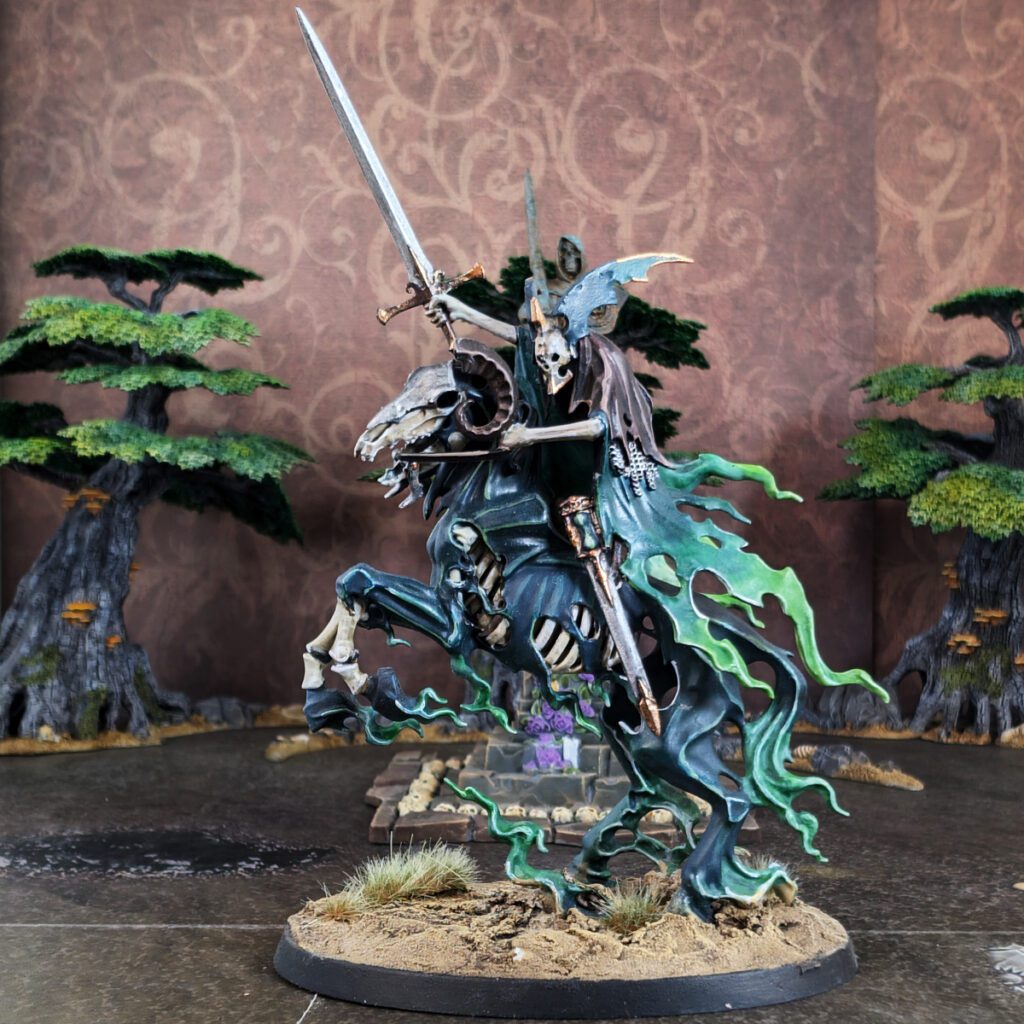
Peter had taken on a huge commission project, and I thought he could use some help. This guy looked super cool, and I offered to paint him up.
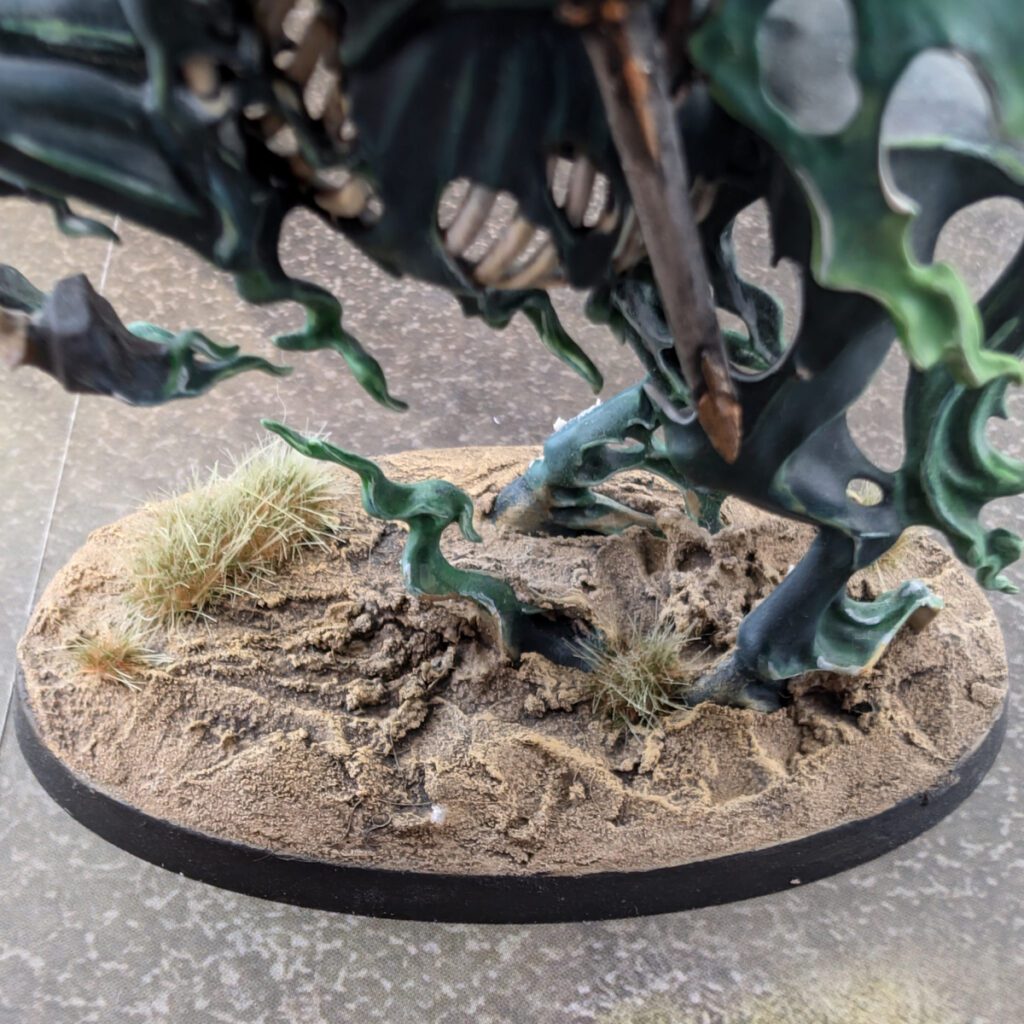
Of course, Peter did the basing in his usual, awesome fashion!
No intricate story of passion here. I wanted to help, and this guy looked cool. I wanted to paint him!
The Painting Process for the Knight of Shrouds on Ethereal Steed
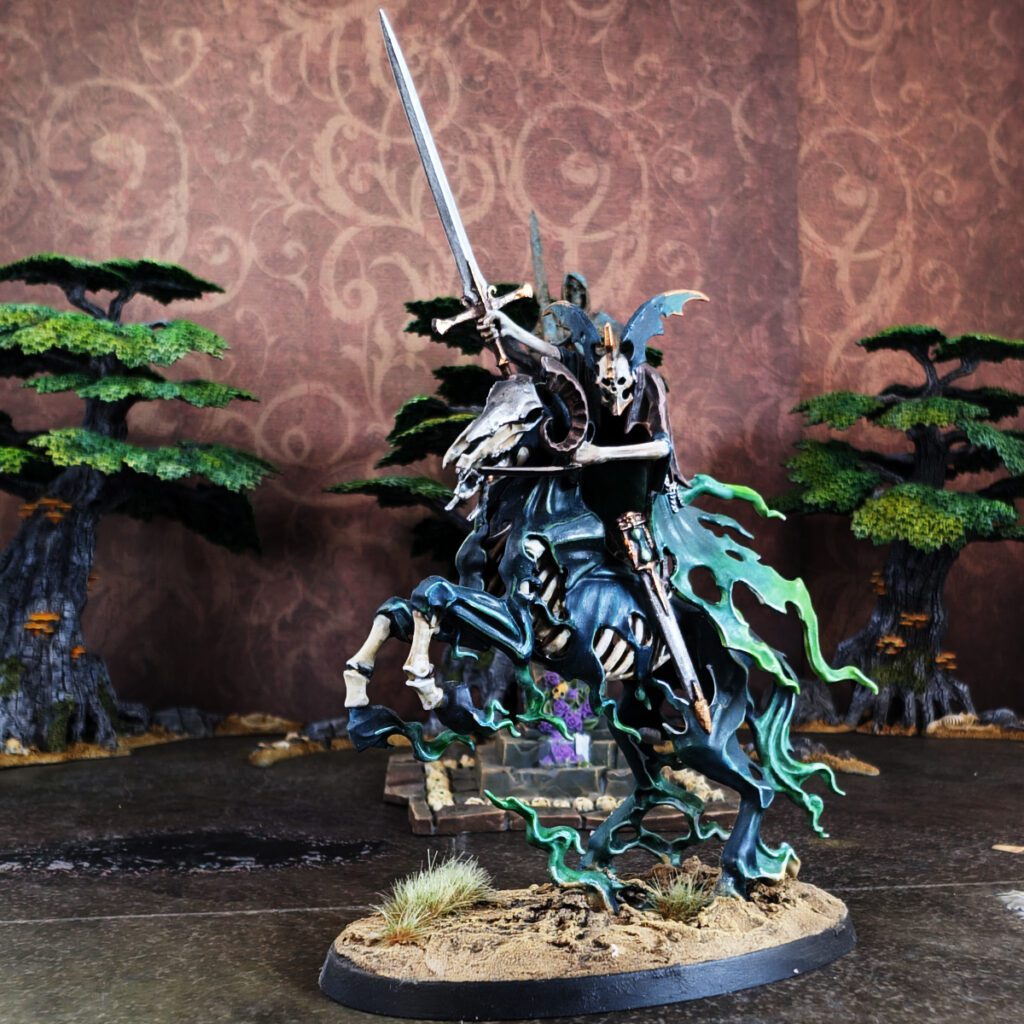
Painting the Knight of Shrouds on Ethereal Steed presented a specific challenge because he had to match the rest of the army being painted for the commission job.
Priming the Knight of Shrouds on Ethereal Steed
I primed the Knight of Shrouds on Ethereal Steed with Chaos Black all over.
Paint Colors for the Spectral Steed
- Incubi Darkness
- Coelia Greenshade
- Kabalite Green
- Sybarite Green
- Pallid Wych Flesh
I basecoated all areas of the mount that were going to be green with Incubi Darkness. I excluded any parts of the mount that were bones (like the ribs) and the front legs, which I wanted to paint up like bone as well.
Next, a good layer of Coelia Greenshade helps to darken the recesses. Incubi is such an interesting color that if you shade it with a Nuln Oil it’ll turn black, but if you shade it with Coelia Greenshade it brings out more green. The same is true with highlights – green highlights trick the eye into seeing Incubi Darkness as green, whereas blue highights trick the eye into seeing it as more blue. The illusion also works with the base color Stegadon Scale Armor.
Next, layer some of the more raided areas with Kabalite Green. I almost treated this less like layering and more of a base coat over where I was going to put brighter highlights.
Highlight the highest of raised areas and edges with Sybarite Green. It’ll scale the color up nicely from Incubi Darkness, to Kabalite Green, up to Sybarite.
And finally, hit only the sharpest of edge and corners with a little bit of Pallid Wych Flesh to turn up the contrast and make the horse’s details pop.
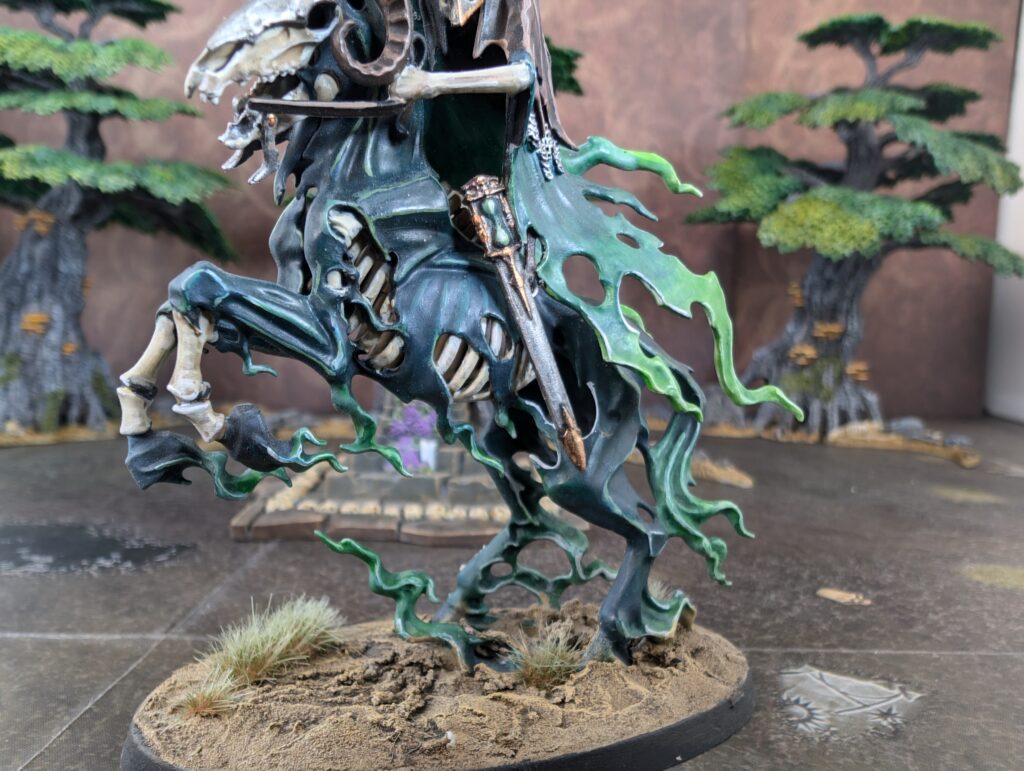
Painting the Knight’s Shroud
- Waaagh! Flesh
- Coelia Greenshade (optional)
- Warboss Green
- Skarsnik Green
- Pallid Wych Flesh
- Waywatcher Green (Glaze)
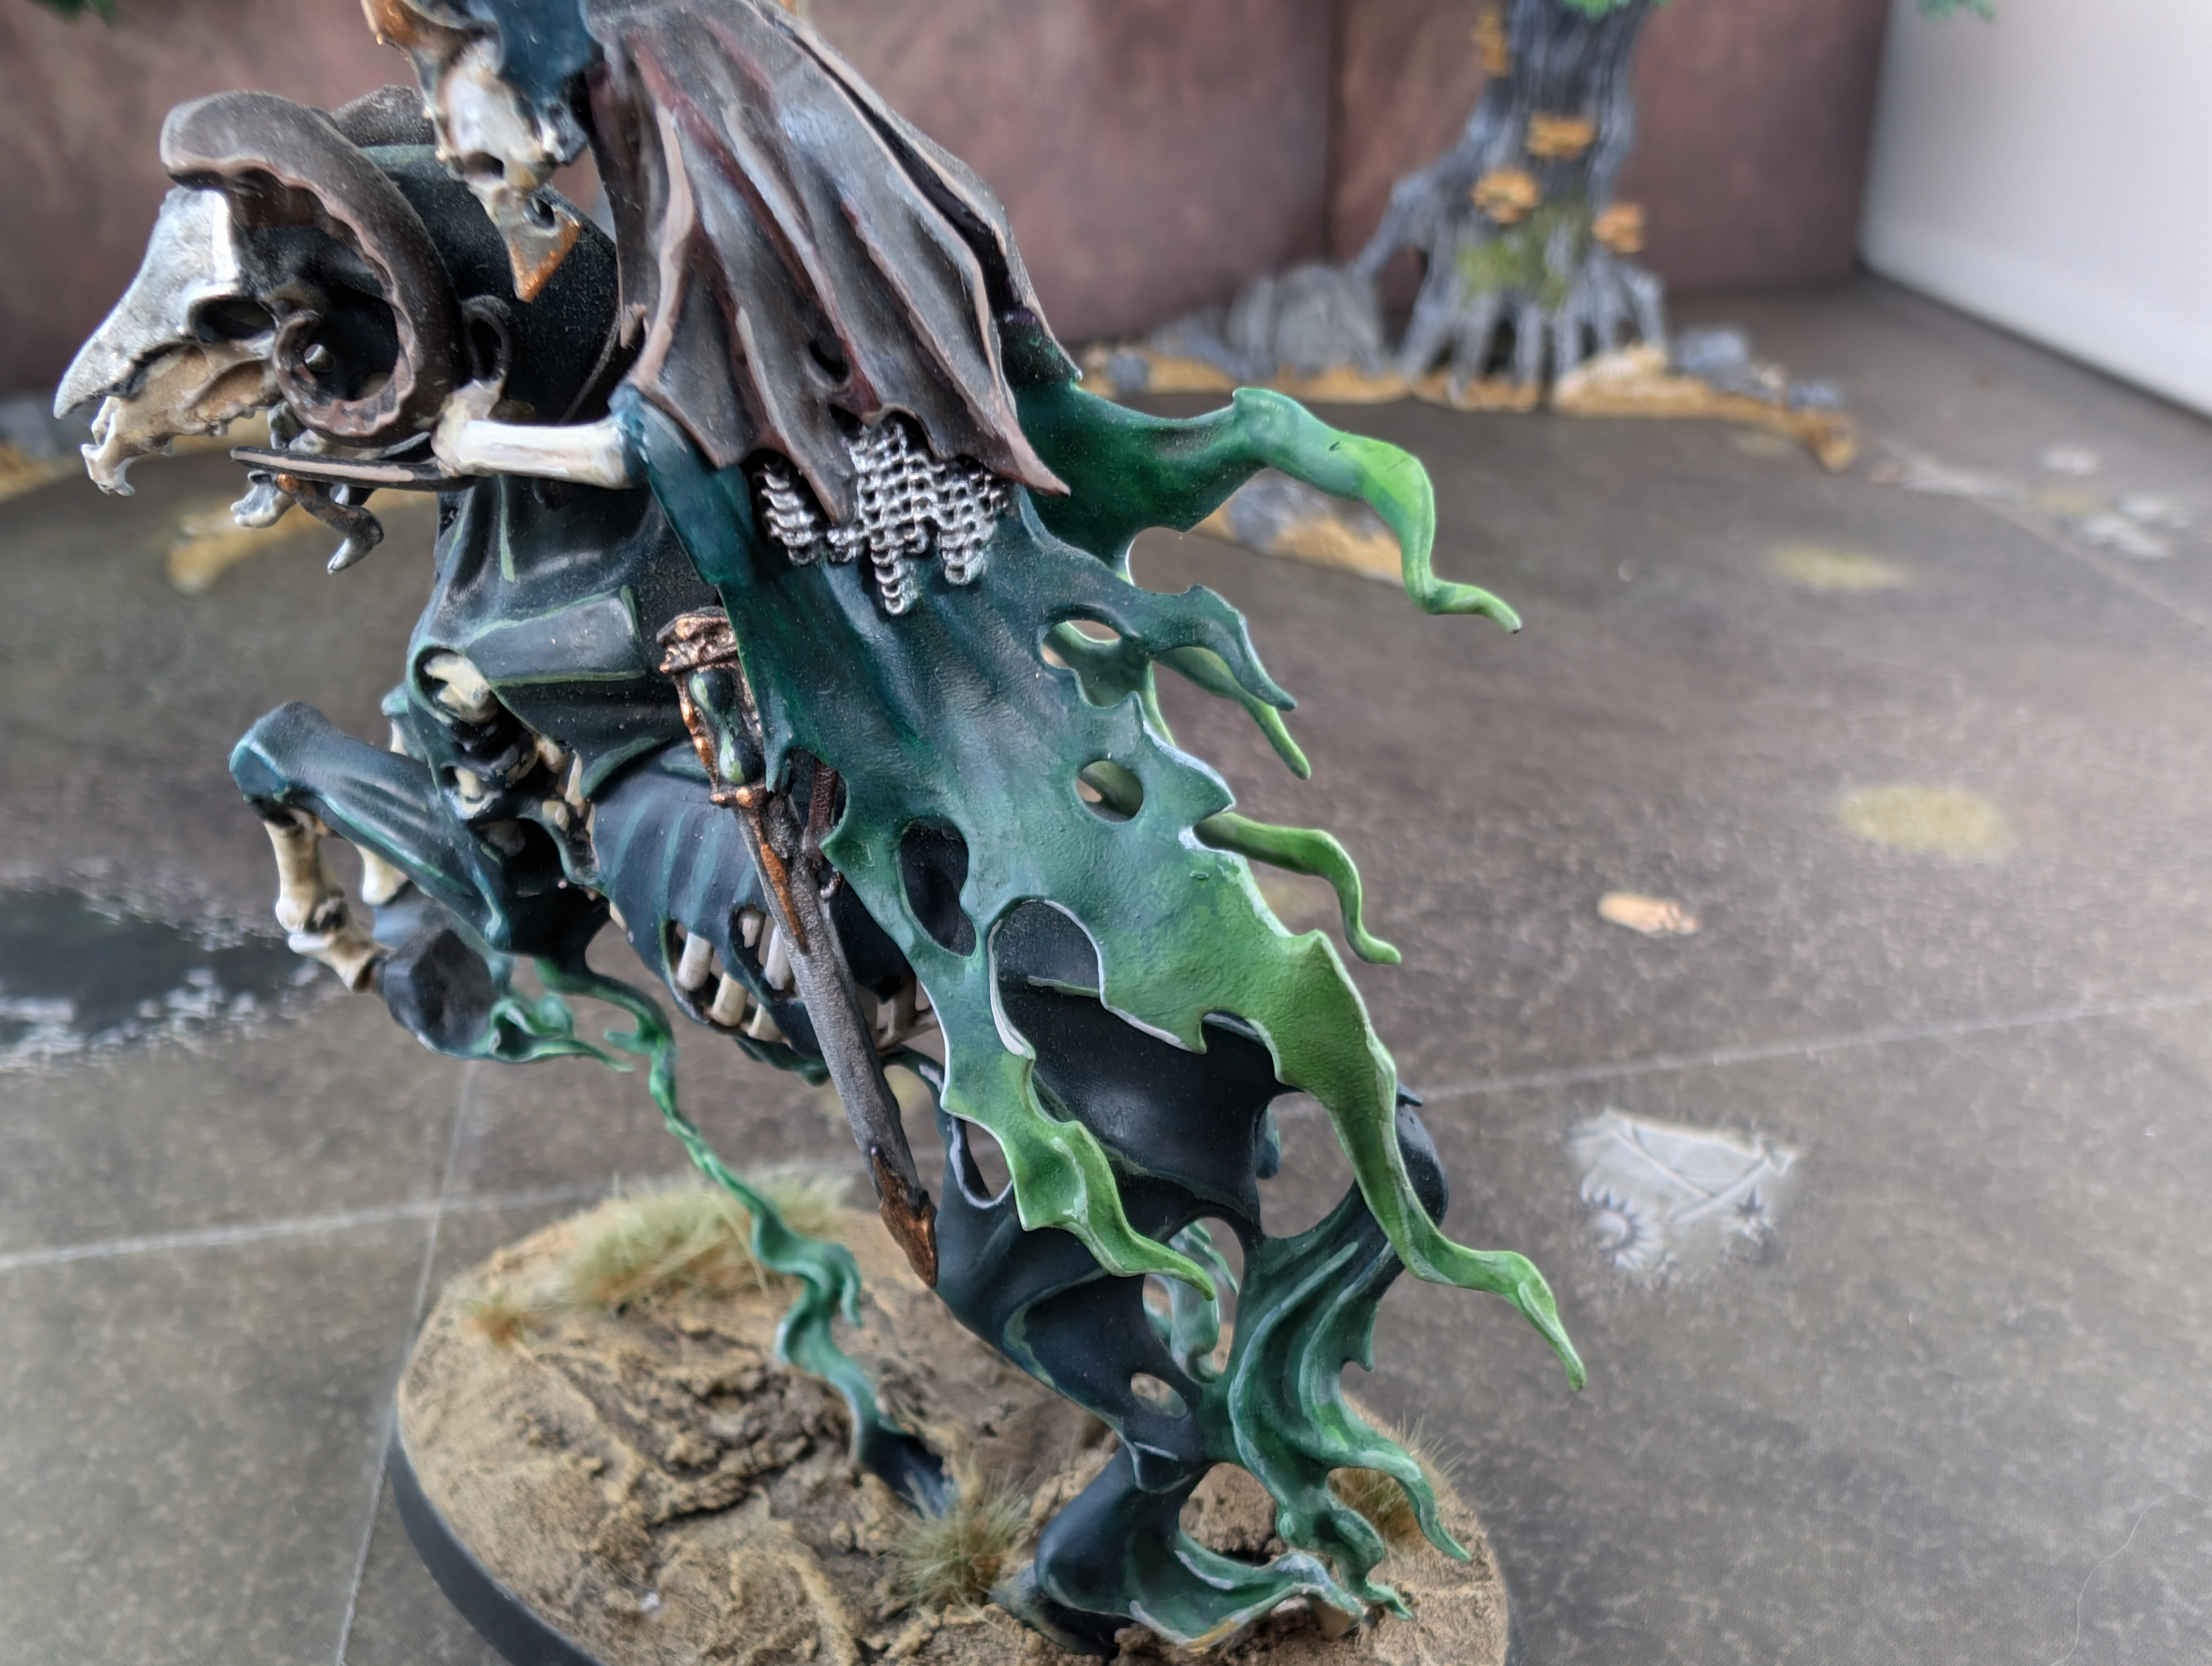
The Knight’s shroud uses a wet blending method. Start by baseboating the entire shroud with Waaagh! Flesh. When you’re ready to start painting the Warboss Green as the mid-layer, freshen up the Waaagh! Flesh with a thin layer about halfway down the main part of the shroud. Immediately, load your brush with Warboss Green and begin painting from the bottom of the shroud, working your way upward so your brushstrokes blend into the still-wet Waaagh! Flesh. You may want to repeat the process around the blend area and move the paint around again to get the blend just right.
Wet blending is a tricky technique. You want to work the paint enough to get a nice color blend, but you don’t want to work the paint so much that the color gets muddied. If you’re new, it takes practice to get it right.
Next, using the same technique, we’re going to wet blend Skarsnik Green into the Warboss Green for the bottom third of the shroud – the ragged bits.
When everything is dry, use Pallid Wych Flesh to highlight the edges and inside the holes of the shroud.
And finally, and this is the cool part – add a little Waywatcher Green glaze over some of the shroud and select spots to add that yellow-green spectral look. It’ll add that ghostly ectoplasmic look.
Painting the Cape, Horns, and Reigns
- Rhinox Hide
- Agrax Earthshade
- Gorthor Brown
- Baneblade Brown (optional)
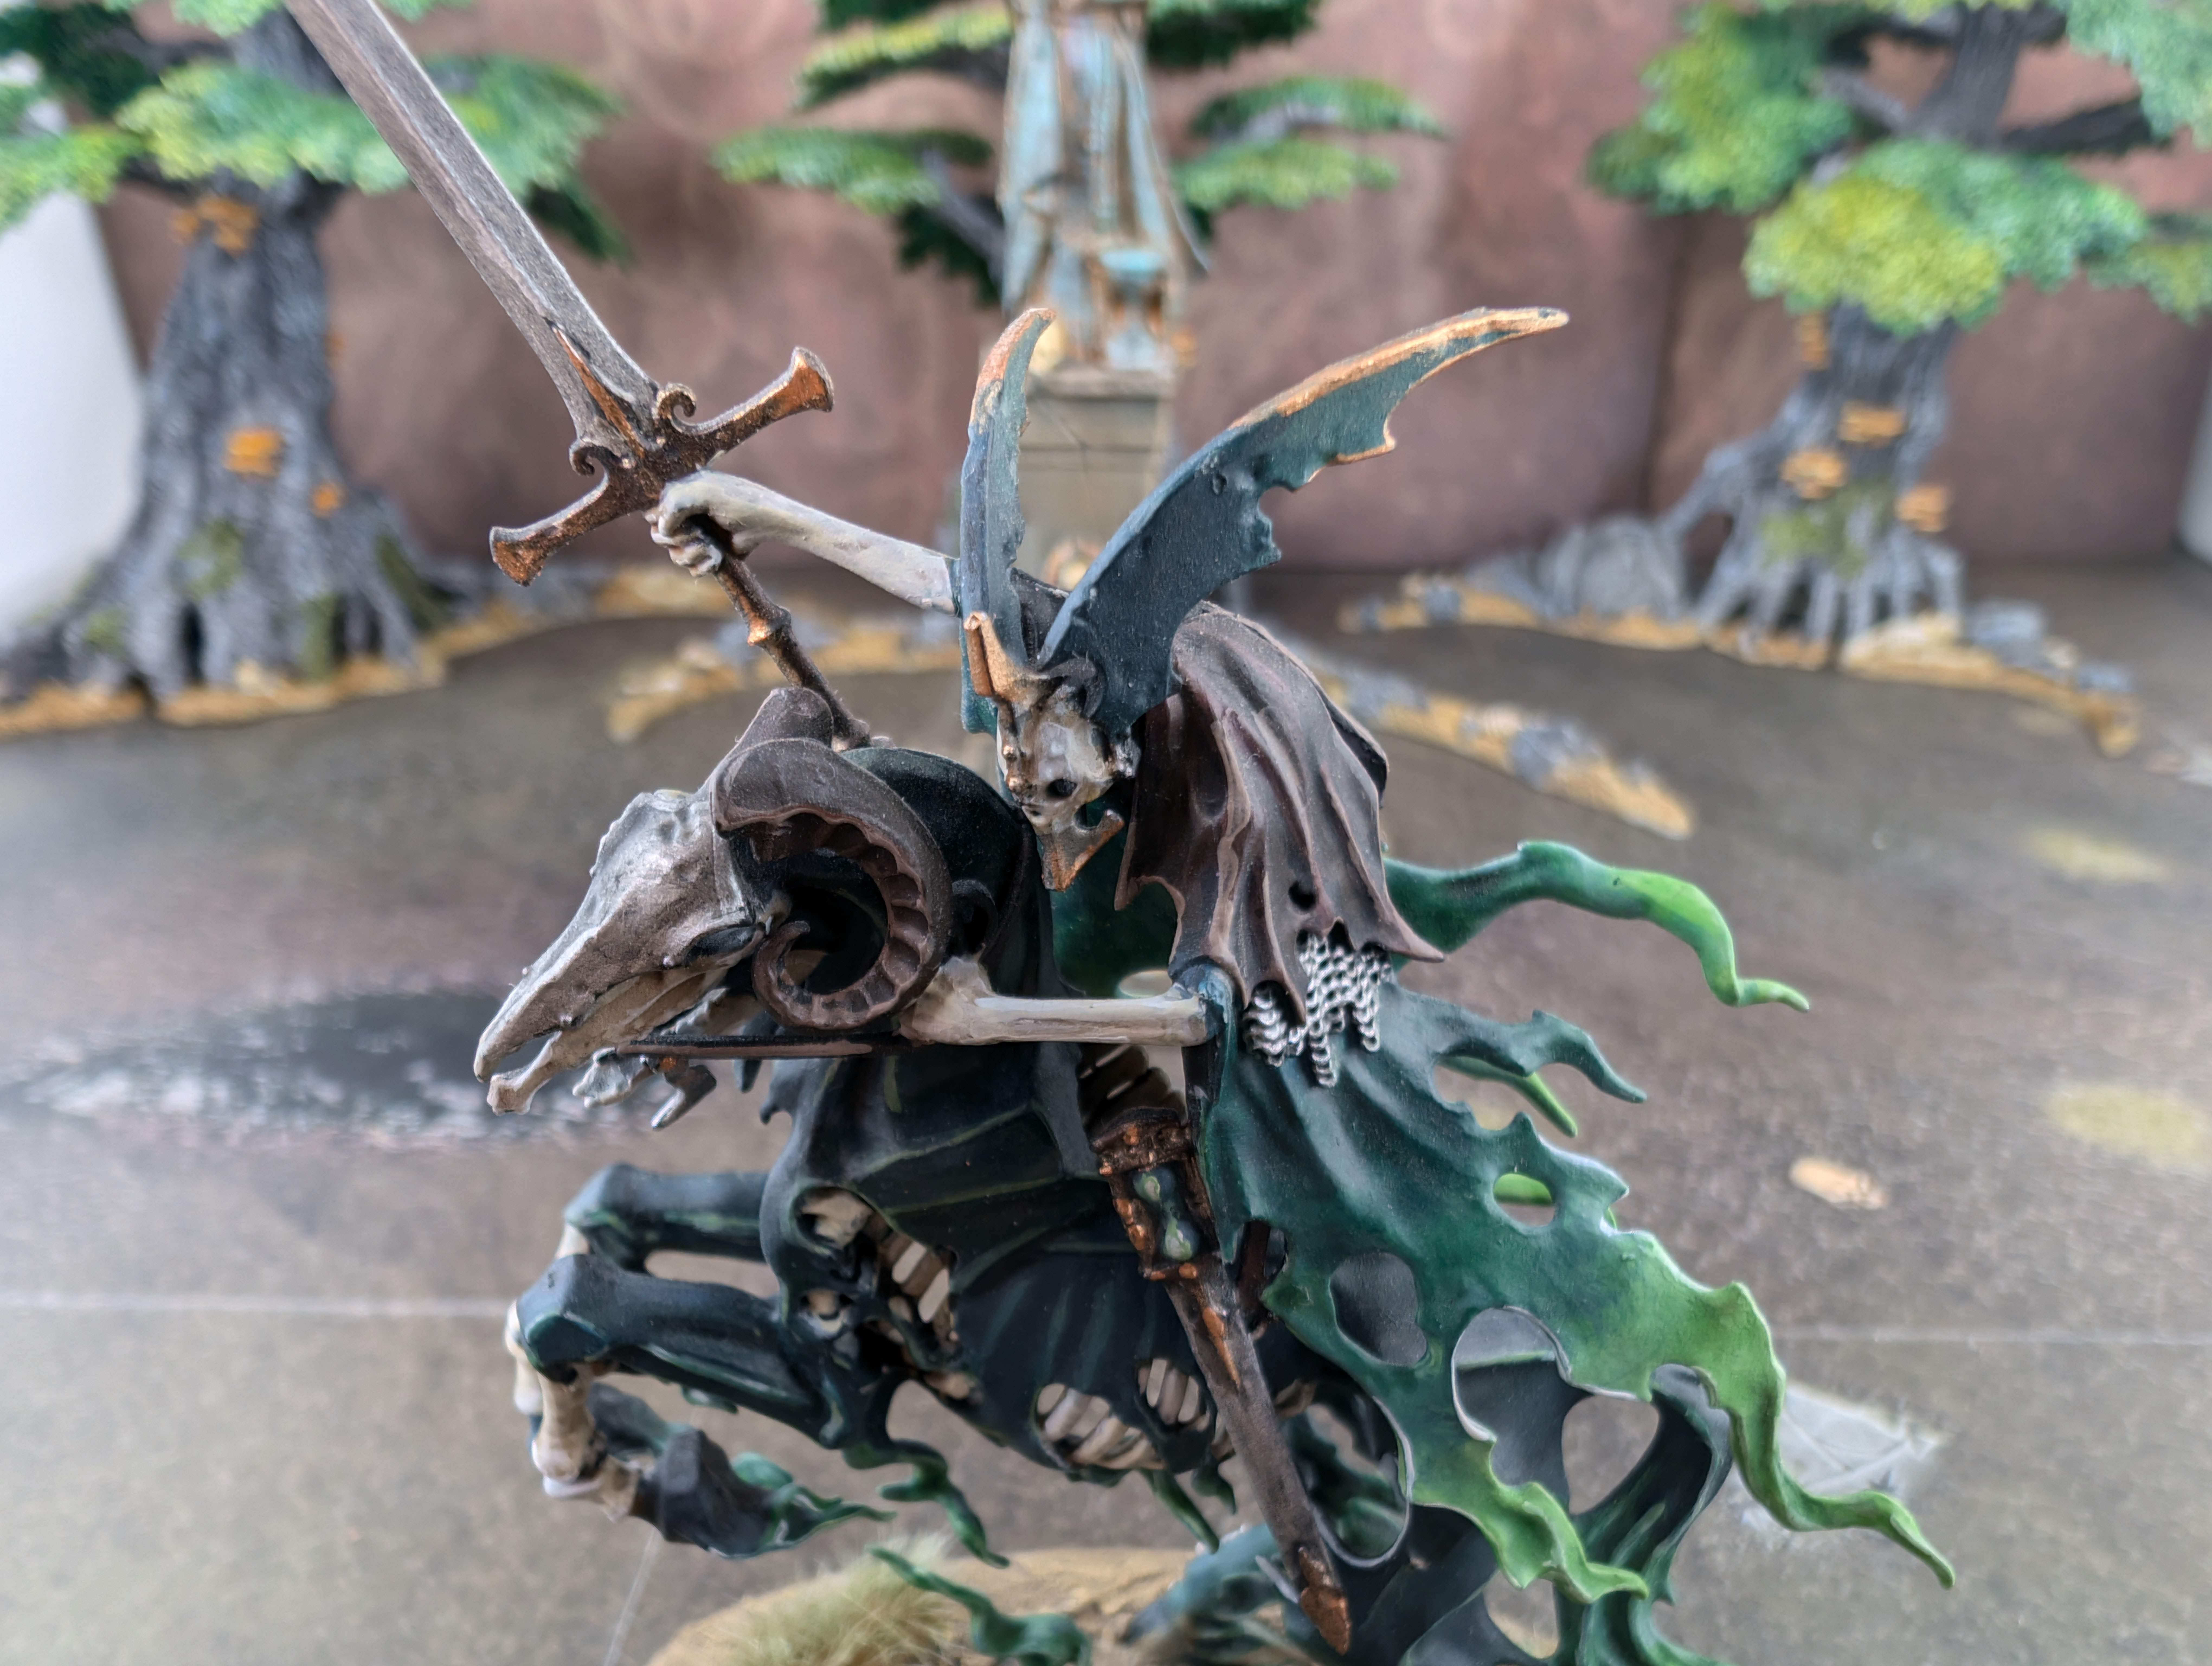
Basecoat the cape and the horns with Rhinox Hide.
Shade them with Agrax Earthshade.
Hit the edges with a simple highlight of Gorthor Brown. If you want, you can take an extra step and layers the horns and cape with the Gorthor Brown and then highlight with Baneblade Brown, which is just a bit lighter color.
I noticed as I was painting the horse’s reigns. Let’s hit those with a nice leather color while we’re here.
Painting the Silver Metals
- Leadbelcher
- Nuln Oil
- Ironbreaker
A simple base-shade-layer process. Base the metal parts with Leadbelcher. This will include the sword, the horse’s helm, the Knight’s chainmail and helm, and the main part of the sheath.
Shade these parts using Nuln Oil.
We’re going to keep with a dirty, worn kind of look for these parts, so instead of layering back up from shading I went ahead and just highlighted these parts with some Ironbreaker. I didn’t want to go too bright with the highlights, but if you do, you can use Runefang Steel or Stormhost Silver to really push the brightness.
Painting the Brass Metal
- Balthasar Gold
- Nuln Oil
- Hashnut Copper
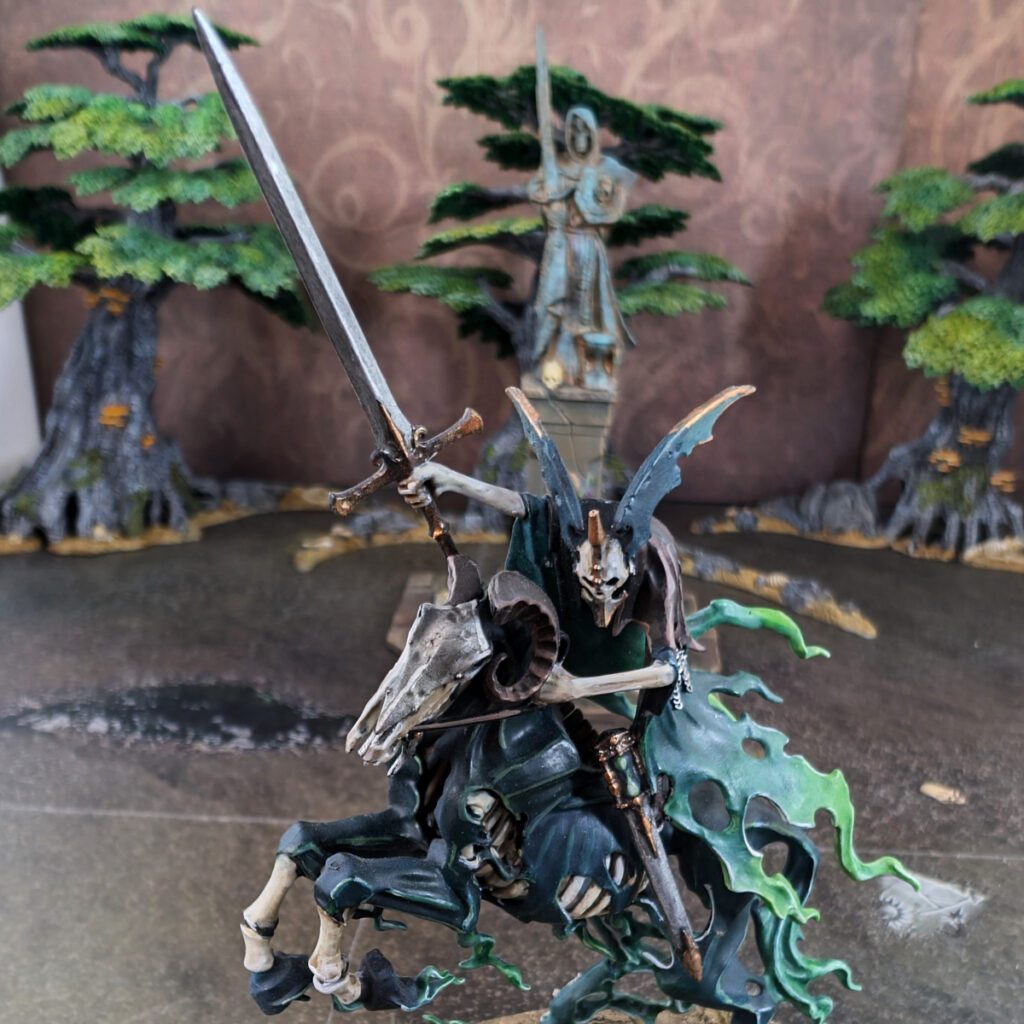
Following the same method as the silver metals – base in Balthasar Gold, Shade with Nuln Oil, and finally highlight with touches of Hashnut Copper.
The Hashnut Copper can be a little strong, so less is more. You’ll see that the copper adds a tarnished look the brass metal.
Areas to paint include the sword hilt, parts of the sheath, and accessories on the Knight’s helm. I also touched the wings of the Knight’s helm with a little copper highlight just to direct the eye and add interest to the model.
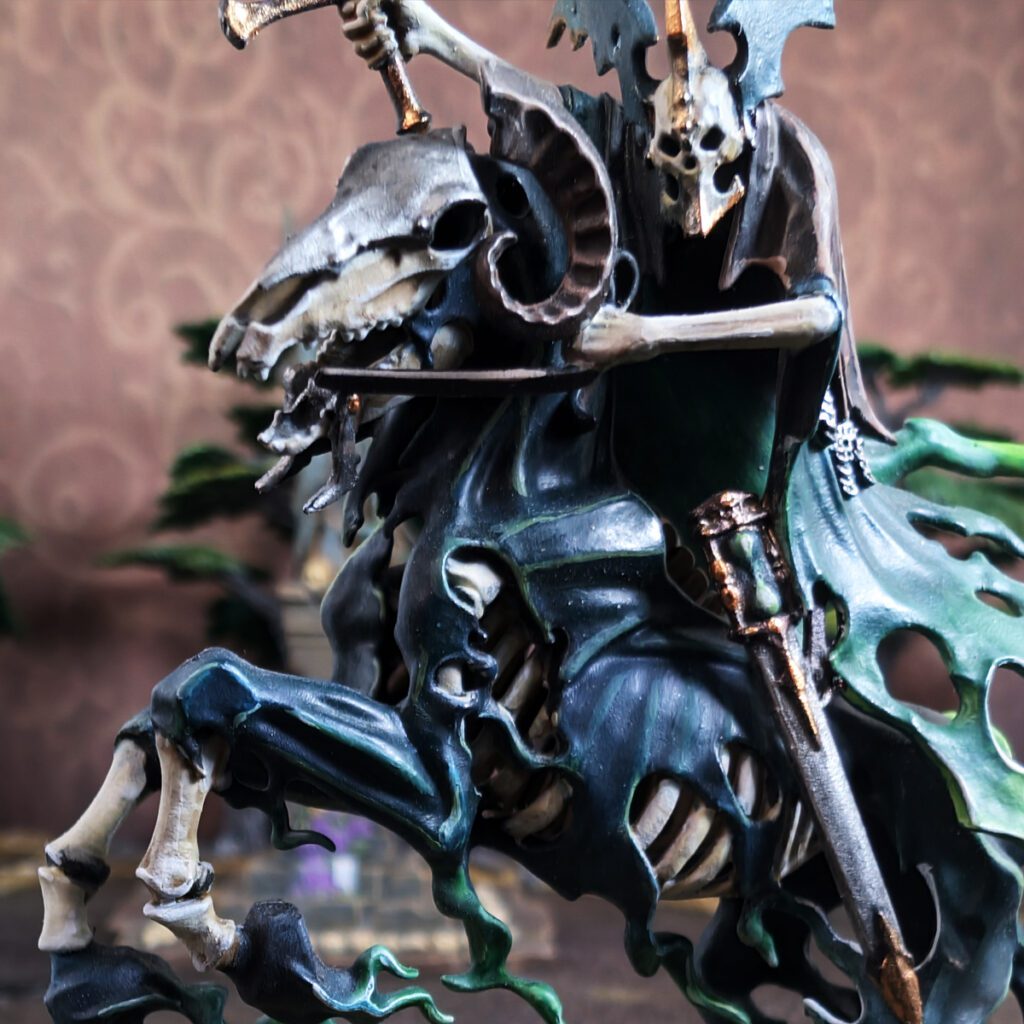
Painting the Bones
- Rakarth Flesh
- Agrax Earthshade
- Pallid Wych Flesh
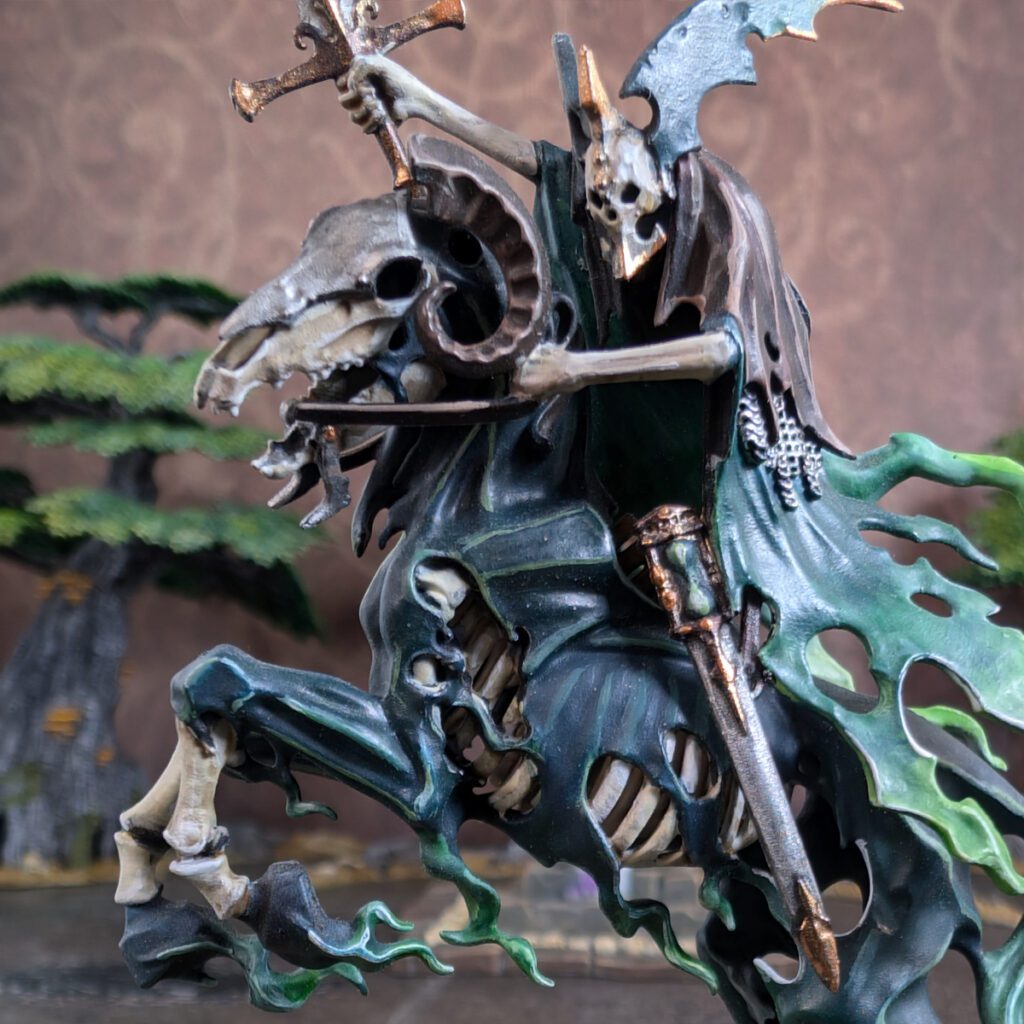
Basecoat the bones with Rakarth Flesh.
Highlight with Agrax Earthshade.
Highlight with Pallid Wych Flesh. If you can be neat about it, drybrushing your highlights works well for bones because it can give them that dry and dusty look, which is a completely appropriate way to texturize this feature.
The Knight’s hands, the horse’s skull, the horse’s legs, and don’t miss those ribs down there!
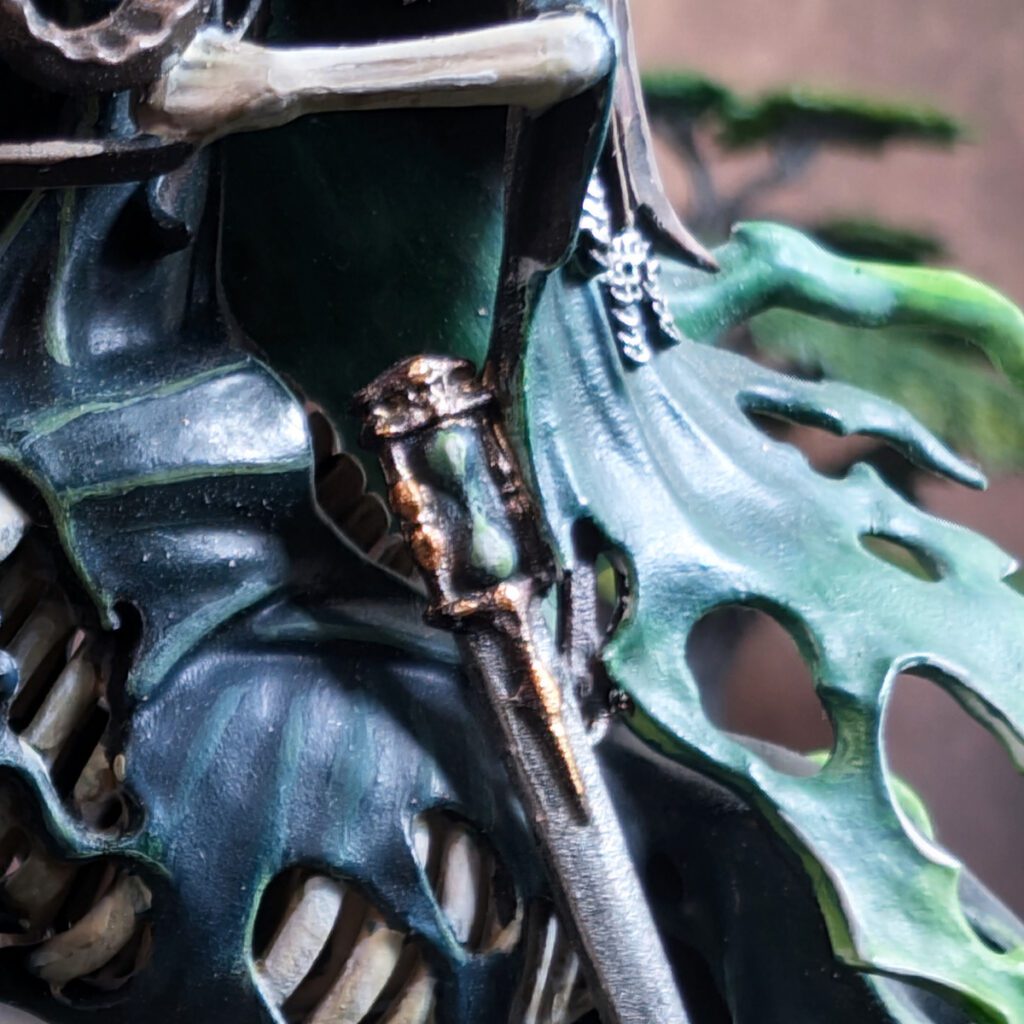
Painting the Hourglass
- Incubi Darkness
- Nuln Oil
- Kabalite Green
- Sybarite Green
Basecoat the hourglass with Incubi Darkness.
I shaded with Nuln Oil instead of Coellia Greenshade because I really want to push the contrast here and make that hourglass stand out.
Layer the hourglass part (the round parts, not the frame) with Kabalite Green.
And Finally, touch the round parts of the hourglass with Sybarite Green, leaving some of the Kabalite Green showing. This gives the illusion of light, of spectral material, and of substance within the hourglass.
I thought this was one of the coolest thematic features of this model!
Basing the Knight of Shrouds
- Spackle or Wood Filler
- Armageddon Dunes
- Zandri Dust
- Agrax Earthshade
- Ushabti Bone
- Screaming Skull
For the base, spackle or wood filler makes a great, inexpensive texturizer for the ground. You can use a variety of tools to spread the filler and create any patterns or textures in your terrain. Drying time for this may be a few hours.
While the filler is great for mass and substance, the true texture comes from Armageddon Dunes. The texture is also to scale, which is an interesting concept. Spread your texture paint all over when your filler is dry, and again, drying time for this may be several hours.
Basecoat everything with Zandri Dust, and shade it with Agrax Earthshade. Let this dry completely because the shade can soak in and reactivate your texture paint.
Drybrush with Ushabti Bone, and then follow up with a lighter drybrush of Screaming Skull.
Bringing the Knight of Shrouds to Life on the Battlefield
Painting the Knight of Shrouds is more than just adding another figure to your Nighthaunt army; it’s an opportunity to create a miniature that embodies the eerie, spectral qualities of this unique model. By carefully layering ghostly shades, adding depth to the armor, and capturing the haunting details, your Knight of Shrouds will stand as an impressive centerpiece in any collection. With each brushstroke, you bring this spirit-bound knight closer to the chilling presence it’s meant to convey on the battlefield.


No responses yet