Disclaimer: This post contains affiliate links. As an Amazon Associate, I earn from qualifying purchases at no extra cost to you. [Learn More]
Before a brush ever touches a model, there’s an essential step that decides how smooth or frustrating your painting project will be.
Planning.
Not just choosing colors, but comprehensively understanding your vision of what the model needs to convey.
If you’ve already worked through How to Choose Colors When Painting Miniatures and From Theory to Practice – Applying Color Choices with Purpose, then you know how to build a color scheme. This step is about applying that thinking directly to the sculpt in front of you.
Breaking the Model Down
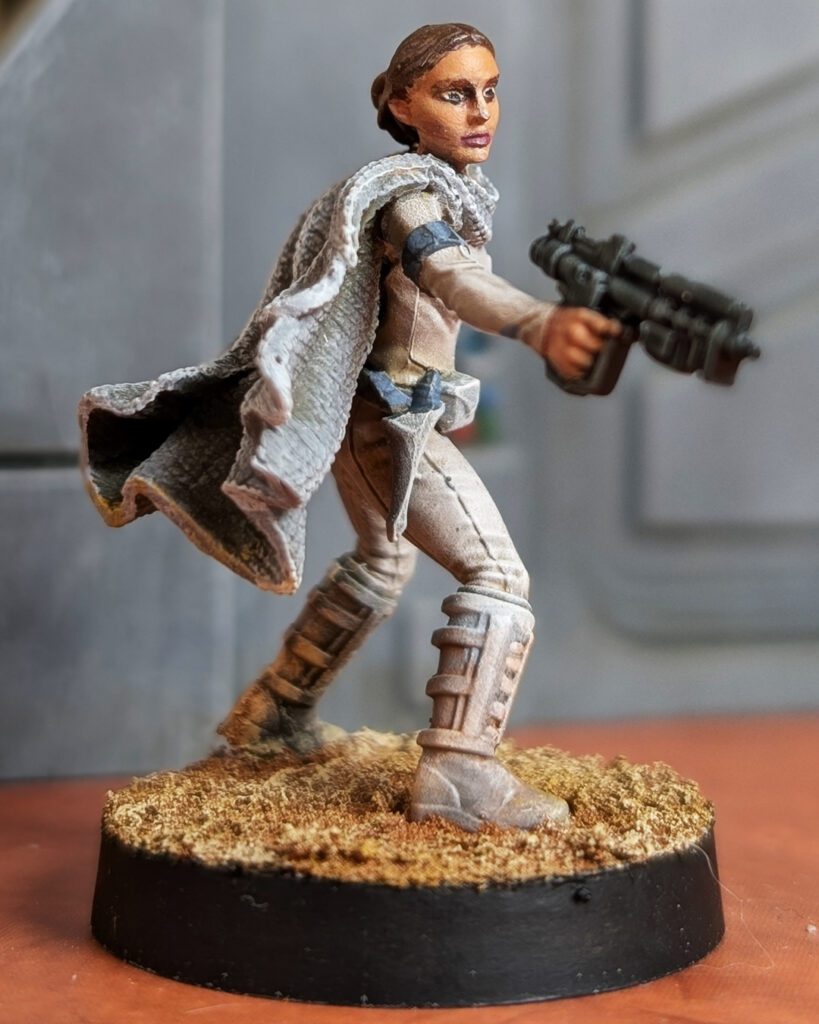
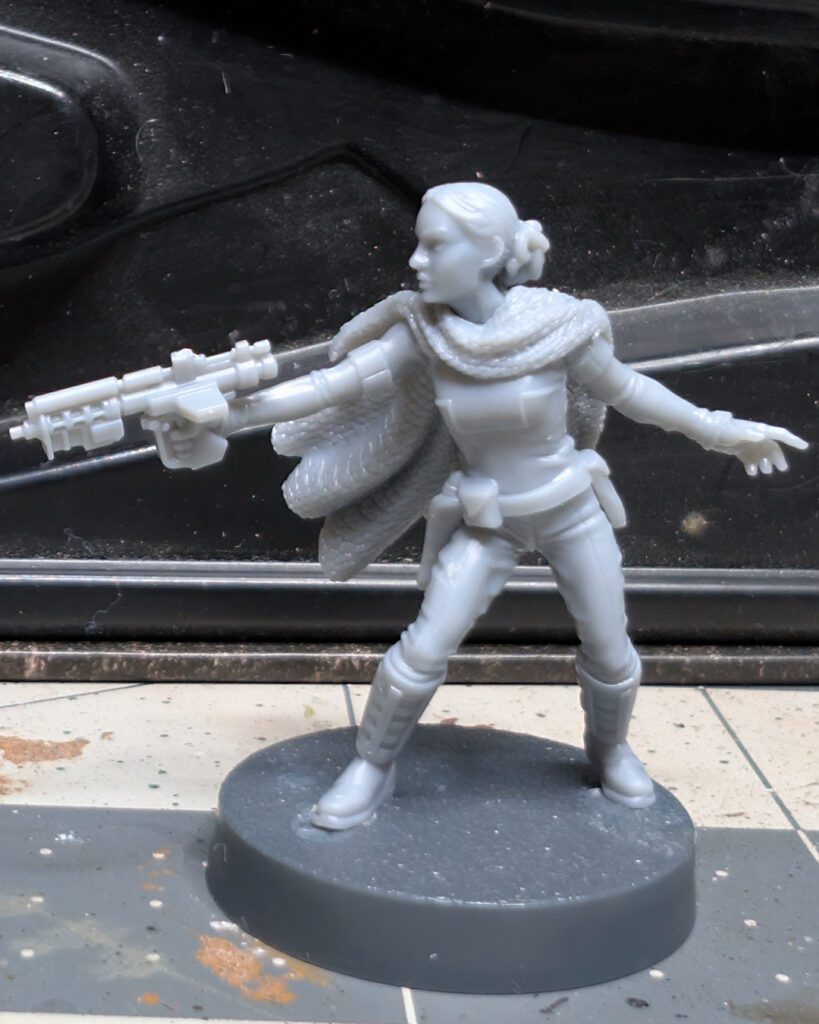
Start by identifying the distinct elements of the model. On our example of Padme from Star Wars Legion, we have:
- Skin / face
- Suit panels
- Belt, boots, and cloak
- Hair
- Weapons and accessories
From there, group them by shared color relationships.
For Padmé, that naturally breaks into a few clusters:
- Warm neutrals (skin, hair)
- Off-whites (main suit)
- Muted greys (belt, boots, cloak)
- Cool accents (weapon and armbands)
This does two things immediately. It keeps the palette controlled, and it allows you to reuse paint mixes across the model. That reuse is where a lot of visual cohesion comes from—it ties everything together without needing to think about it later.
Planning the Order of Operations
Once the colors are mapped out, the next decision is how you’re going to move through the model. There isn’t a single correct order, but there are a few reliable approaches:
- Inside-out – Start with recessed or hard-to-reach areas and work outward
- Messy-first – Get large or uncontrolled techniques done early
- Detail-last – Save precision work until the end, when it’s least likely to be disturbed
Each approach solves a different problem. The key is choosing one deliberately based on the model in front of you. With Padmé, I didn’t take the safest route. I painted the face first. I think at the time I was feeling confident and wanted to get the difficult part out of the way first so that the rest of the painting project was a breeze.
Painting the Face First
The eyes were done using a method I picked up from Sorastro. If you’ve never seen his painting I strongly recommend checking him out!:
Paint the eyes white
Dot in the pupils
Clean up the shape by outlining with a darkened Bugman’s Glow (darken with a little black)
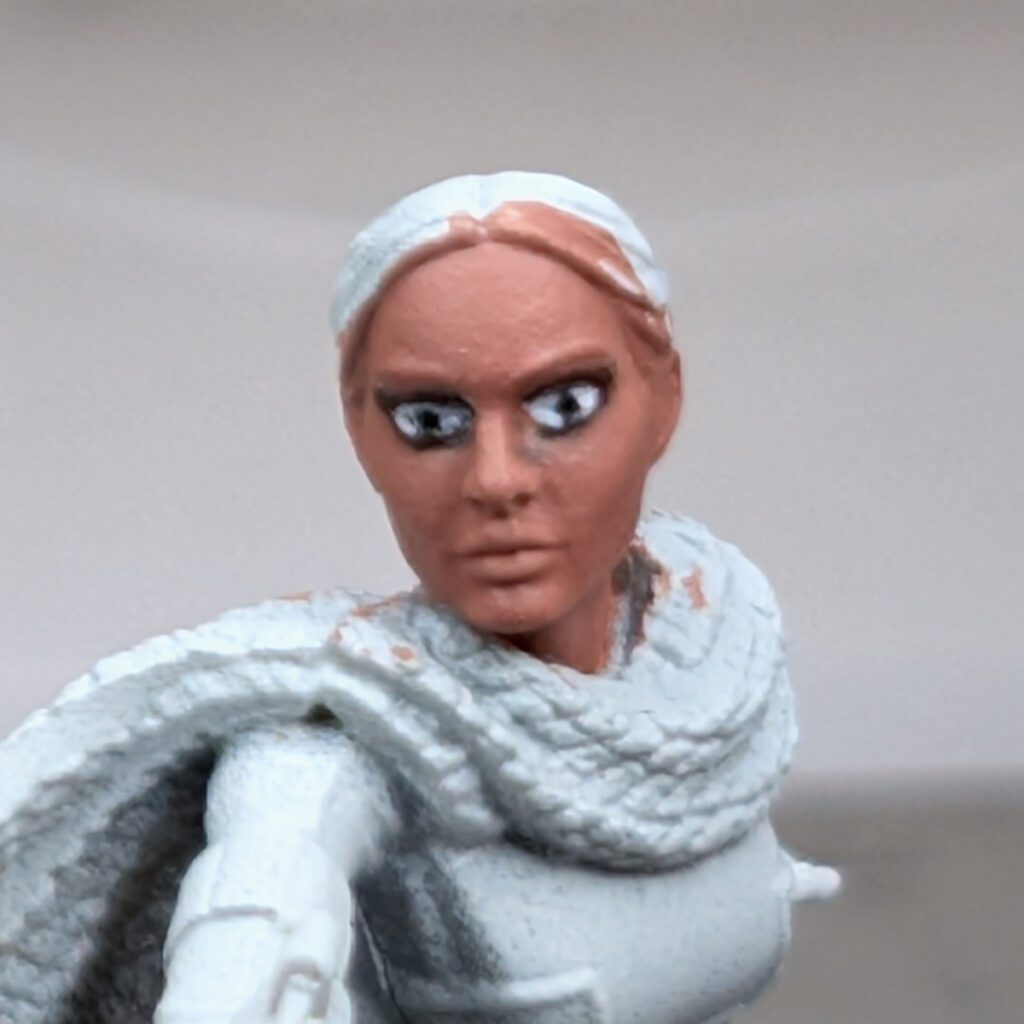
From there, the skin tones were built up in layers:
Base: Bugman’s Glow
Shade: Reikland Fleshshade
Layer: Cadian Fleshtone
Highlight: Kislev Flesh
Optional: a very thin glaze of Ushabti Bone to smooth transitions
It worked well—but it changed the rest of the process.
With the face finished early, every step that followed had to be controlled. There was no room for careless brushwork or quick corrections. One mistake could undo the most expressive part of the model.
That’s the tradeoff.
Planning doesn’t remove risk. It makes you aware of where that risk exists so you can decide how to manage it.
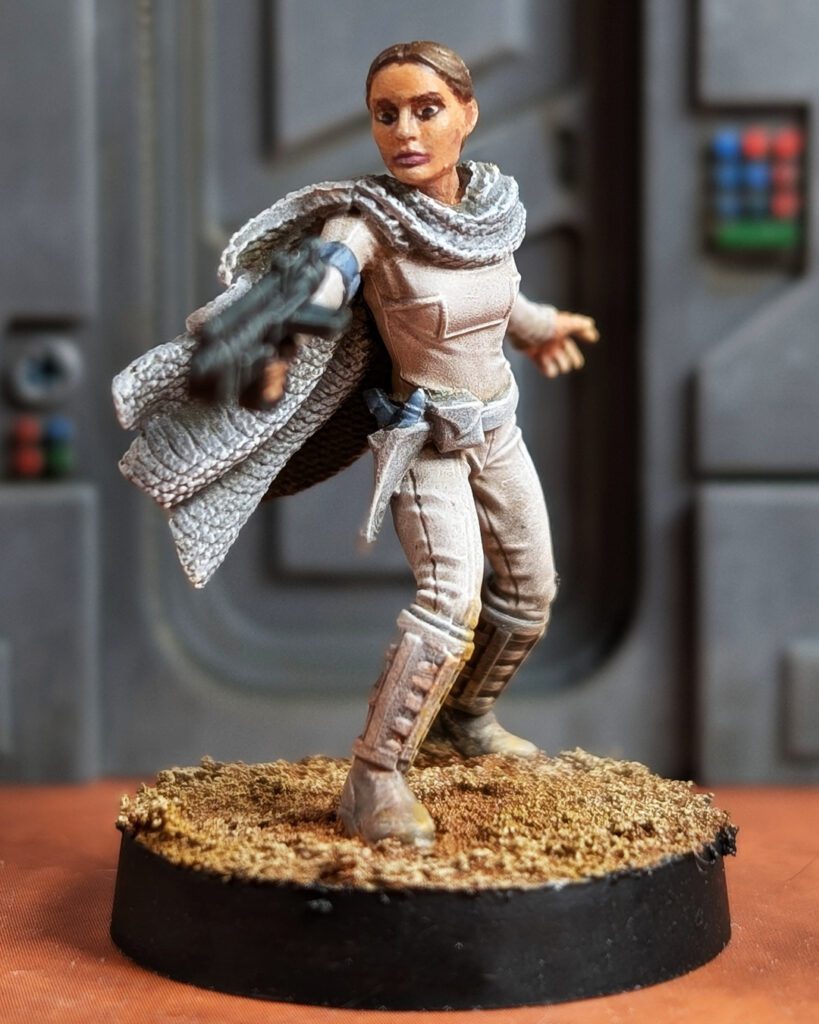
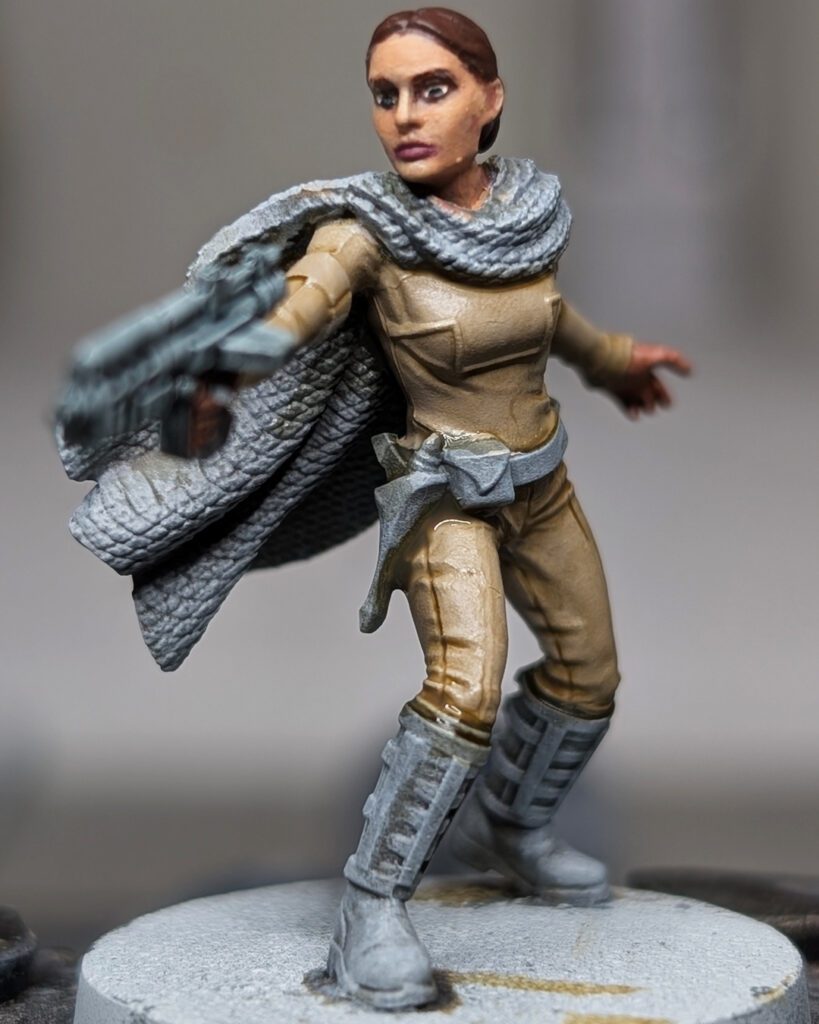
Applying the Color Plan
Once the structure is in place, the rest becomes execution.
Suit (Off-White)
Base: Rakarth Flesh
Shade: Seraphim Sepia
Layer: Pallid Wych Flesh
Highlight: Corax White
Belt, Boots, Cloak (Muted Greys)
Base: Mechanicus Standard Grey
Shade: Seraphim Sepia + a touch of Agrax Earthshade
Layer: Dawnstone
Highlight: Administratum Grey
Weapon
Gryph Charger Grey + a touch of Black Templar
These are strong colors, so try diluting them with a little Contrast Medium and do a couple of passes. Let it settle naturally into recesses for depth
Armbands & Pistol (Cool Accent)
Base: The Fang
Shade: Nuln Oil
Layer: Russ Grey
Highlight: Fenrisian Grey
Hair
Base: Rhinox Hide
Shade: Agrax Earthshade
Layer: Balor Brown
Highlight: Zamesi Desert
Base (Geonosis Style)
Vallejo Brown Earth
Agrax Earthshade + Fuegan Orange
Highlight: Vallejo Model Iraqian Sand → Vallejo Model Yellow Ochre
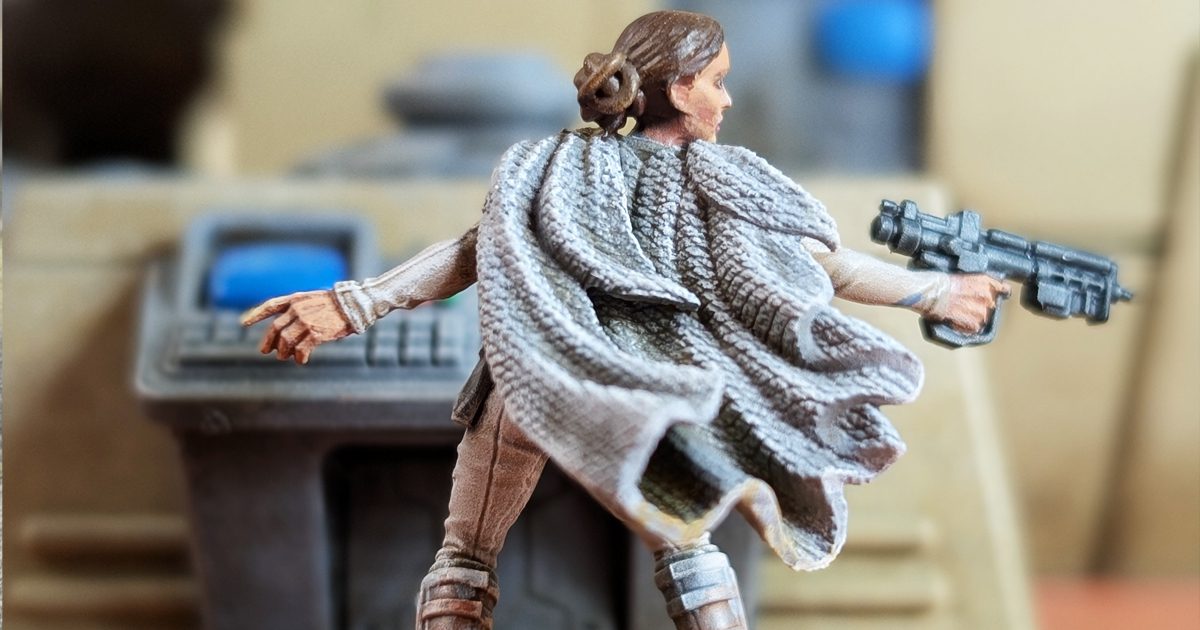
Avoiding the 70% Stall
There’s a point in almost every project where the excitement fades and the finish line feels oddly distant. I’ve talked about this before in The Psychology of the 70% Stall – that moment where a model is clearly on its way, but just sits there.
Padmé almost hit that point , but because of planning I was able to seamlessly resume painting.
I had just finished the sepia shading late one night and left it to dry. The model looked solid – close enough to finished that it felt done. Then a few busy days passed. That’s usually where projects stall out for good. What made the difference here was simple: I already knew what came next.
The highlights were planned. The color groupings were decided. The order of operations was clear. When I came back, there was no friction – no time spent figuring out where I left off or what to do next. Within a couple of hours, she was finished, base and all.
Planning doesn’t just help you paint better – it helps you pick the work back up without hesitation.
Closing Thoughts
Planning like this isn’t about slowing down – it’s about moving with certainty.
When you take the time to understand the model, organize your colors, and decide how you’re going to approach it, you’re setting the entire project up to move forward without resistance. The painting becomes more deliberate, more controlled, and far less dependent on fixing mistakes after the fact.
And when you step away, as everyone eventually does, you’re not returning to a question mark. You’re returning to a clear next step.
That’s the difference.
Not just in how a model turns out, but in how consistently you’re able to finish what you start.