Disclaimer: This post contains affiliate links. As an Amazon Associate, I earn from qualifying purchases at no extra cost to you. [Learn More]
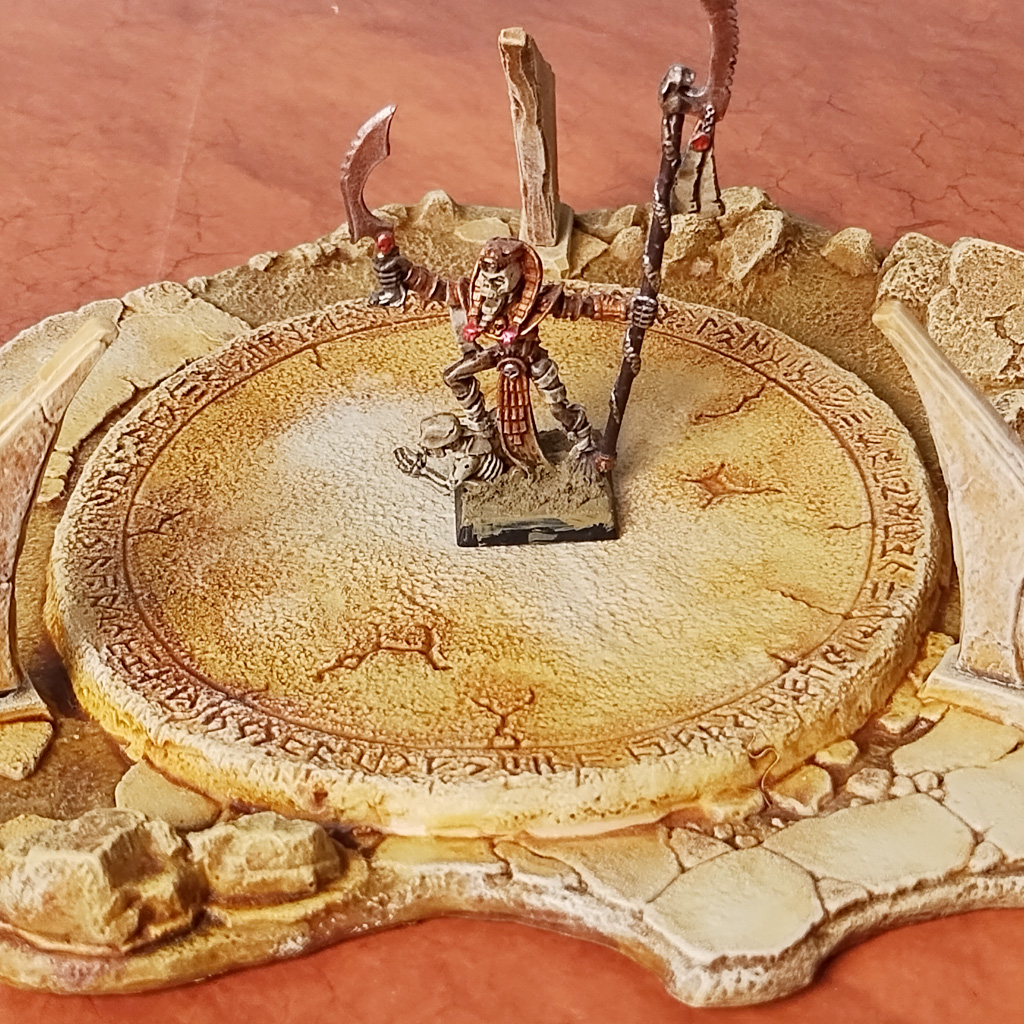
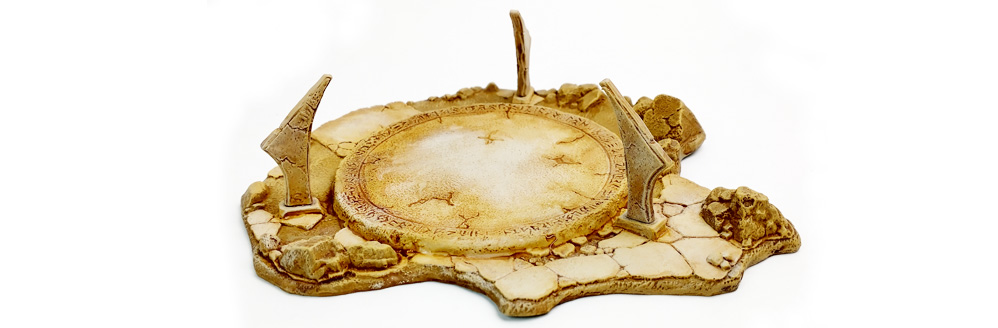
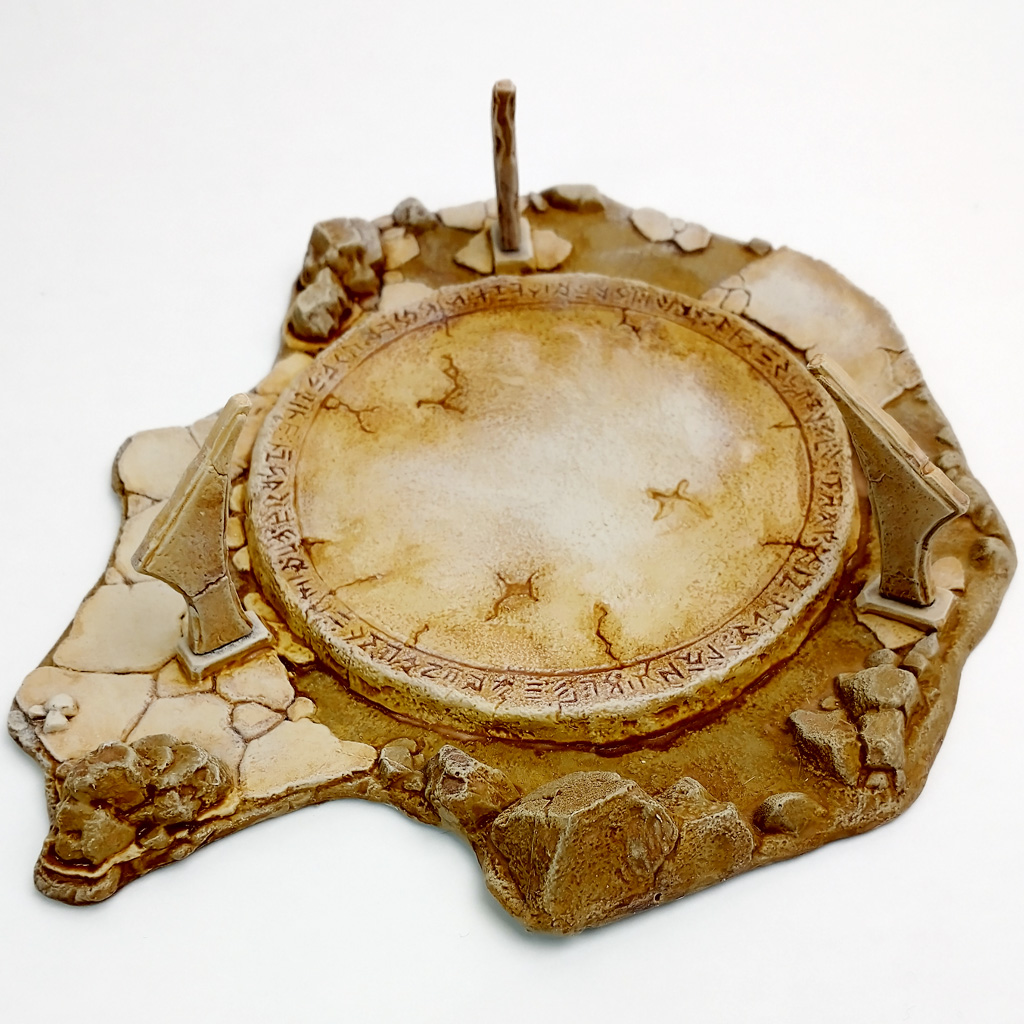
Today we’re going to paint the Arcane Circle by Reaper Minis. The Arcane Circle is compatible with various tabletop gaming systems and can be used to enhance the visual appeal and immersion of gaming environments involving magic and the arcane.
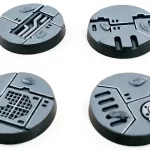
Terrain pieces add strategic depth to gameplay by introducing obstacles, cover, and other environmental factors that players must navigate. Different terrain types can impact movement, line of sight, and tactical decision-making, thereby forcing players to adapt their strategies accordingly.
In addition, terrain pieces like the Arcane Circle can contribute to the thematic atmosphere of the game by setting the scene and establishing mood. Scenery can create storytelling opportunities, allowing game masters to visually convey narrative elements and plot points.
Welcome
Welcome to this tutorial on how to paint the Arcane Circle by Reaper Minis. The Arcane Circle is a high-quality resin model kit. Moreover, it is especially easy to paint using the base-coat, shade, and dry-brushing techniques within this painting guide.
Materials Needed to Paint the Arcane Circle
- Terrain piece model
- Paint Palette or Wet Palette and Water Cup
- Primer: Citadel Wraithbone
- Brushes:
Citadel: Medium Base Brush
Citadel: Medium Dry Brush
Citadel: Medium Shade Brush - Paint Sealer: Dullcote Testors Spray Lacquer
- Acrylic Paint List:
Primer: Wraithbone
Zandri Dust
Seraphim Sepia
Ushabti
Screaming Skull
Wraithbone (base)
Preparing the Arcane Circle for Painting
In this guide, we assume that you have prior experience with preparing resin models, and our focus will primarily be on the painting process. If you’re new to model prep, we invite you to explore our guide on How to Prepare & Assemble Miniatures.
Let’s dive into the artistry of miniature painting and unleash your creativity!
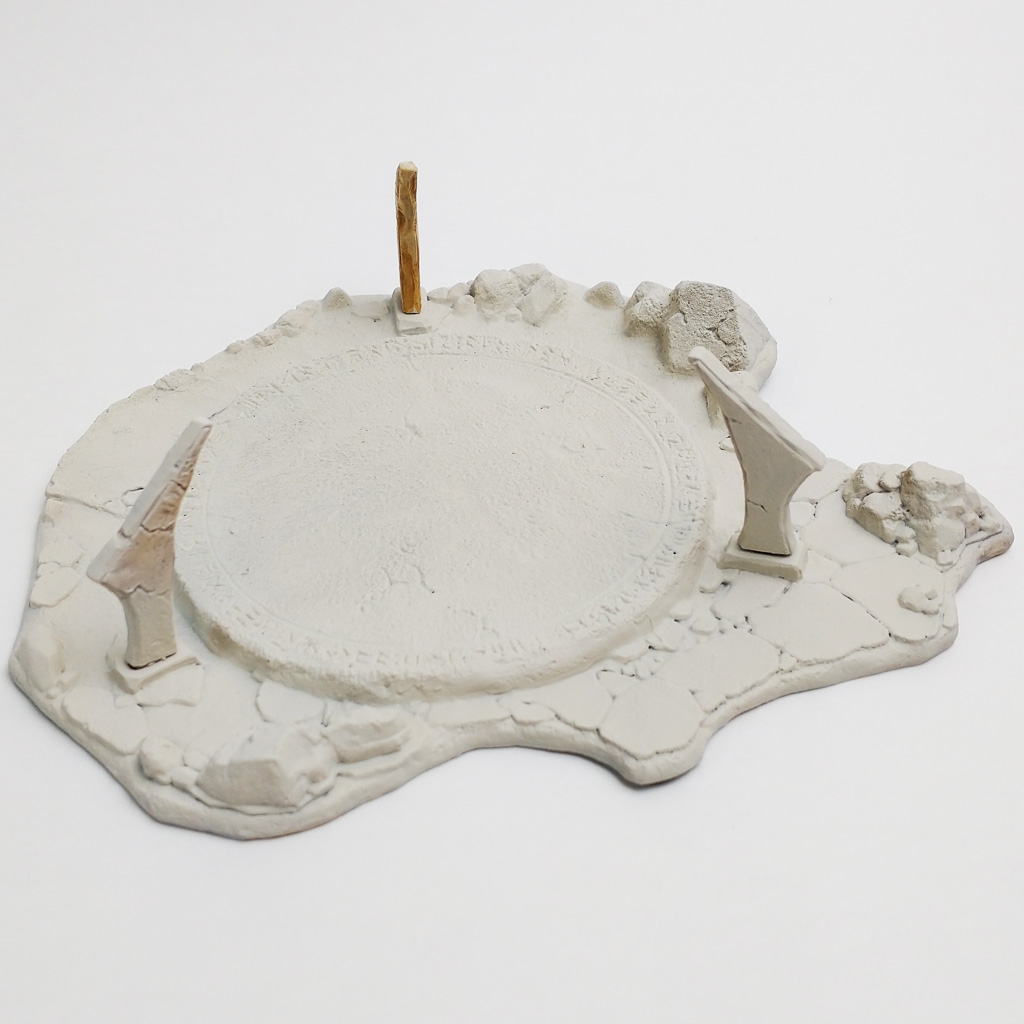
Priming the Arcane Circle
Not sure where to start? Check out our Guide on How to Prime Miniatures!
We’re going with an Eastern Mediterranean concept for our Arcane Circle. You may enjoy a more quintessential medieval color scheme, in which case the concepts in this guide will also work beautifully. Check out our guide on How to Choose Colors for Miniature Painting.
Wraithbone Primer is a perfect warm-white to prime our entire terrain piece. On about half of our model, the primer will also act as our base coat.
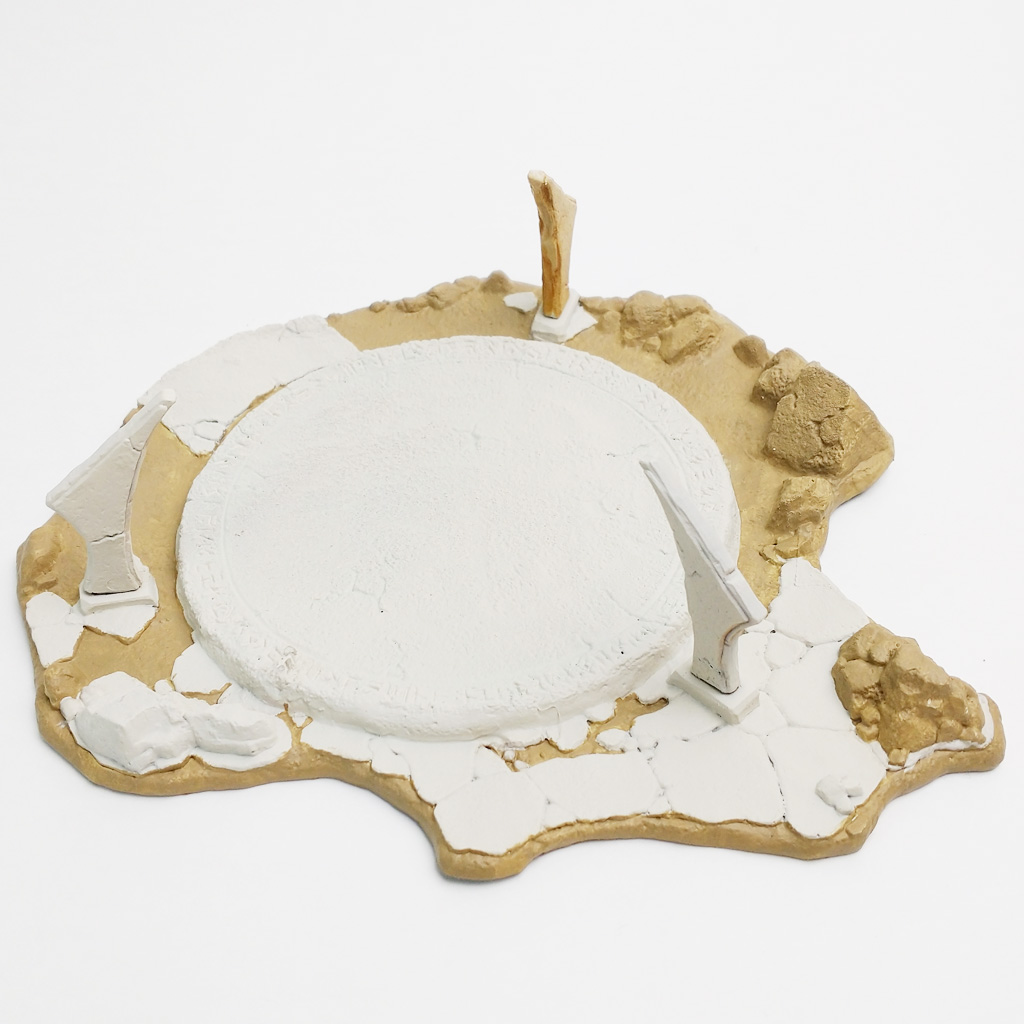
Base Coat Paint the Arcane Circle
If you’re new to model painting, specifically base-coating, we invite you to explore our guide on How To Base Coat Miniatures.
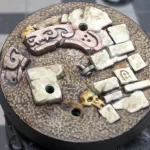
Looking at the model, there is a clear distinction between natural ground and a crumbling stone structure. We can differentiate these materials by using Zandri Dust on the earth and leaving the granite or white-limestone structure the primed Wraithbone color.
- Action: Apply a base coat of Zandri Dust to all of the earth parts of the model.
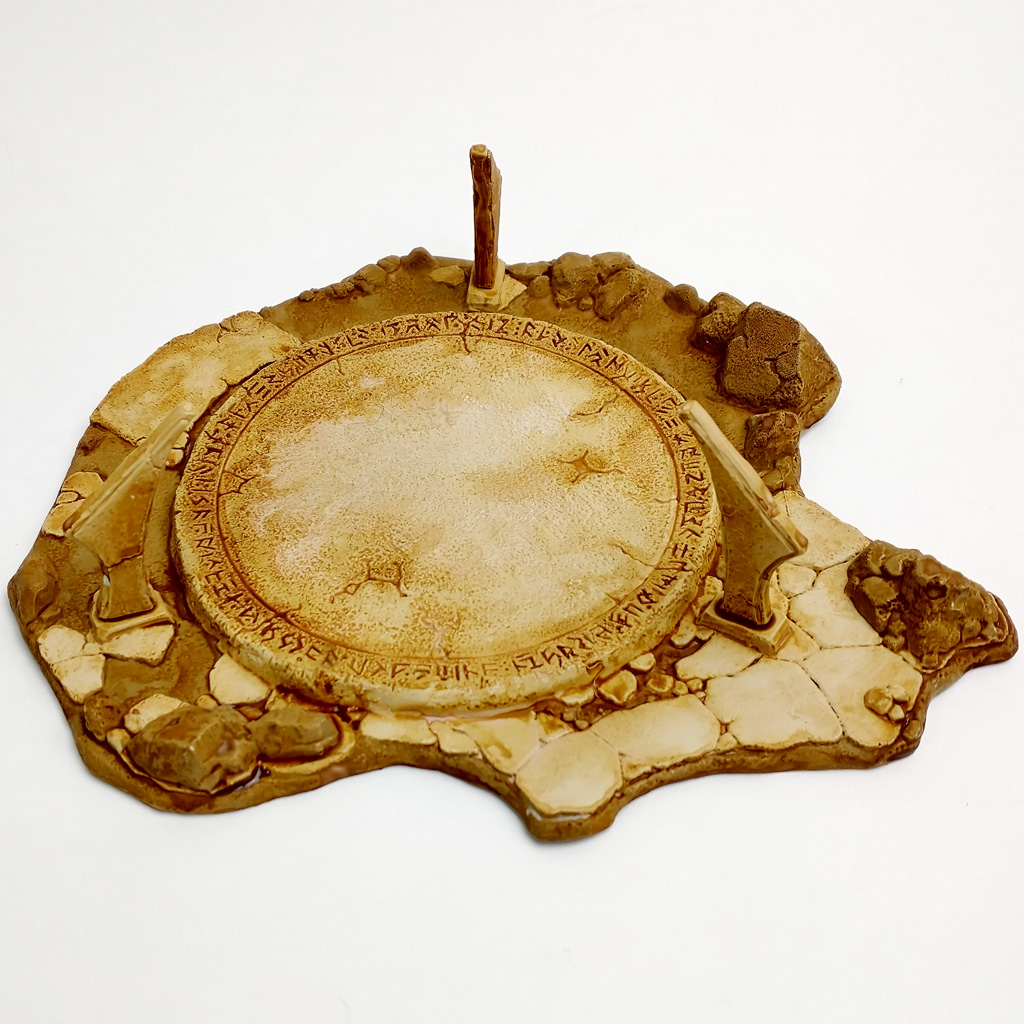
Shade Paint the Arcane Circle
While shading is a great way to darken recessed areas of a model and cause the raised details to pop, the adverse side effect can be the pooling or “coffee staining” that occurs on flat surfaces. Check out our guide on How to Shade Miniatures for Depth and Contrast.
Typically, we have to go back and layer color over those flat areas to clean them up. Today, however, we’re going to use those natural pooling properties to our advantage to create realistic stone weathering!
- Action: Using a Medium Shade Brush, apply a coat of Seraphim Sepia all over the model.
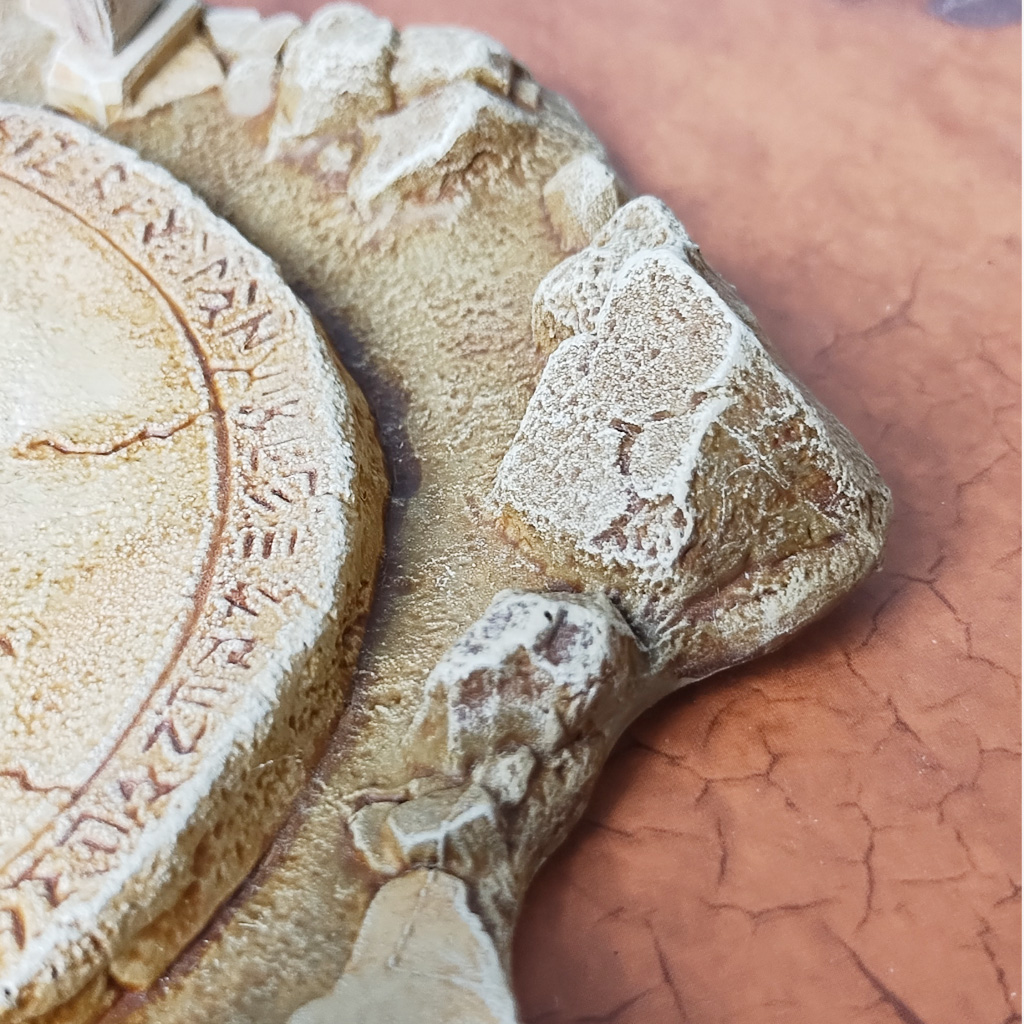
- Tip: You can apply the shade heavier in the runes, cracks between stones, and deep recesses. Likewise, you can gently brush away excess shade to show natural wear patterns on the stones.
Tip: You can apply the shade thicker in the Runes, cracks between stones, or in some of the more recessed areas. Likewise, you can gently brush away some of the shade to show weathering or wear-patterns on the stones.
Layer Painting the Arcane Circle
If you’re new to model painting, specifically about layering, we invite you to explore our beginner’s guide: How to Layer Miniatures.
Typically, layer painting is used to bring color back up from the shading process, add brightness, and create smooth transitions. The fun part about painting scenery and terrain pieces is that we can often do those things with a simple technique and a fairly broad brush—dry brushing!
- Step 1: Using a medium to large dry brush, apply a fairly heavy dry-brush layer of Ushabti Bone all over the model. This acts as a transition blend up to your brightest highlights. Randomizing the heaviness of your brushwork will add the illusion of natural stone texture.
- Step 2: Using a medium dry brush, apply a light layer of Screaming Skull exclusively to the earth and dirt sections of the model.
Highlight Painting the Arcane Circle
Highlights make details pop by capturing the look of a natural light source. While dry brushing highlights can sometimes look slightly chalky on smooth hero figures, it offers a beautifully organic method to blend and feather light onto the rugged details of terrain. Check out our post on Highlighting Miniatures for Extra Contrast.
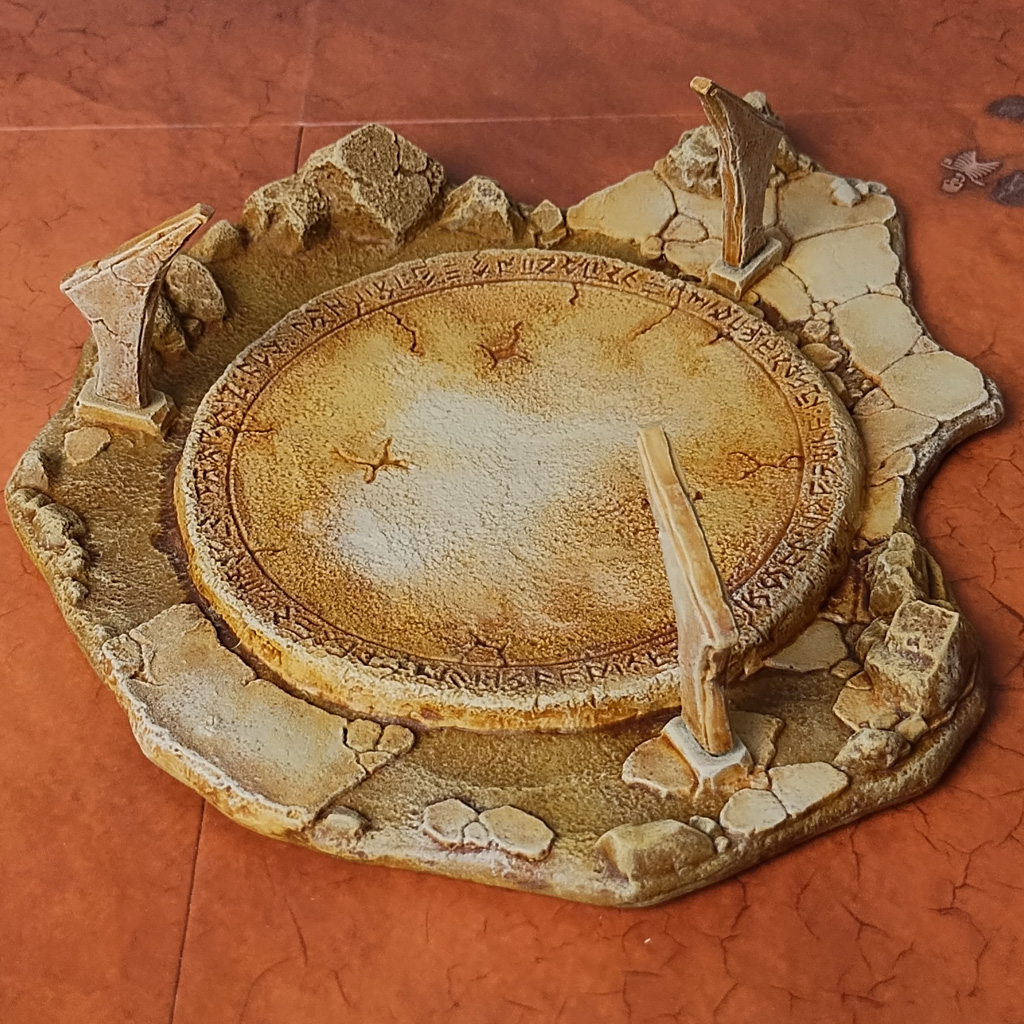
- Action: Using a medium dry brush, apply multiple light passes of Wraithbone to the corners and edges of the stone sections, the central circle, and the three obelisks.
- Tip: While dry brushing works great at catching raised edges, you can use a stippling (stapping) technique to add mottled texture to flat surfaces. Give this a try on the flat stones in the center of the circle!

Spray Varnishing the Arcane Circle
If you’re new to model painting, specifically about varnishing you’ll definitely want to check out our tutorial on How to Varnish Miniatures Perfectly (Without Frosting or Shine).
The last thing we want to do is lock in and protect our finished paint job with a spray varnish. I highly recommend Testor’s Dullcoat Spray Lacquer, as I’ve never had issues with frosting, clouding, bubbling or other strange texture effects.
Final Thoughts
In this guide, we used straightforward steps to achieve a beautifully finished, detailed terrain piece perfect for a desert or Eastern Mediterranean tabletop setting.
To recap the workflow:
- Priming with Wraithbone.
- Base coating the earth details with Zandri Dust.
- Shading the entire piece with Seraphim Sepia for instant depth.
- Layering via dry brushing with Ushabti Bone and Screaming Skull.
- Highlighting and adding texture with Wraithbone via targeted dry brushing and stippling.
- Sealing the finished model with a matte varnish to protect your hard work.
My Thoughts and Experience
Honestly, I spent some time finalizing the perfect color scheme for this piece. My first concept didn’t quite capture the mood I wanted, so I re-primed it with Wraithbone for a fresh start, and the warm undertone worked perfectly!
I really enjoy painting scenery because it offers so much room for creative freedom. Thankfully, this is a very accessible model that affords plenty of opportunities to experiment with different themes.
Arcane Circle Shopping List
- Wet Palette
- Paint Puck or Water Cup
- Primer: Citadel Wraithbone
- Citadel Medium Base Brush
- Citadel Medium Dry Brush
- Citadel Medium Shade Brush
- Paint Sealer: Dullcote Testors Spray Lacquer
- Citadel Colour Zandri Dust
- Citadel Colour Seraphim Sepia
- Citadel Colour Ushabti Bone
- Citadel Colour Screaming Skull or Vallejo Model Color Ivory
Happy Painting!