Disclaimer: This post contains affiliate links. As an Amazon Associate, I earn from qualifying purchases at no extra cost to you. [Learn More]
Introduction
Embarking on the hobby of miniature painting is an incredibly rewarding creative outlet. Whether you are looking to bring your favorite tabletop board games to life, prepare an army for a wargaming tournament, or simply explore a relaxing new artistic medium, miniature painting opens the door to a world of fantastic, tiny masterpieces.
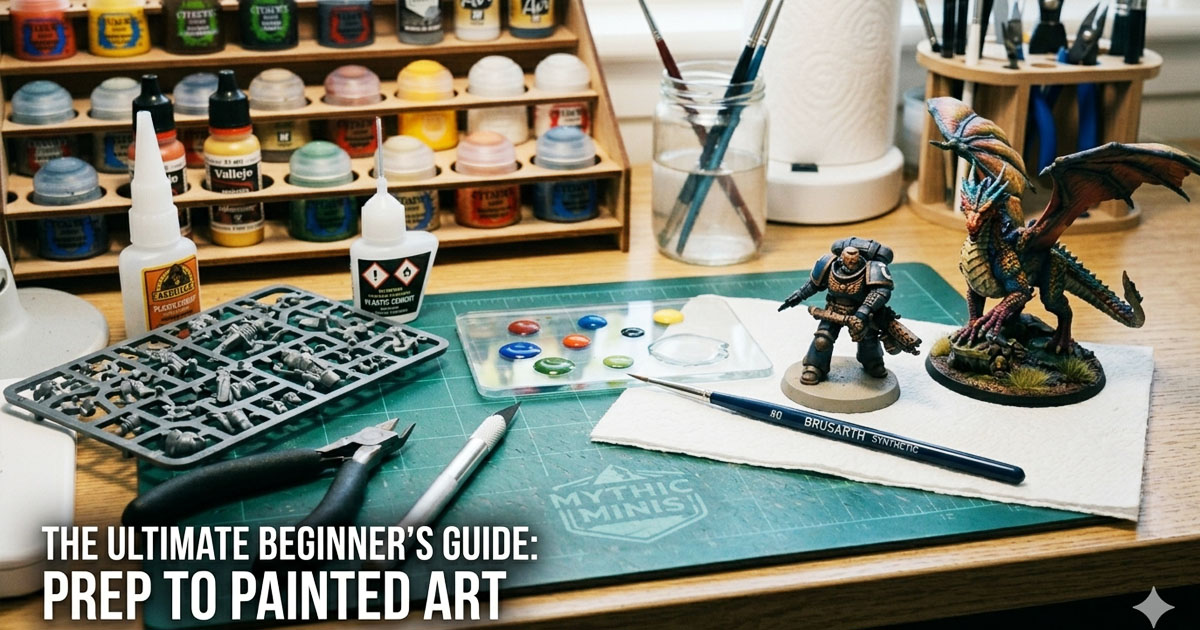
This comprehensive guide serves as your foundational roadmap. Below, we break down the exact steps and gear needed to take a model from bare plastic to a fully realized, painted work of art.
🛠️ Phase 1: Preparing & Assembling Your Miniatures
Proper preparation is the secret to a professional-looking paint job. Taking a few extra minutes to cleanly prepare a model ensures that your paint adheres correctly and your final details look crisp.
Cleaning Mold Lines and Flashing
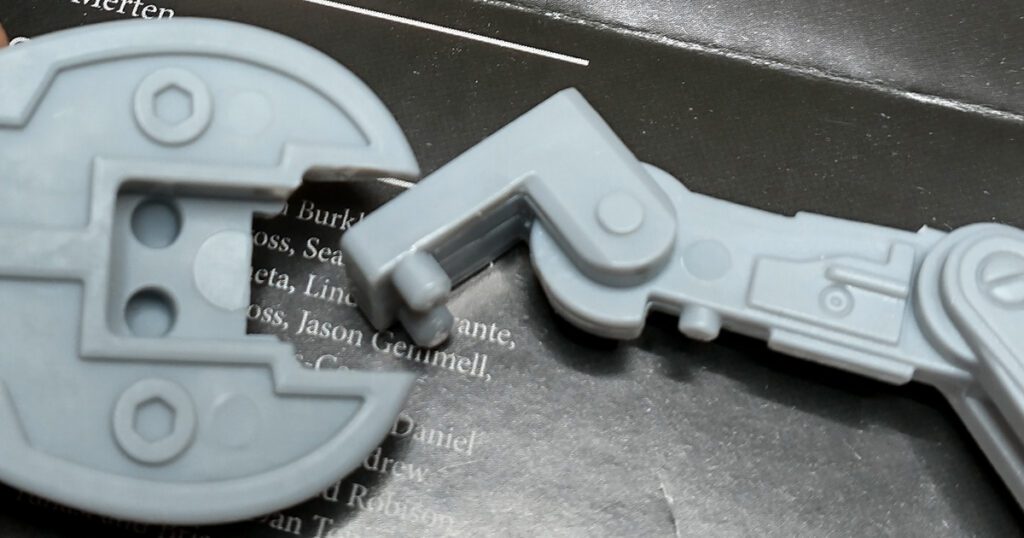
Most miniatures are manufactured using multi-part molds, which often leave behind thin, raised seams known as mold lines, or small bits of excess material called flashing.
- The Technique: Hold a dedicated hobby knife at a 90-degree angle to the seam and gently scrape backward along the line. This cleanly shaves the plastic flat without gouging into the model’s details.
Assembly & Gluing
If your models require assembly, you will want to choose the right adhesive based on the material:
- Plastic Miniatures: Use plastic cement. Unlike regular glue, plastic cement creates a chemical reaction that fuses the plastic components together for a permanent bond.
- Resin or Metal Miniatures: Use a high-quality cyanoacrylate (super glue), as plastic cement will not work on these materials.
View Our Full Assembly Guide
How to Prepare and Assemble Miniatures
View our complete guide of step-by-step instructions and tool usage for building your first miniature.
Build Your Own Hobby Desk
📦 Skip the Guesswork: I’ve put together a complete Essential Hobby Desk Resources for all of the basics and other tools you may want for starting your hobby and building your own hobby desk.

🎨 Phase 2: Choosing Your Paints, Brushes, and Primers
Once your miniature is cleanly assembled, it is time to look at the core supplies required to apply color safely and effectively.
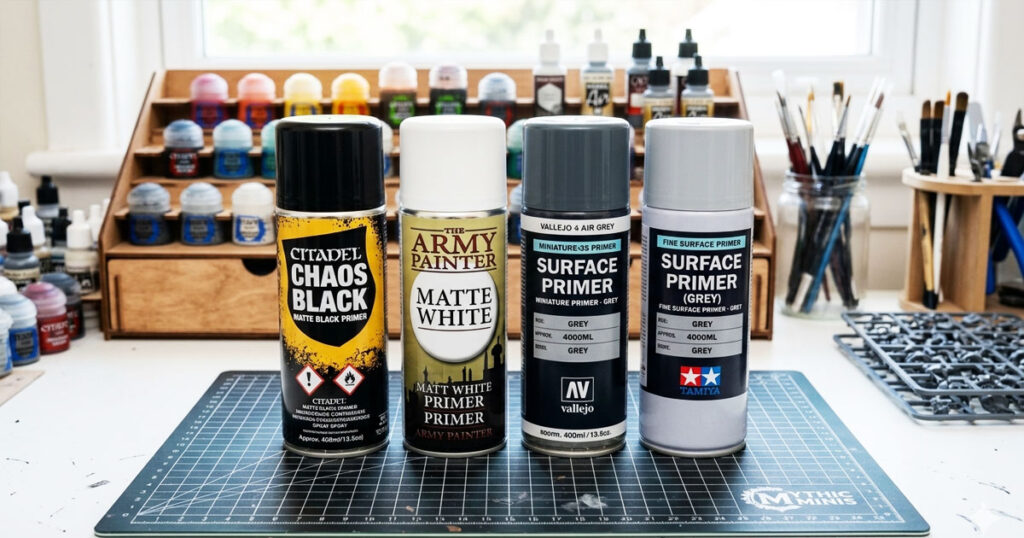
The Role of Primer
Never paint directly onto bare plastic. Standard hobby acrylics need a textured surface to latch onto, which is exactly what a primer provides.
- Application: A light coat of a dedicated hobby spray primer or a brush-on primer gives your paints a uniform surface, preventing your hard work from chipping or peeling away during handling.
🛡️ Choosing the Right Undercoat: To ensure your paint adheres smoothly and lasts for years, selecting a reliable primer is essential. Skip the guesswork of hardware store brands that might clog fine details; I have put together a curated list of classic black, white, and grey color options designed specifically for hobby models on my [Best Spray Primers for Miniatures List].
View Our Priming Guide
How to Prime Your Miniatures
Learn to Prime your models as a foundation to a smooth paint job.
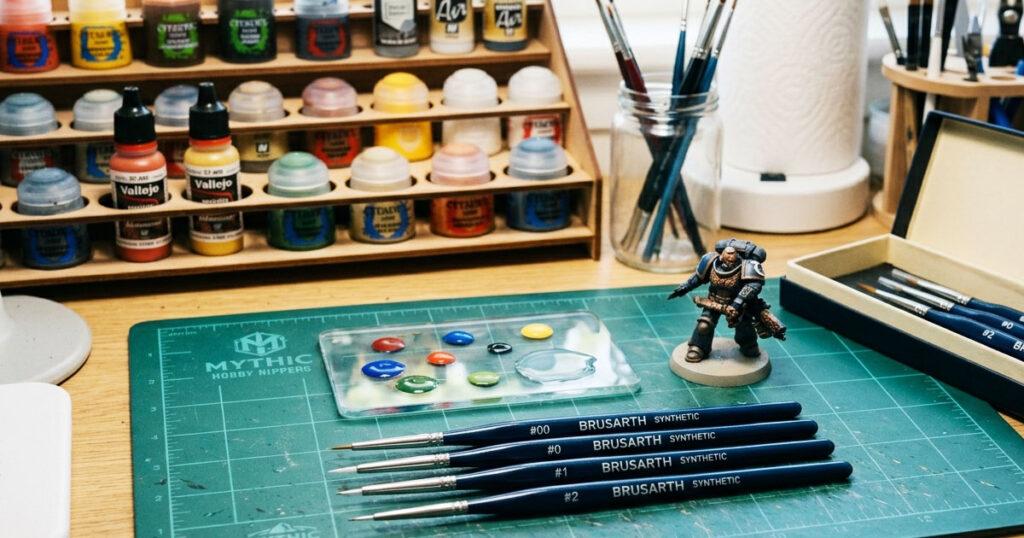
Brushes for Beginners
You do not need an expensive collection of premium hair brushes to start. In fact, learning brush control with standard synthetic round brushes is highly recommended, as beginner techniques can wear down delicate brush tips quickly. Look for a budget-friendly starter set containing a size 2 brush (for general base coating), a size 1 or 0 (for details), and a flat brush (for texturing).
🖌️ Quality on a Budget: You don’t need to spend a fortune on premium hair brushes while you are still mastering brush control. In fact, standard synthetic round brushes are highly recommended because beginner techniques can wear down tips quickly. To help you get started without the stress, I’ve gathered a selection of durable, pocket-friendly options that hold a great point in my [Best Budget Brushes for Miniature Painting List].
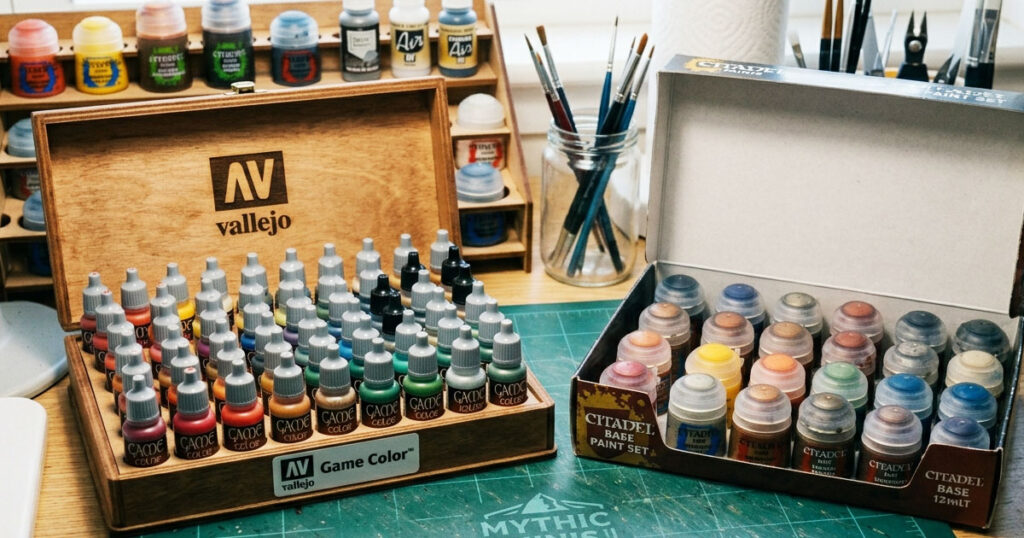
Hobby Acrylic Paints
Always use dedicated hobby acrylic paints rather than heavy-body student craft paints. Hobby paints are formulated with highly concentrated, ultra-fine pigments, allowing you to thin the paint with water for smooth coverage without obscuring the fine details of your model.
🎨 The Starter Palette: Skip the confusion of buying individual paint pots. I’ve rounded up the best budget-friendly paint sets, and the game-changing wet palettes to pair them with, on my [Best Beginner Palette Paint Sets List].
🖌️ Phase 3: Basic Painting Techniques
With your tools ready, you can utilize three core techniques to instantly give your miniatures three-dimensional depth:
1. Base Coating
This is the process of applying your solid primary colors across the different zones of the model (such as armor, cloth, or skin). Always thin your paint with a drop of water on your palette. Applying two thin coats is always better than one thick coat, ensuring a completely smooth, streak-free finish.
Base Coat tutorial

View the Base Coating Tutorial
Learn how to apply base coats, step-by-step, to map the basic color scheme of your miniature.
2. Washing (Shading)
A wash is a highly fluid, translucent paint designed to run off the flat surfaces of a model and settle directly into the deep crevices. This automatically creates realistic shadows, defining the muscles, fabric folds, and mechanical gaps of your miniature with zero freehand drawing required.
Shade/Wash Tutorial

View our Shading Tutorial
See our full shading tutorial and learn how to use these types of paints to add deep contrast to the shadows and recesses of your models.
3. Dry Brushing (Highlighting)
This technique catches the raised edges of a model to simulate natural ambient light.
- The Technique: Dip a dry, flat brush into a light paint color, then wipe almost all of it off onto a paper towel until the bristles appear clean. Lightly dust the brush back and forth across the model. The tiny amount of remaining pigment will catch only the highest edges, creating instant highlights.
🚀 Put Technique into Practice: Understanding the theory behind base coating, washing, and dry brushing is a great start, but the real fun begins when you actually put brush to plastic. If you are ready to see exactly how these techniques layer together on a real model from start to finish, head over to my comprehensive [Step-by-Step Miniature Painting Tutorial for Beginners], where we walk through your very first paint job together.
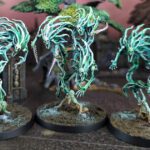
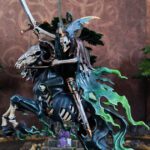
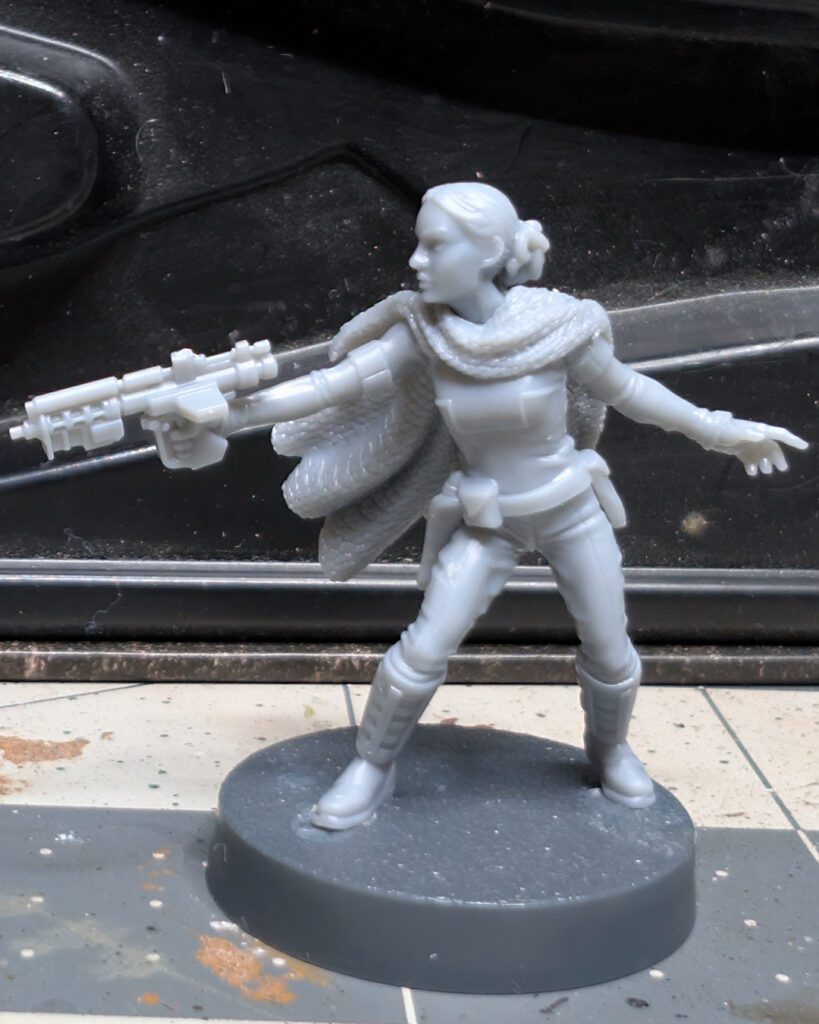
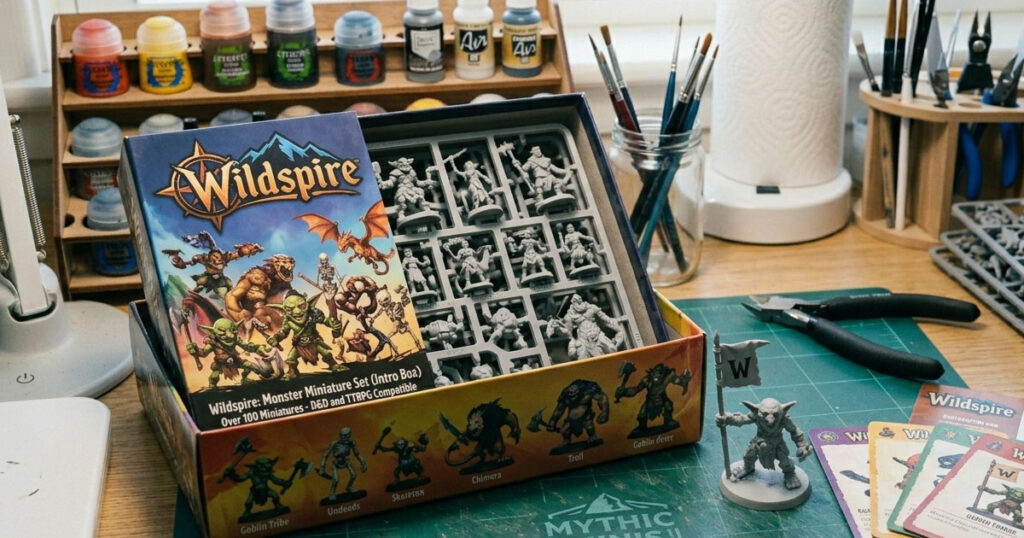
👾 Phase 4: Choosing Forgiving Starter Models (Wildspire Kits)
When learning, choosing the right model keeps the process fun and prevents burnout. Look for miniatures that offer a balance of large, flat surfaces and distinct textures.
- “Push-Fit” Models: Many modern wargames offer beginner-friendly kits that snap together without requiring any glue at all.
- Structured Archetypes: Models with distinct armor plates (like sci-fi space warriors) or highly repetitive textures (like fantasy skeletons) are incredibly forgiving. They allow you to practice brush control and edge highlighting without getting bogged down by tiny, intricate details.
👾 The Perfect Fantasy Jumpstart: If you are diving into tabletop roleplaying games and want a massive variety of classic fantasy creatures without a massive price tag, Wildspire boxed sets are unmatched. They offer a highly forgiving learning experience for new painters, and I have gathered my favorite multi-packs to help you start your collection on my [Best Wildspire Miniature Sets for Beginners List].
🛡️ Phase 5: Finishing and Protecting Your Work
After painting, two final steps ensure your miniature looks complete and stays protected during tabletop gameplay.
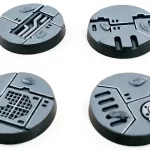
The Art of Basing
A painted model sitting on a plain plastic circle looks unfinished. Adding texture—such as fine hobby sand, small cork rocks, or static grass tufts—grounds your character in a specific environment (like a muddy battlefield, a lush forest, or a dusty desert) and elevates the entire presentation.
Varnishing for Durability
If you plan on handling your miniatures for games, applying a protective clear coat is essential. A matte varnish spray protects the acrylic layers from the oils on your fingers while eliminating any harsh plastic reflections, giving your model a professional, uniform finish.
Check out our tutorial on How to Varnish Miniatures Perfectly (Without Frosting or Shine)
Next Steps: Connecting with the Hobby Community
Miniature painting is a wonderfully social experience. Engaging with other painters is one of the fastest ways to pick up new techniques, troubleshoot issues, and stay inspired.
- Local Hobby Stores: Your local independent game shops and dedicated hobby centers regularly host “Paint and Take” events, open painting nights, and casual workshops where you can sit down and paint alongside others.
- Sharing Online: Don’t hesitate to share your progress photos in beginner-focused online communities. The hobby scene is overwhelmingly welcoming and thrives on offering constructive, positive feedback to newcomers.
Every single miniature you paint is a direct learning opportunity. Embrace the mistakes, enjoy the process of watching your skills evolve, and welcome to the world of miniature art!
Continue Your Painting Journey

Follow Our Step by Step Guide
Follow our step-by-step guide to paint your first miniature. We have complete guide, in 8 steps, from setting up your workspace to scuplting the base of your miniature. Also, read two bonus guides about color theory and how to apply it tangibly to a miniature.