Disclosure: This post contains affiliate links. If you click through and make a purchase, I may earn a small commission at no extra cost to you. Thank you for supporting Mythic Minis Studio! For more information read my full disclosure.
Priming your miniature is one of the most crucial steps in achieving a smooth, professional paint job. Whether you’re a beginner or a seasoned painter, the right primer ensures that your paint adheres properly and lasts longer. In this guide, we’ll walk you through the importance of priming, how to do it correctly, and the best products for a flawless finish.
This page contains affiliate links, and we may earn a commission if you click on them and make a purchase—at no additional cost to you; read more at our disclosure page.
What Is Priming and Why Is It Important?
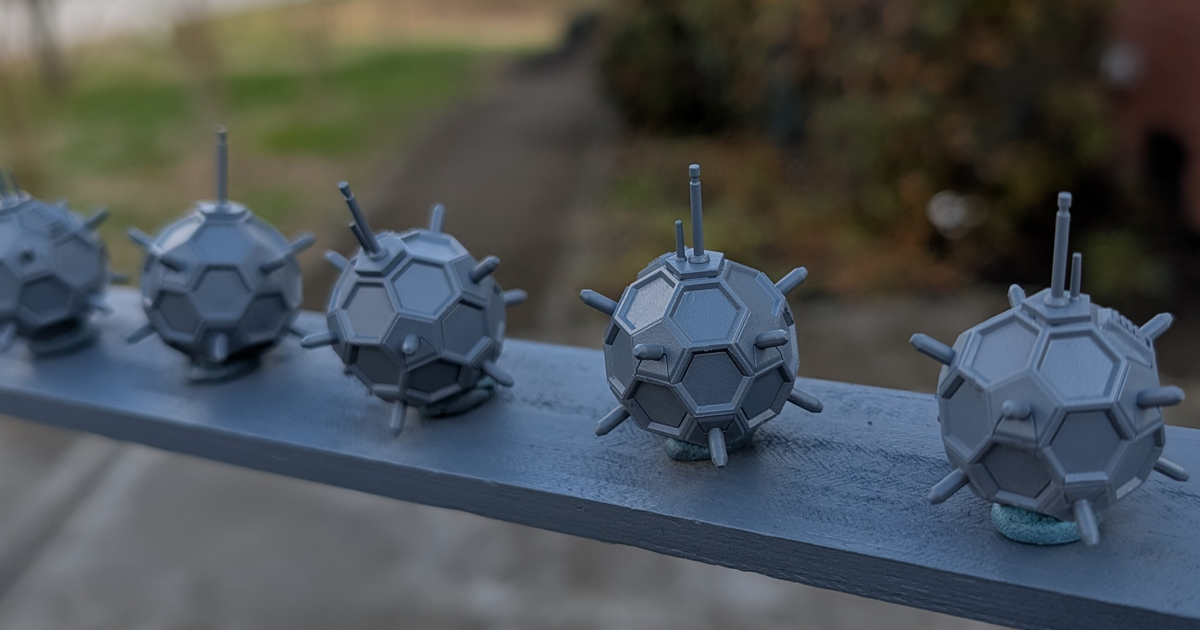
Priming is the process of applying a base layer to your miniature before painting. It prepares the surface and helps the paint adhere better, resulting in smoother, more vibrant colors. A proper primer also prevents paint from chipping or peeling off, ensuring that your hard work lasts longer.
Benefits of Priming:
- Better Adhesion: Primer creates a bonding surface for your paints to stick to.
- Improved Coverage: It helps the paint spread more evenly, preventing blotches and streaks.
- Durability: A well-primed surface prevents the paint from chipping or rubbing off easily.
When to Prime Your Miniature
Priming should be done before applying any base coats, shading, or details. It’s the first step in your miniature painting process, ensuring that the paint goes on smoothly and stays in place. Always clean your miniatures before priming to remove dust, oils, or residues from handling.
Surface Preparation:
- Clean the Miniature: Wash your miniatures with soap and water to remove any mold release agents or dirt.
- Drying: Let the miniature dry completely before applying primer.
Choosing the Right Primer
Not all primers are created equal. There are two main types of primer to consider: spray primers and brush-on primers.
Brush-On Primers:
- Pros: Brush-on primers give you more control over application and are great for small or detailed areas.
- Cons: They take more time to apply and may leave brush marks if not applied properly.
Spray Primers:
- Pros: Spray primers cover large areas quickly and are ideal for miniatures with intricate details.
- Cons: They can be tricky to apply evenly, especially in areas with fine detail.
Best Primer Brands for Miniatures
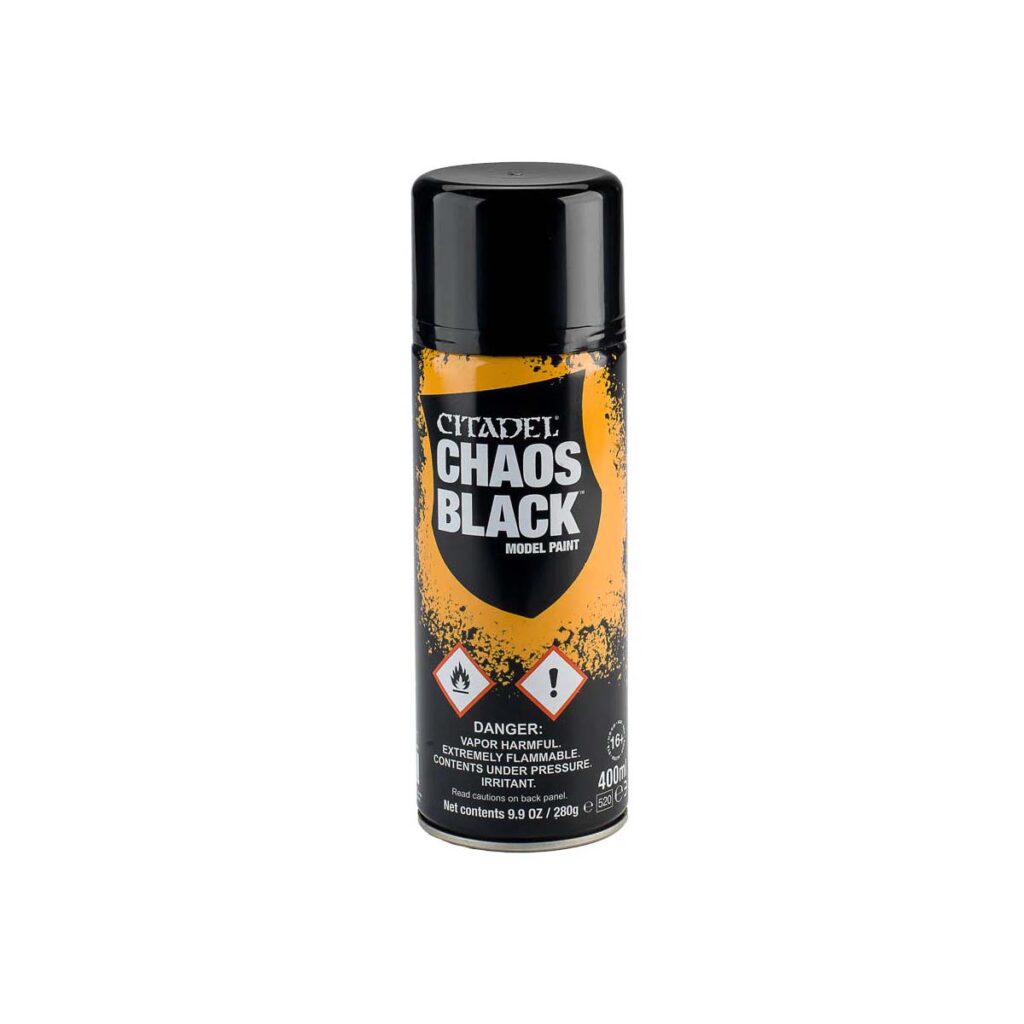
Known for their reliable spray primers and smooth finish. Chaos Black is an excellent primer for for starting out painting. It goes on very smooth leaving details on the model intact. Black is also very forgiving as an introductory prime color. Any areas of the model that go unpainted read as shadows to the eyes. The challenge can be that brighter colors may require multiple layers to attain vibrancy.

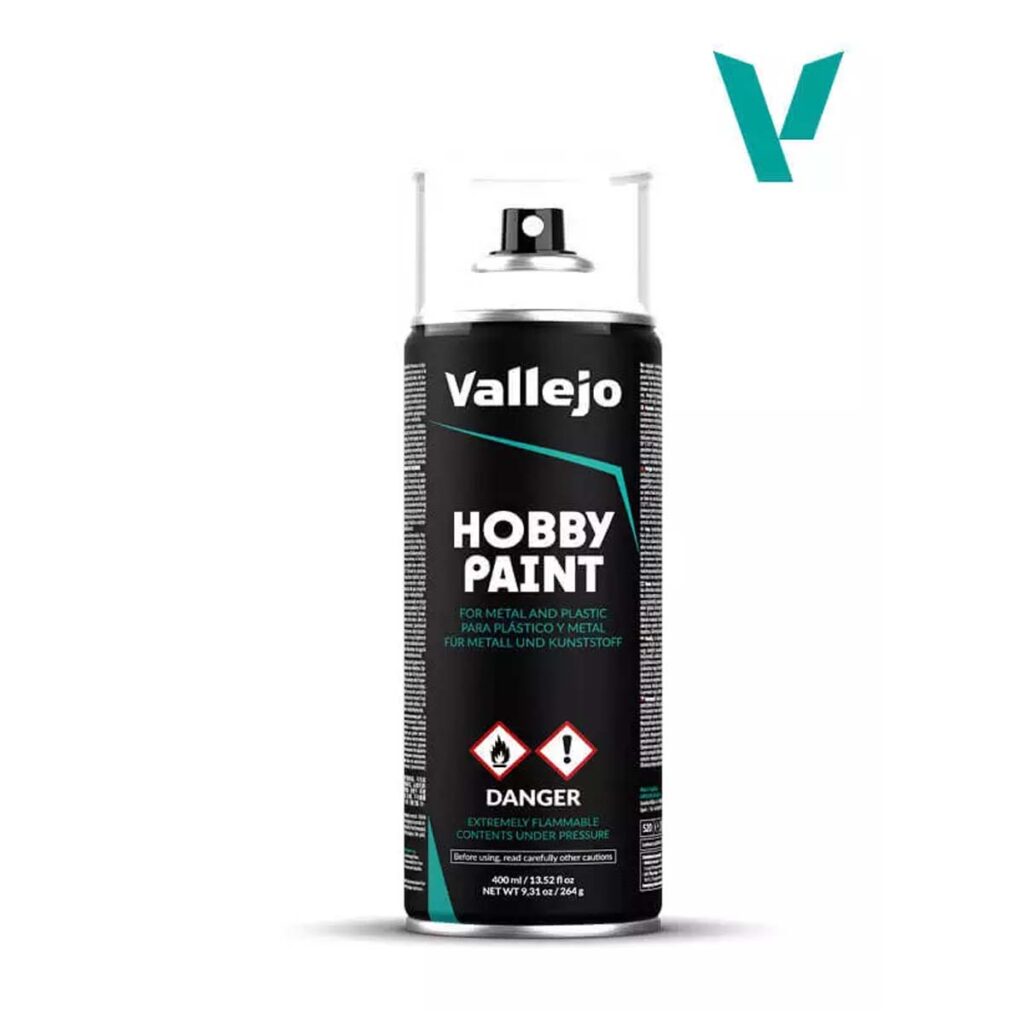
Offers both spray and brush-on primers with excellent coverage. Vallejo offers spray primers in multiple colors as offered here, but again I reiterate that black is a good color for beginners as it behaves in a very consistent way.

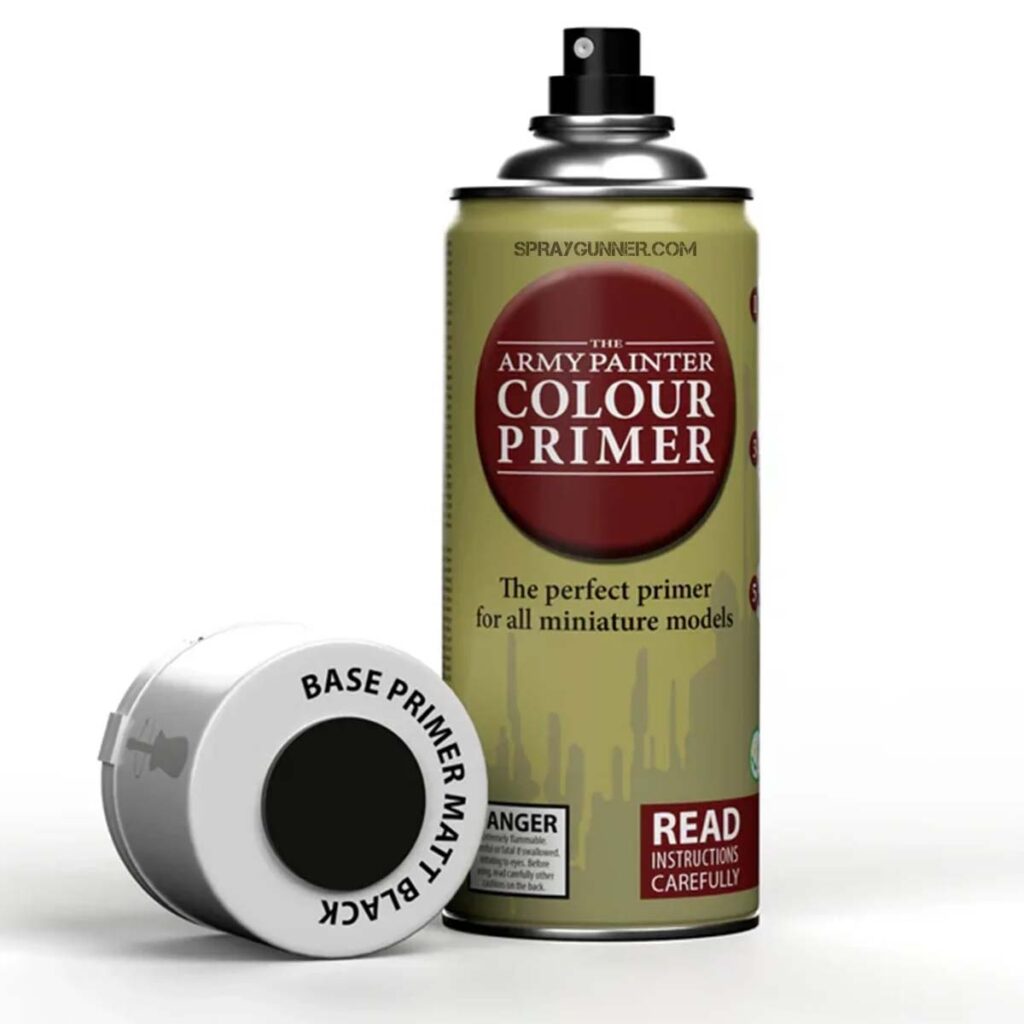
Popular for its spray primers that come in various colors, perfect for different miniature types. Here is a quality matte black from Army Painter if that’s going to be your go-to.

How to Apply Primer
For Brush-On Primers
- Use a Flat Brush: A flat, wide brush helps cover the miniature evenly without leaving brush marks.
- Thin Layers: Apply a thin layer of primer to avoid thick, streaky spots. Allow each layer to dry before adding another.
- Even Coverage: Make sure to reach all the corners and hard-to-reach areas.
For Spray Primers
- Prepare the Area: Prime your miniatures in a well-ventilated space. If you’re outside, make sure there’s no wind to carry over-spray.
- Distance: Hold the spray can 6-12 inches away from the miniature. This distance helps avoid pooling or excessive primer buildup.
- Light Coats: Apply light, even coats of primer. It’s better to apply several thin coats than one thick coat. Allow each coat to dry for 10-15 minutes before applying another.
- Movement: Keep the can moving in a sweeping motion to avoid concentrating too much primer in one area.
Drying Time and Curing
Priming is only the first step. After applying primer, allow it to dry for at least 20-30 minutes for spray primers and 1-2 hours for brush-on primers. If you’re using spray primer, ensure that the miniature is fully dry before moving on to painting.
Curing:
While primer dries fairly quickly, it’s important to let it fully cure before applying paint. Give your miniatures about 24 hours for optimal adhesion, especially if you’re using spray primer. This ensures that the primer has properly bonded to the surface and will provide the best base for your paints.
Troubleshooting Common Problems
Even the best painters face problems now and then. Here are some common issues and how to fix them:
1. Uneven Coverage:
- If you notice areas where the primer didn’t cover, touch them up with additional primer. For spray primers, re-spray those areas lightly.
- For brush-on primers, add a second layer in the affected spots.
2. Chipping or Peeling:
- Ensure that the miniature’s surface is clean and dry before priming.
- Use a primer specifically designed for miniatures to improve adhesion.
3. Over-spray:
- If your spray primer has affected areas you didn’t intend to prime, gently wipe them down with a clean cloth or use a little water to clean the over-spray (if the model is plastic).
Final Thoughts
Priming your miniature is the foundation of a flawless paint job. By following these steps and choosing the right primer, you can ensure that your paint adheres smoothly and lasts for years. Remember, patience is key – taking the time to properly prime your miniature will pay off with a more vibrant, durable finish.
Shopping List
Priming Supplies:
General Supplies:
- Wet Palette
- Paint Puck or Water Cup
- Citadel Medium Base Brush
- Citadel Medium Dry Brush
- Citadel Medium Shade Brush
Paint List:
Next Steps
Let’s take to the brush and learn How to Base Coat Miniatures for a Strong Foundation!


No responses yet