Mythic Minis is reader-supported. When you buy through our affiliate links, we may earn a small commission—never costing you anything extra. Your support helps us keep creating helpful painting guides and hobby resources for everyone.
Introduction
After priming your miniature, the next step is applying the base coat—the foundational layer of paint that sets the stage for shading, highlighting, and detailing. A smooth, even base coat enhances the overall look of your model and ensures that subsequent layers adhere properly. In this guide, we’ll cover how to base coat miniatures using essential techniques and tips for a professional finish.
Step 1: Choosing Your Paints and Tools
For a well-executed base coat, you’ll need:
- Acrylic paints suitable for miniature painting.
- A medium-sized brush (such as a size 2 or 3) for efficient coverage.
- A palette for thinning your paints.
- Water and a paper towel to control brush moisture and prevent overloading.
Common Base Colors for Miniatures:
- Armor or Clothing: A strong base color like red, blue, or metallics.
- Leather Straps and Accessories: A brown tone such as dark or reddish brown.
- Weapons and Metal Details: A metallic silver or steel tone.
- Plumes, Cloth, and Decorative Elements: A contrasting color that complements the scheme.
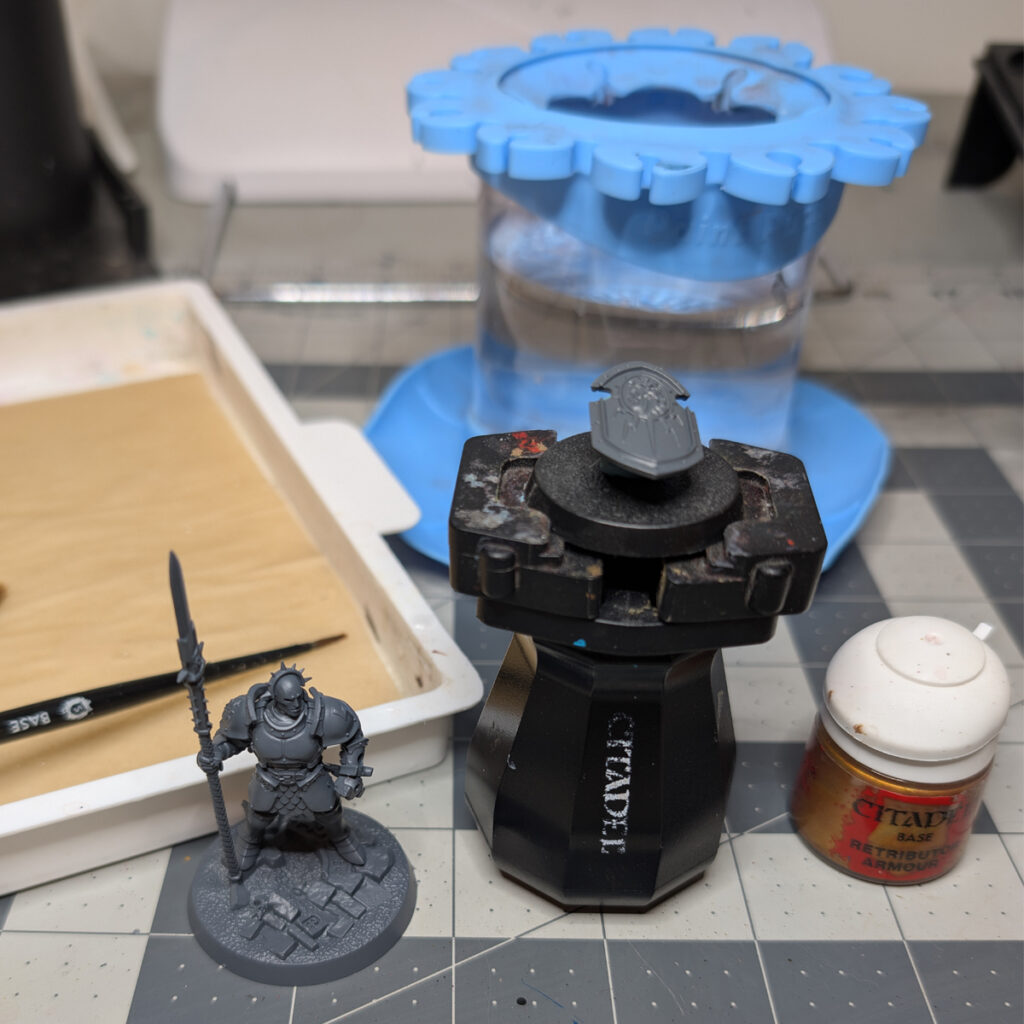
Here I have set up my workspace. The model is built and prepared. Notice I have the shield as a sub-assembly because it would be more difficult to paint the back of the shield and some of the details of the main model if the shield was attached.
I also have the following:
- Wet Palette
- Paint Handle (optional but very handy)
- Small Base Brush, Medium Base Brush
- Paint Puck Paint Brush Cleaner
- My first paint color – Retributor Armor
How do I know what color to start with?
I’ve chosen the gold because about 70% of the model is going to be gold armor. Other base colors are going to be painted on accessories and details of the model. If I make mistakes with those colors, it’s going to be primarily gold that I need to tidy up the mistakes. This makes the base coat clean up process more simplified.
Step 2: Thinning Your Paint for a Smooth Application
Thinning your paint is essential to avoid obscuring details.
- Ratio: Some say mix about 2 parts paint to 1 part water on your palette. Others say you want the consistency of milk. I don’t know what that means. A ratio? I get a little more paint than what I think I’m going to need on the palette and add water until I get the correct consistency.
- Consistency: The paint should flow smoothly but not be watery. What you’re looking for is the paint to flow smoothly from your brush onto the model without overloading your brush with too much paint. You’re also painting with acrylics, not watercolors, so watery paint isn’t going to adhere to the surface of the model. This is something you have to go by feel. It is something you learn with experience.
- Multiple Thin Layers: Apply two or more thin layers rather than one thick coat for even coverage. If you’re having to reload your brush with paint frequently you’re probably not thinned down enough. If you’re losing control of the paint and it’s not adhering to the model then you’re too thinned.
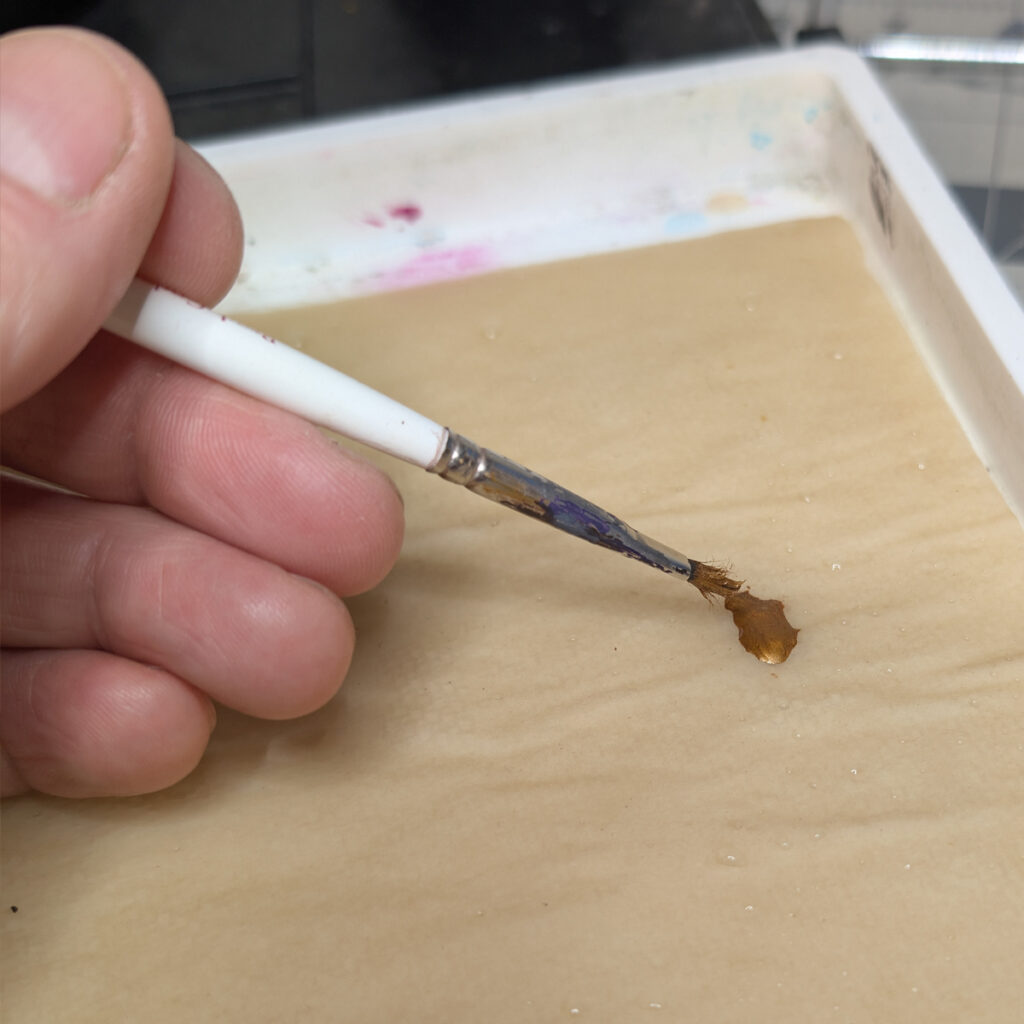
Taking paint out of the pot with the brush and making a dollop on the wet palette.
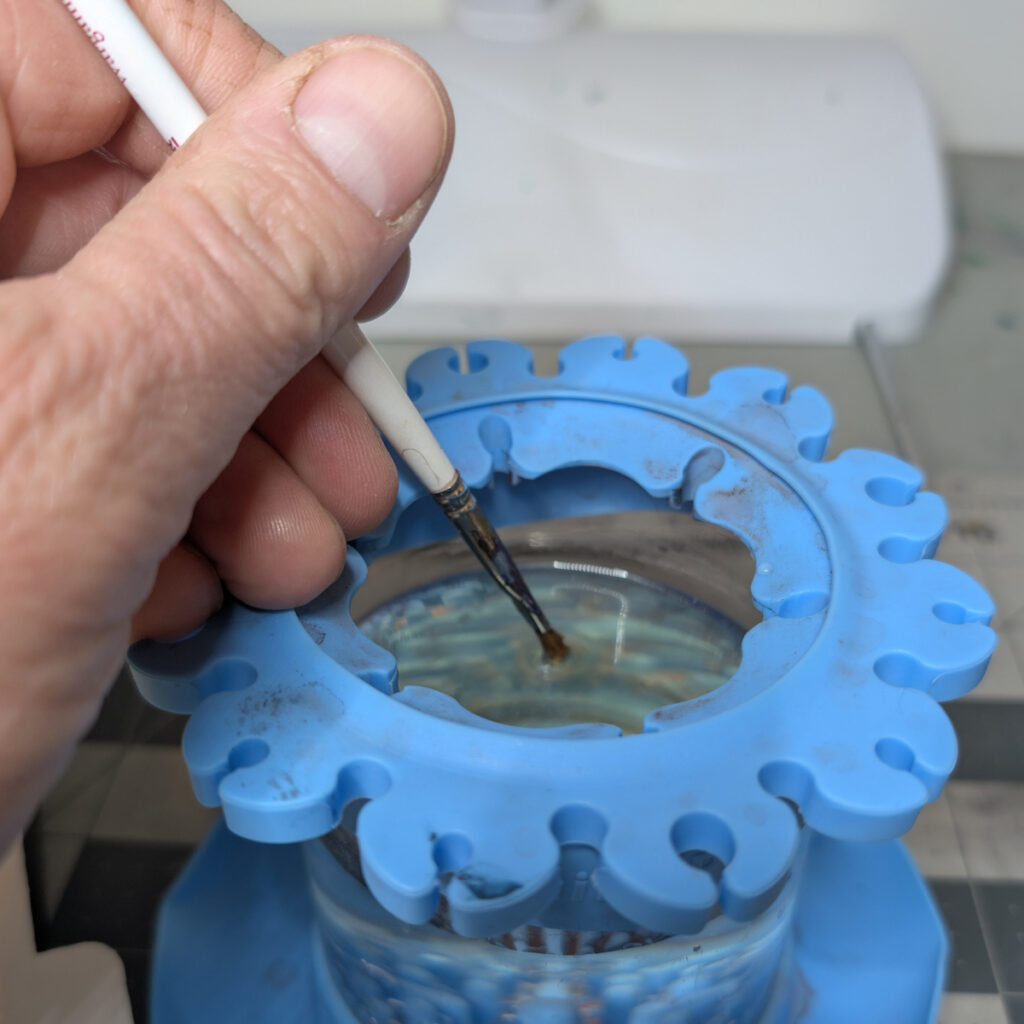
Collecting a little water. Bigger brushes absorb more water – be careful here.
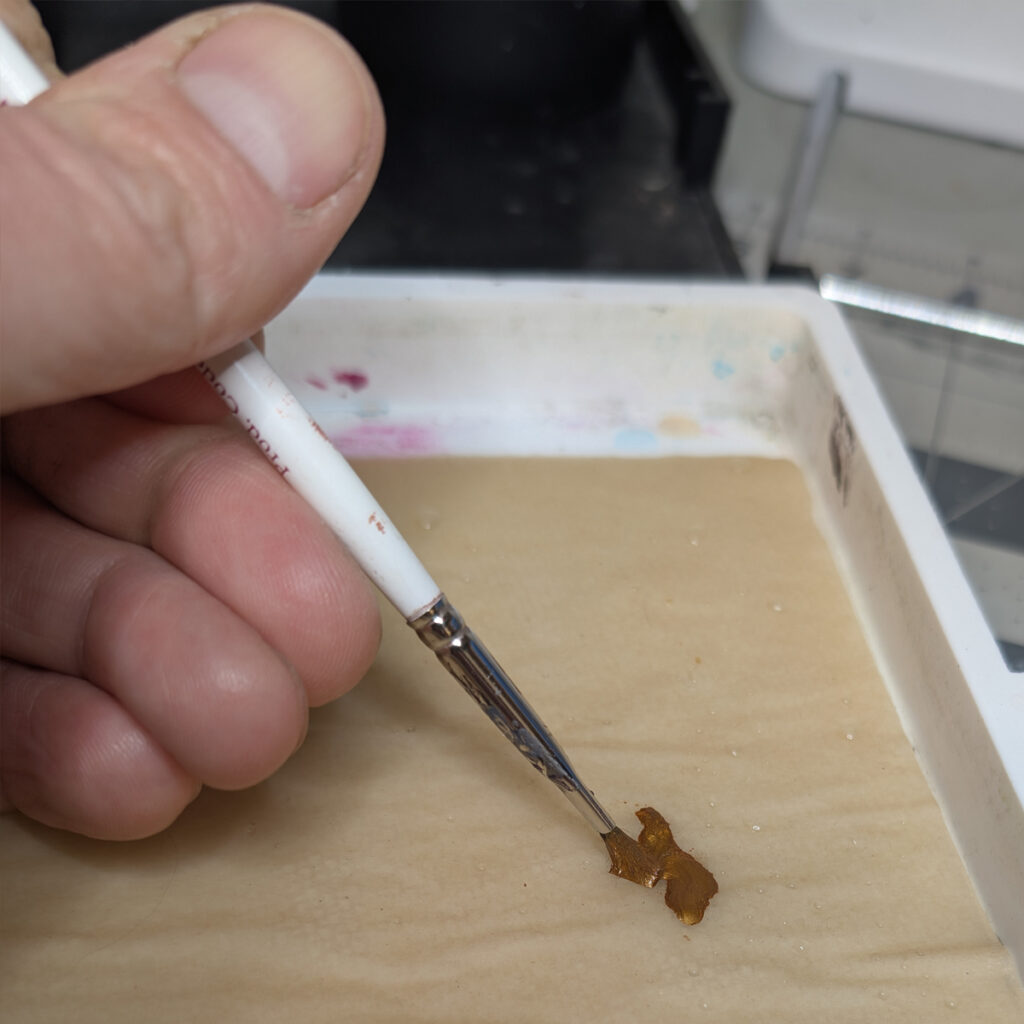
Mixing the collected water into the paint to thin it down. Twist the brush onto the palette to remove excess and shape your brush.
Step 3: Applying Base Colors
Primary Base Color
- Load your brush with your chosen base color and remove excess on a paper towel.
- Apply a smooth, even coat over the designated areas, avoiding pooling in recesses.
- Let the first layer dry, then apply a second coat for solid coverage.
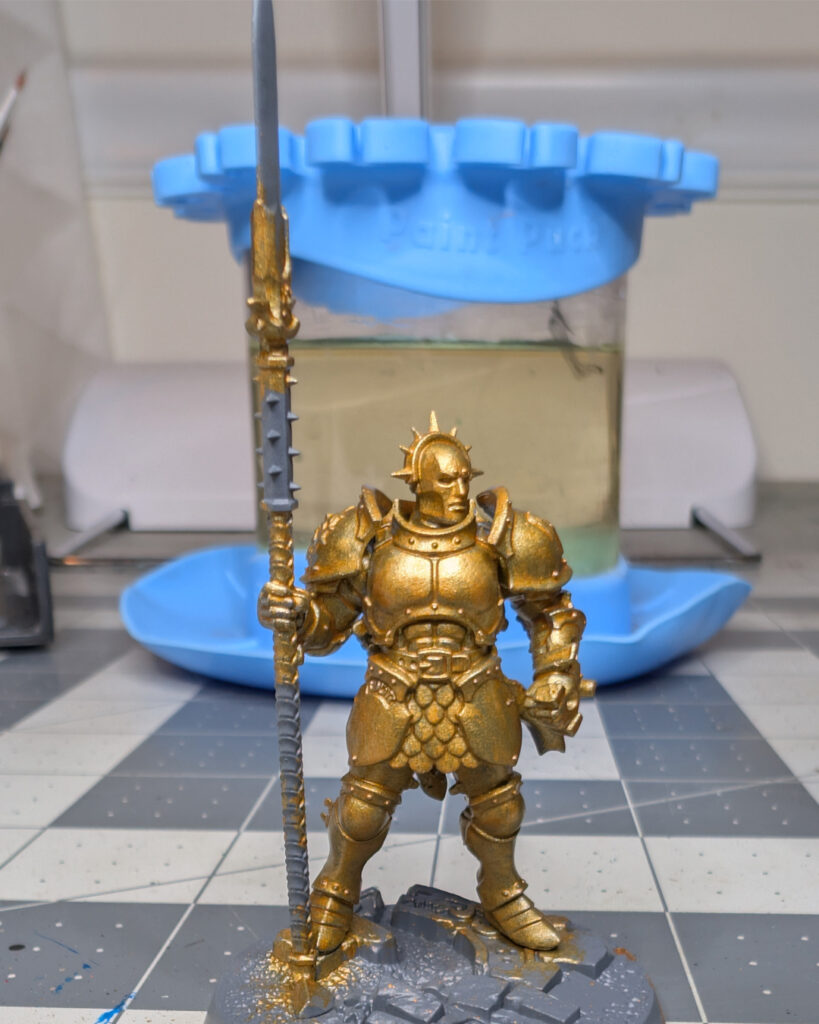
The first layer may not be fully opaque or show a little patchiness or streaking. This is fine, we’ll get it on the next pass.

The second layer smooths out the paints and amplifies the color.
For this step I used the larger of the two brushes – the medium base brush.
A good rule of thumb when base coating is to be okay with things not being perfect on the first pass. This example is the perfect time to practice paint consistency – when you don’t have to be especially neat (although you should always practice brush control for when it matters). Be satisfied with an imperfect first coat, and know that it’s going to look great on the second
Cloth and Fabric Details
- Use a contrasting or complementary shade for fabric elements.
- Carefully paint within the lines to maintain clean edges.
- Apply multiple layers if necessary to achieve a consistent finish.
Metallic Details
- Paint weapons, armor trims, or metallic accents with a silver, gold, or bronze tone.
- Use a controlled brushstroke to avoid spilling onto other areas.
- Metallic paints can sometimes appear streaky—apply additional thin layers if needed.
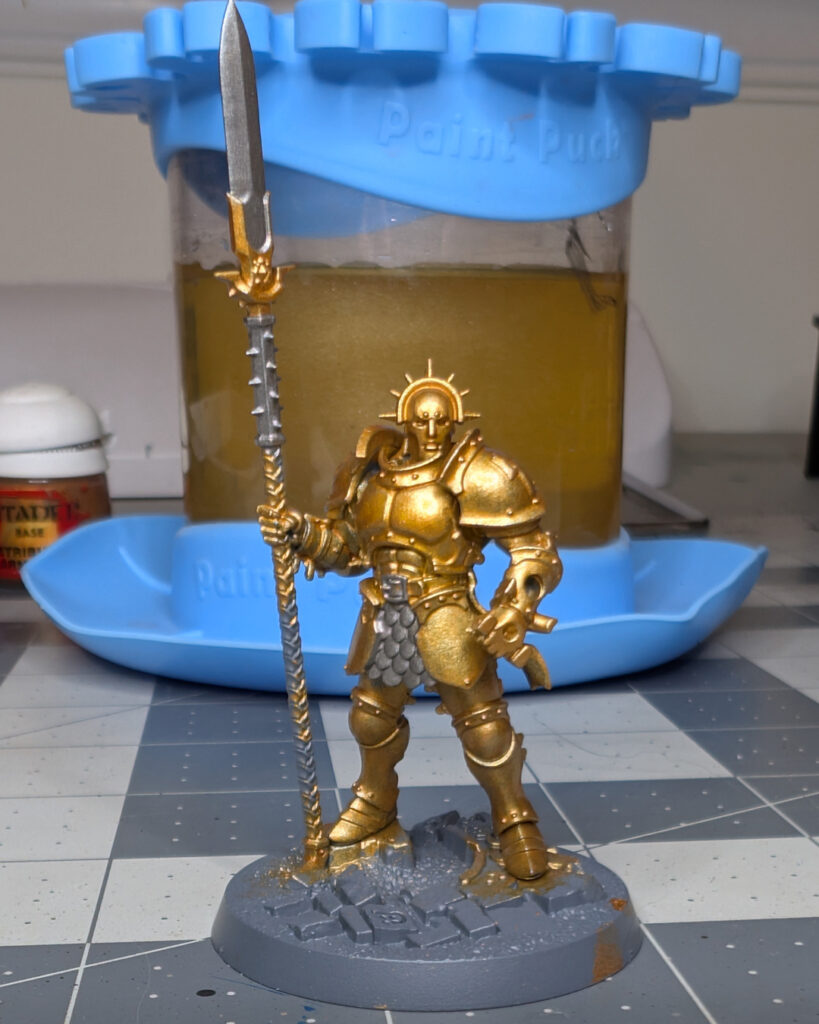
Here I have painted 2 thinned coats of Leadbelcher for the Scale Skirt, the Spear Blade and Socket, and the tiny Belt Buckle. I realize I am likely going to have to go back over the belt buckle when I paint the belt.
For this step I switched to the small base brush to be neater with smaller areas to paint.
Leather Straps and Accessories
- Use a darker brown or neutral color for pouches, belts, and grips.
- A smaller brush may help in detailed areas.
- Keep layers thin to preserve texture.
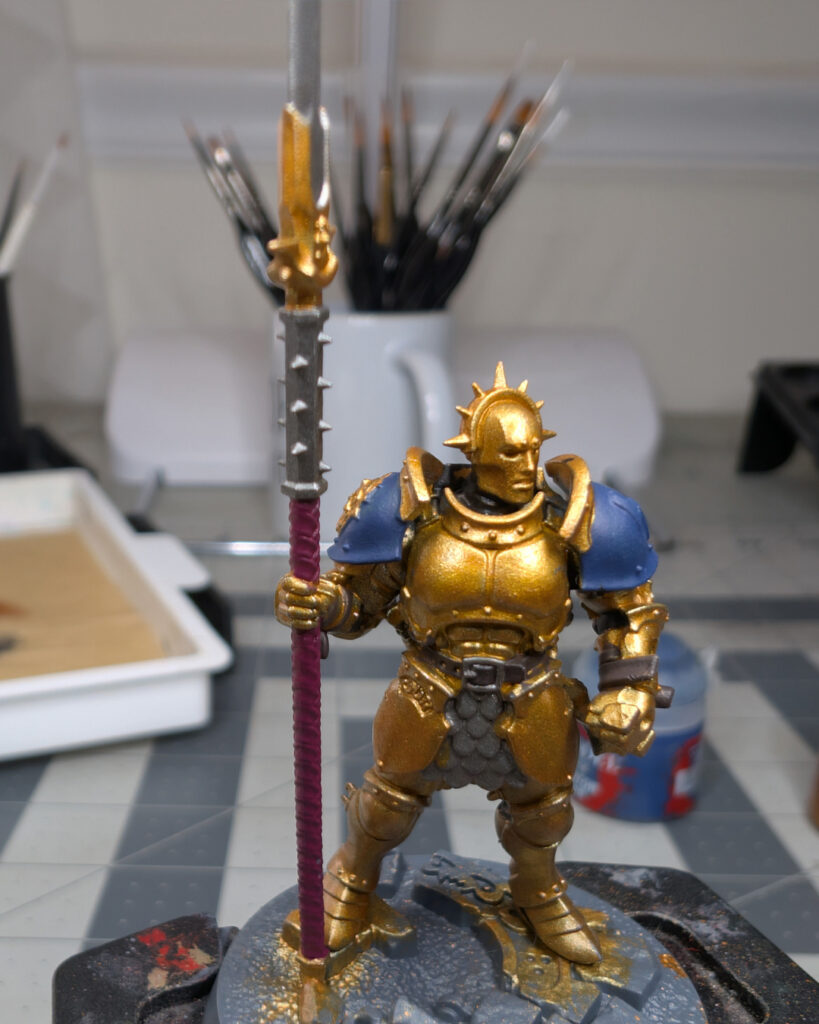
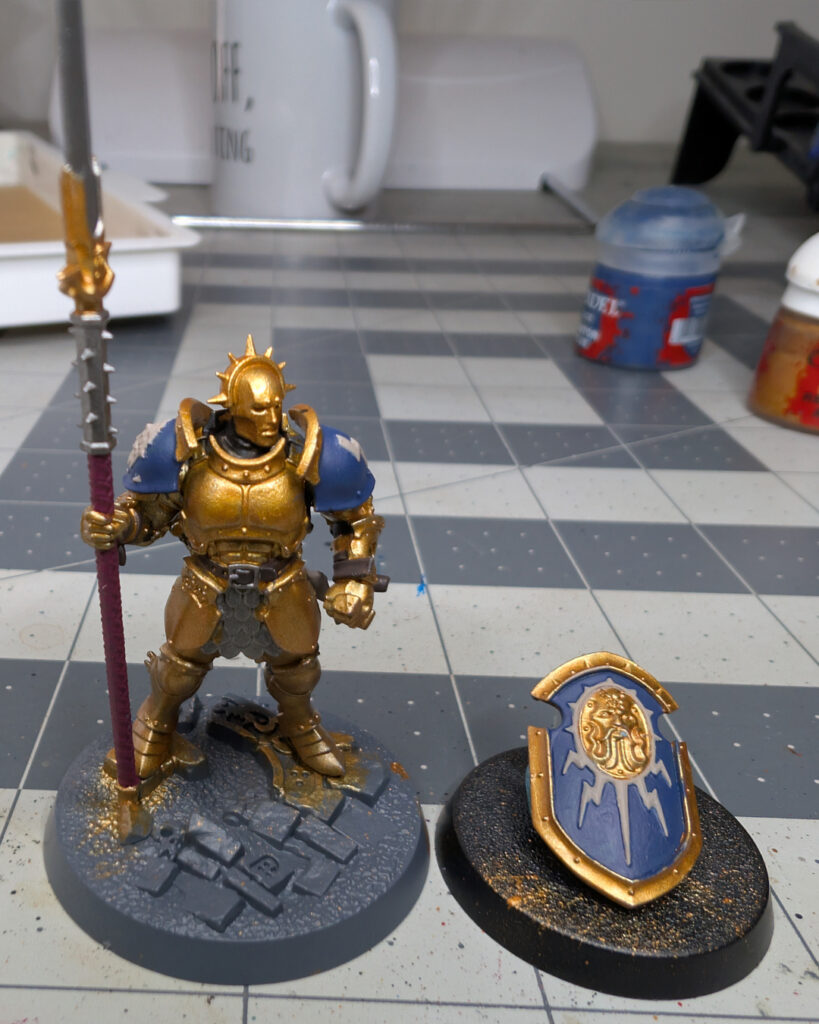
Finishing up the key basics – I painted the Shoulder Pads Kantor Blue, the Belt and Armor Straps Dryad Bark (Brown), and I painted the haft of the Spear Screamer Pink. I’m still using the small base brush at this point and will likely not go back to the bigger brush.
Plumes and Decorative Details
- Choose a bright or striking color for fabric plumes or decorative patterns.
- A fine detail brush will help maintain precision in small areas.
- Allow each layer to dry fully before adding another.

The details included the back of the belt and the hanger for the sword sheath, the parchment and shoulder emblems I painted Rakarth Flesh (a very light grey), the sword sheath I continued with Kantor Blue and managed to get the hilt of the sword because I missed it earlier, and finally there are some areas on the armor that are clearly clothes underneath. I tackled those with a little Abaddon Black.
Step 4: Fixing Mistakes and Touch-Ups
- Use a clean damp brush to remove mistakes before the paint dries.
- Reapply primer in small spots if too much paint has been removed.
- Use a steady hand and revisit areas with a fresh layer to clean up edges.
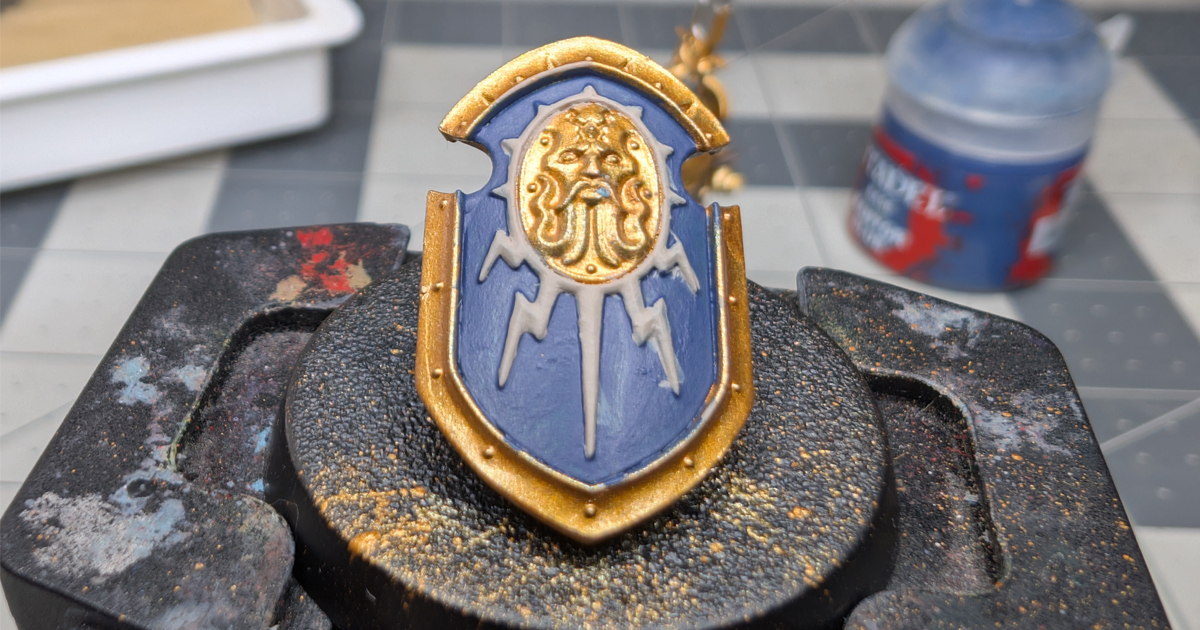
Cleaning up mistakes only took a few minutes. Base coating really is all about order of operations to make the paint job less frustrating. Primarily, I had to touch up some of the gold areas where maybe I just smudged another color without realizing. Next, I had to touch up the blue lines along the should blades and especially around the lightning on the shield. And finally, I did have to re-touch that belt buckle with a little bit of Leadbelcher.
All in all, corrections maybe took 5 minutes. When you use thinned coats it’s easier to correct mistakes, especially with lighter colors over darker or paints with less pigments (naturally thin paints) over more pigments (naturally thick paints).
A photograph can help you see things you may not see on the live model. For instance, I can see a little blue smudge on the bottom right of the shield that needs a little gold edge. Sometimes, the camera lens helps you see what your naked eyes do not perceive.
Step 5: Letting the Base Coat Dry Completely
- Ensure all areas are fully dry before moving to shading and highlighting.
- Avoid handling the model by painted areas—use a painting handle or base holder.
- Inspect your work under good lighting to catch any inconsistencies.
Final Thoughts
A well-executed base coat sets the stage for the rest of your painting process. Taking the time to apply smooth, even layers with the right techniques will make shading, highlighting, and detailing much easier. Next up, check out our guide on How to Shade Miniatures for Depth and Contrast to bring your model to life!
Base Coating Shopping List
- Games Workshop Small Base Brush
- Games Workshop Medium Base Brush
- Paint Puck Paint Brush Cleaner
- Wet Palette
- Citadel Colour Dryad Bark
- Citadel Colour Retributor Armor
- Citadel Colour Kantor Blue
- Citadel Colour Leadbelcher
- Citadel Colour Screamer Pink
- Citadel Colour Rakarth Flesh
- Citadel Colour Abbadon Black
No responses yet