Mythic Minis is reader-supported. When you buy through our affiliate links, we may earn a small commission—never costing you anything extra. Your support helps us keep creating helpful painting guides and hobby resources for everyone.
Introduction
Before you begin painting your miniatures, proper preparation and assembly are crucial. Taking the time to clean, assemble, and prime your models correctly will ensure smoother painting, better adhesion, and a more polished final result. This guide will walk you through each step, from unboxing to readying your miniatures for the first brushstroke.
Step 1: Unboxing and Checking Components
Before starting, carefully inspect all parts of your miniature kit.
- Check for missing pieces. Compare the contents to the assembly guide.
- Identify mold lines and sprue connections. These will need to be cleaned up.
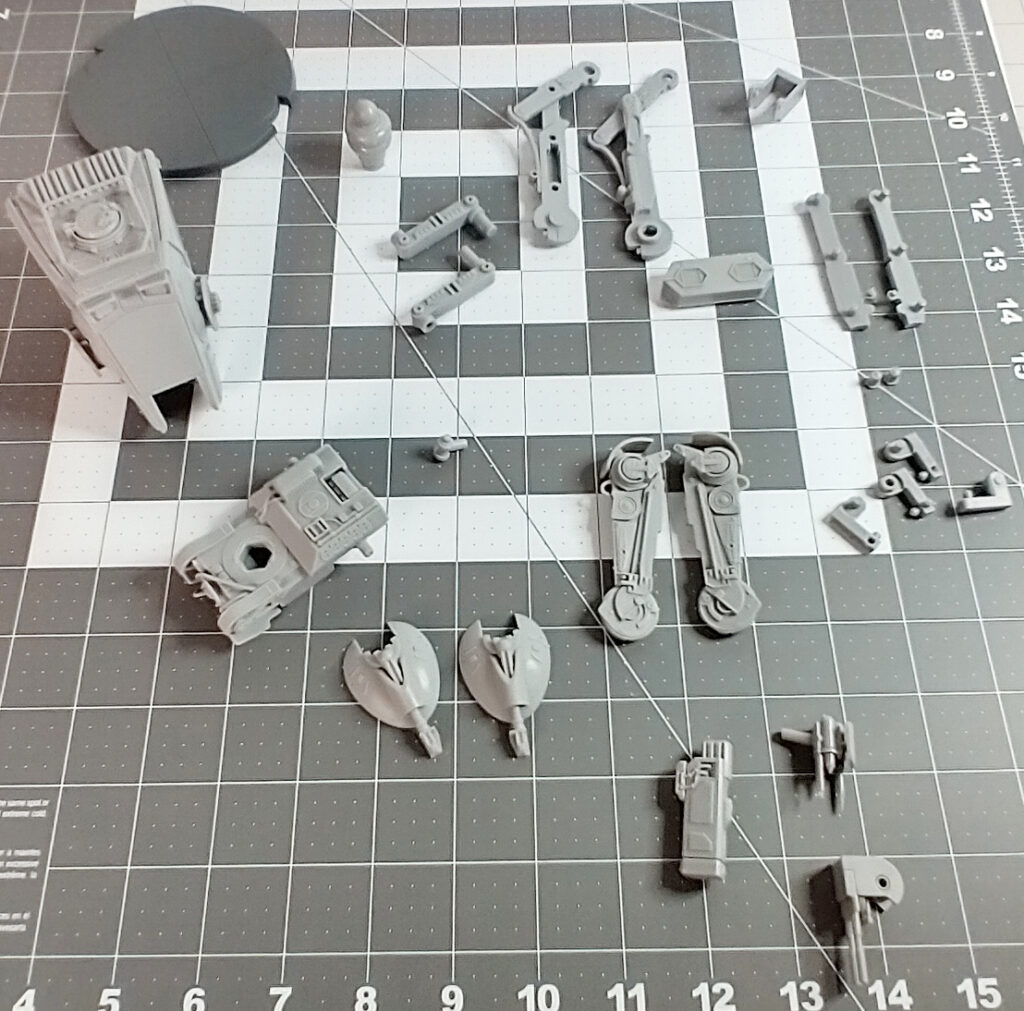
- Sort parts by section. Organize based on assembly order to avoid confusion.
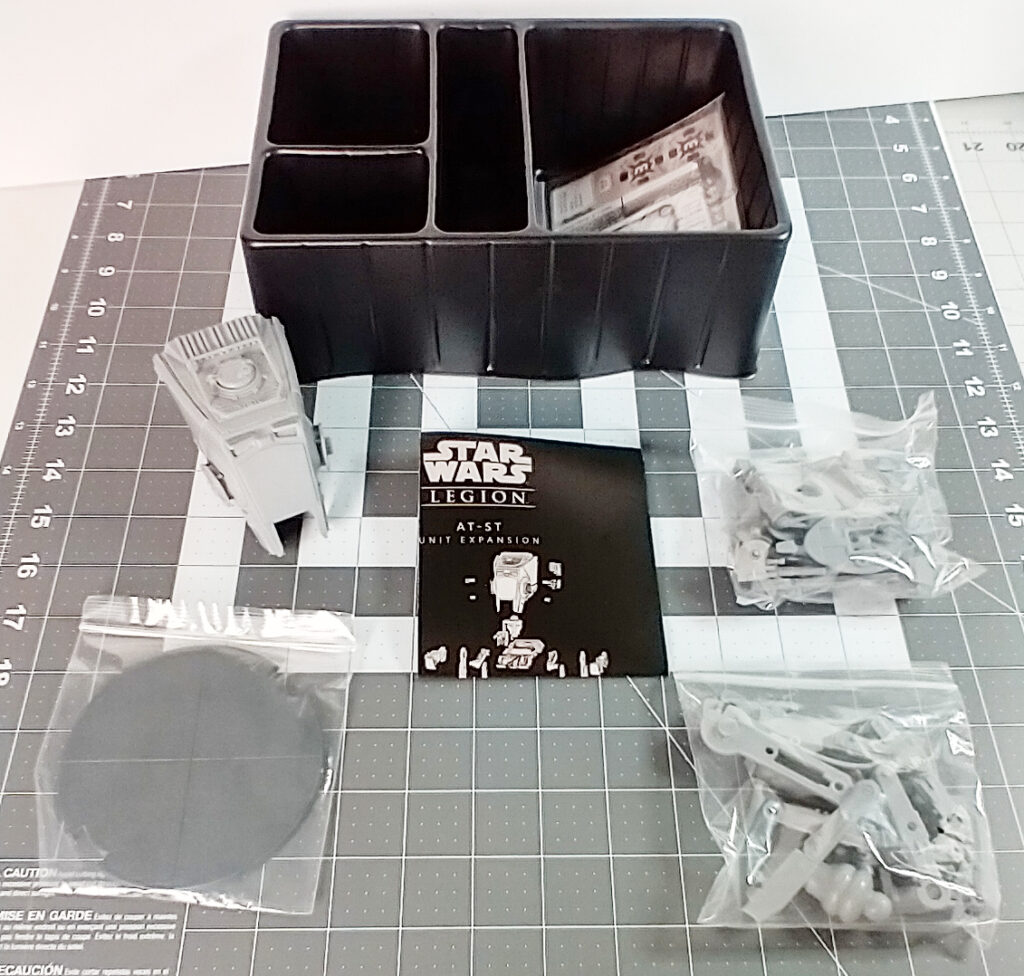
Here we are unboxing an AT-ST from Star Wars Legion game. The Star Wars Legion kits are made by Atomic Mass Games, and they are typically excellent quality plastic model kits. Our next step is to look at our parts list on our instructions and make sure nothing is damaged or missing.
Step 2: Removing Parts from the Sprue
Plastic miniatures come attached to sprues, and removing them properly prevents damage.
** A very important part of this step is to read your instructions thoroughly before cutting off any pieces. Some model kits come with accessory choice or build options that cannot be undone once they are glued. Decide on how you’re going to customize your kit before starting the build!
Best Practices:
- Use sprue clippers to cut parts cleanly, avoiding stress on delicate pieces.
- Cut away from fine details to prevent accidental damage.
- Avoid twisting or pulling pieces off the sprue, as this can leave excess plastic or even break them.
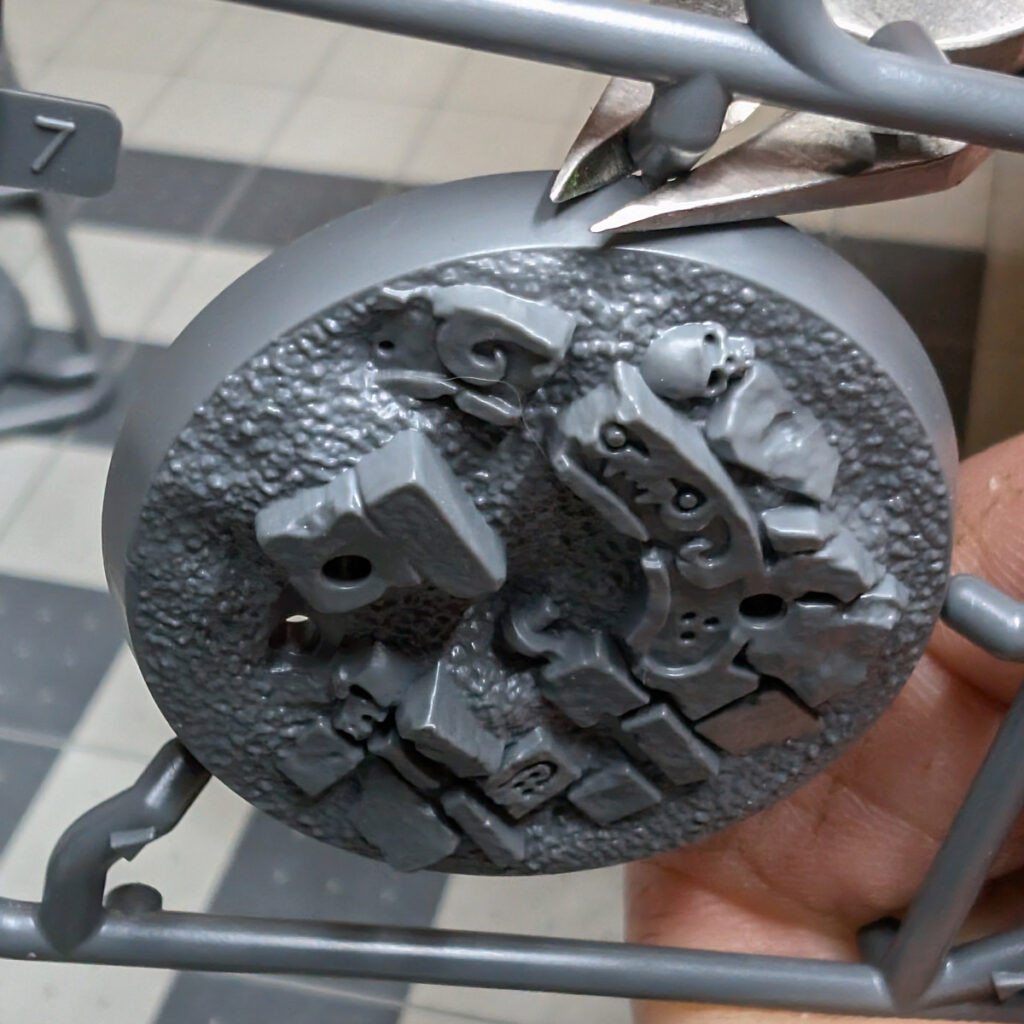
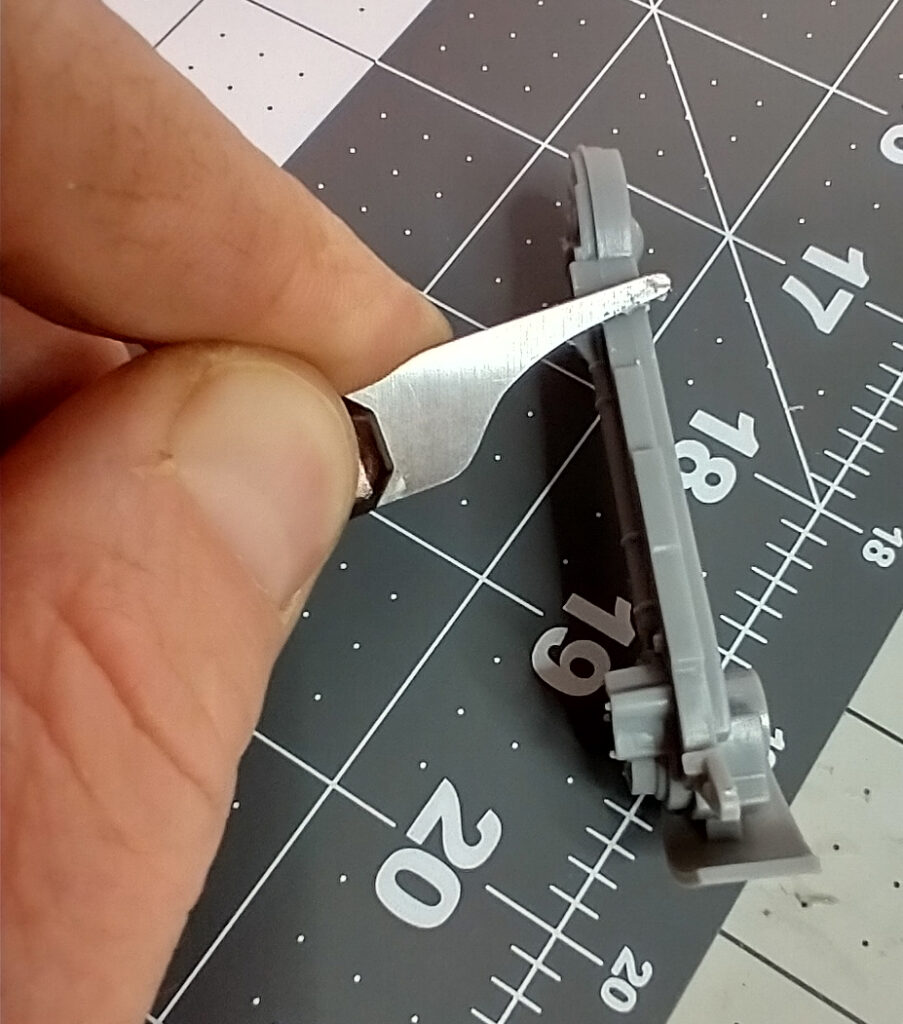
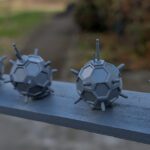
As the AT-ST kit did not come with a sprue, here is a picture from another model kit. Using a sharp clippers, you want to make a nice, clean cut to separate the part from the sprue frame. The flat end of the clippers should be flush with the part in order to minimize the little plastic nub that remains. The nub can be removed using a mould-line remover, but it increases the chance of the part being damaged or jagged.
Step 3: Cleaning Mold Lines and Flash
Manufacturing processes leave behind mold lines or excess material (flash) that can disrupt smooth painting.
How to Remove Mould Lines:
- Hobby Knife: Gently scrape along the mold line for clean removal.
- Fine Grit Sandpaper or File: Smooth out rough areas without damaging details.
- Mould Line Remover Tool: A safer option that reduces risk of cutting too deep.
Spending time on this step ensures a more professional-looking paint job. The more experienced you become with painting the more you appreciate clean surfaces to paint on.
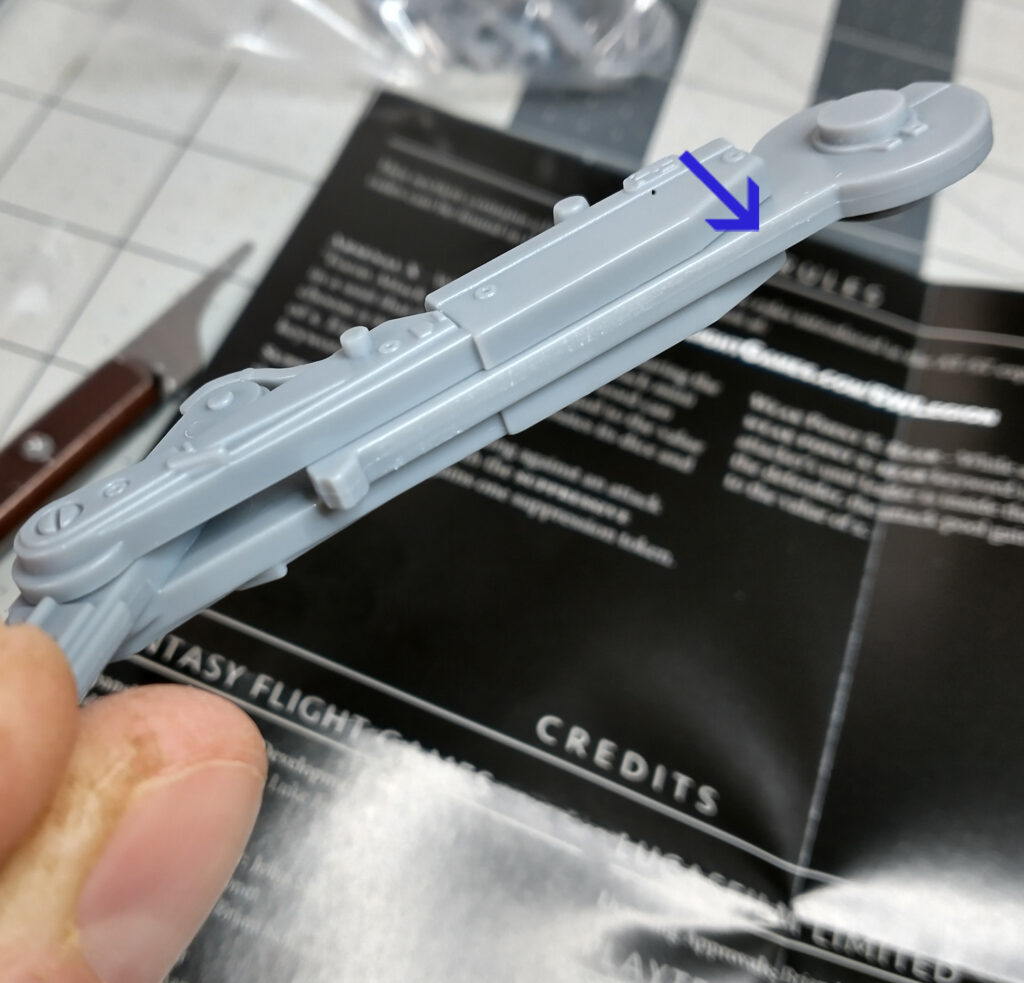
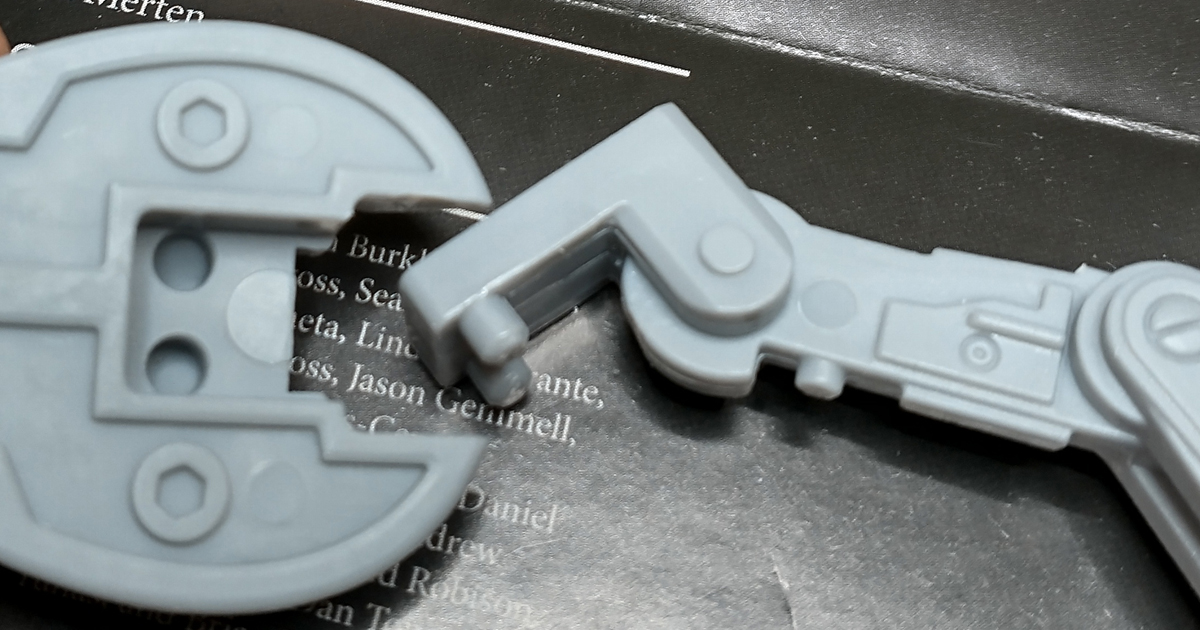
Above, we see a clean, straight mould line likely from two halves of the mould being joined together in the plastic injection moulding manufacturing process. This will be very easy to clean, and I recommend a mould line scraper or an X-acto knife. The remover is safer, especially for kids (but let’s face it, adults too!) and minimizes risk of damaging the plastic part.
Nice, easy stright line – like peeling a potato.
Step 4: Dry-Fitting Pieces Before Gluing
Before permanently assembling your miniature, test how the pieces fit together.
- Check for gaps or misalignment. Some pieces may require slight trimming or adjustment.
- Use Blu-Tack or poster putty to temporarily hold pieces in place and test positioning.
- Plan sub-assemblies (keeping separate pieces that might block easy painting).
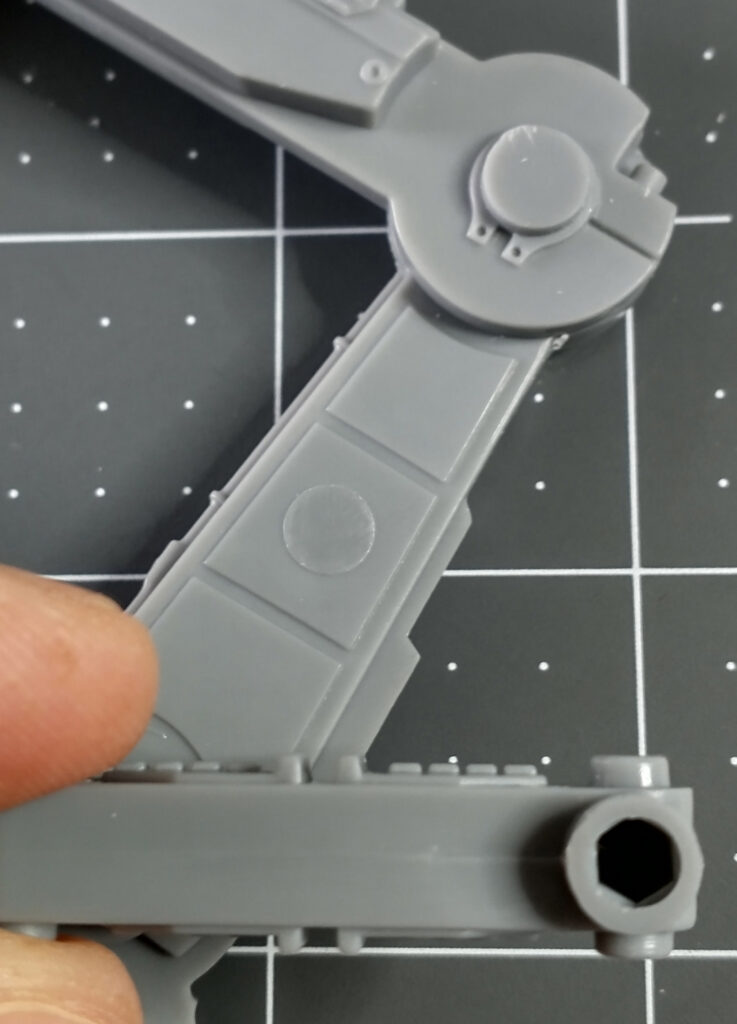
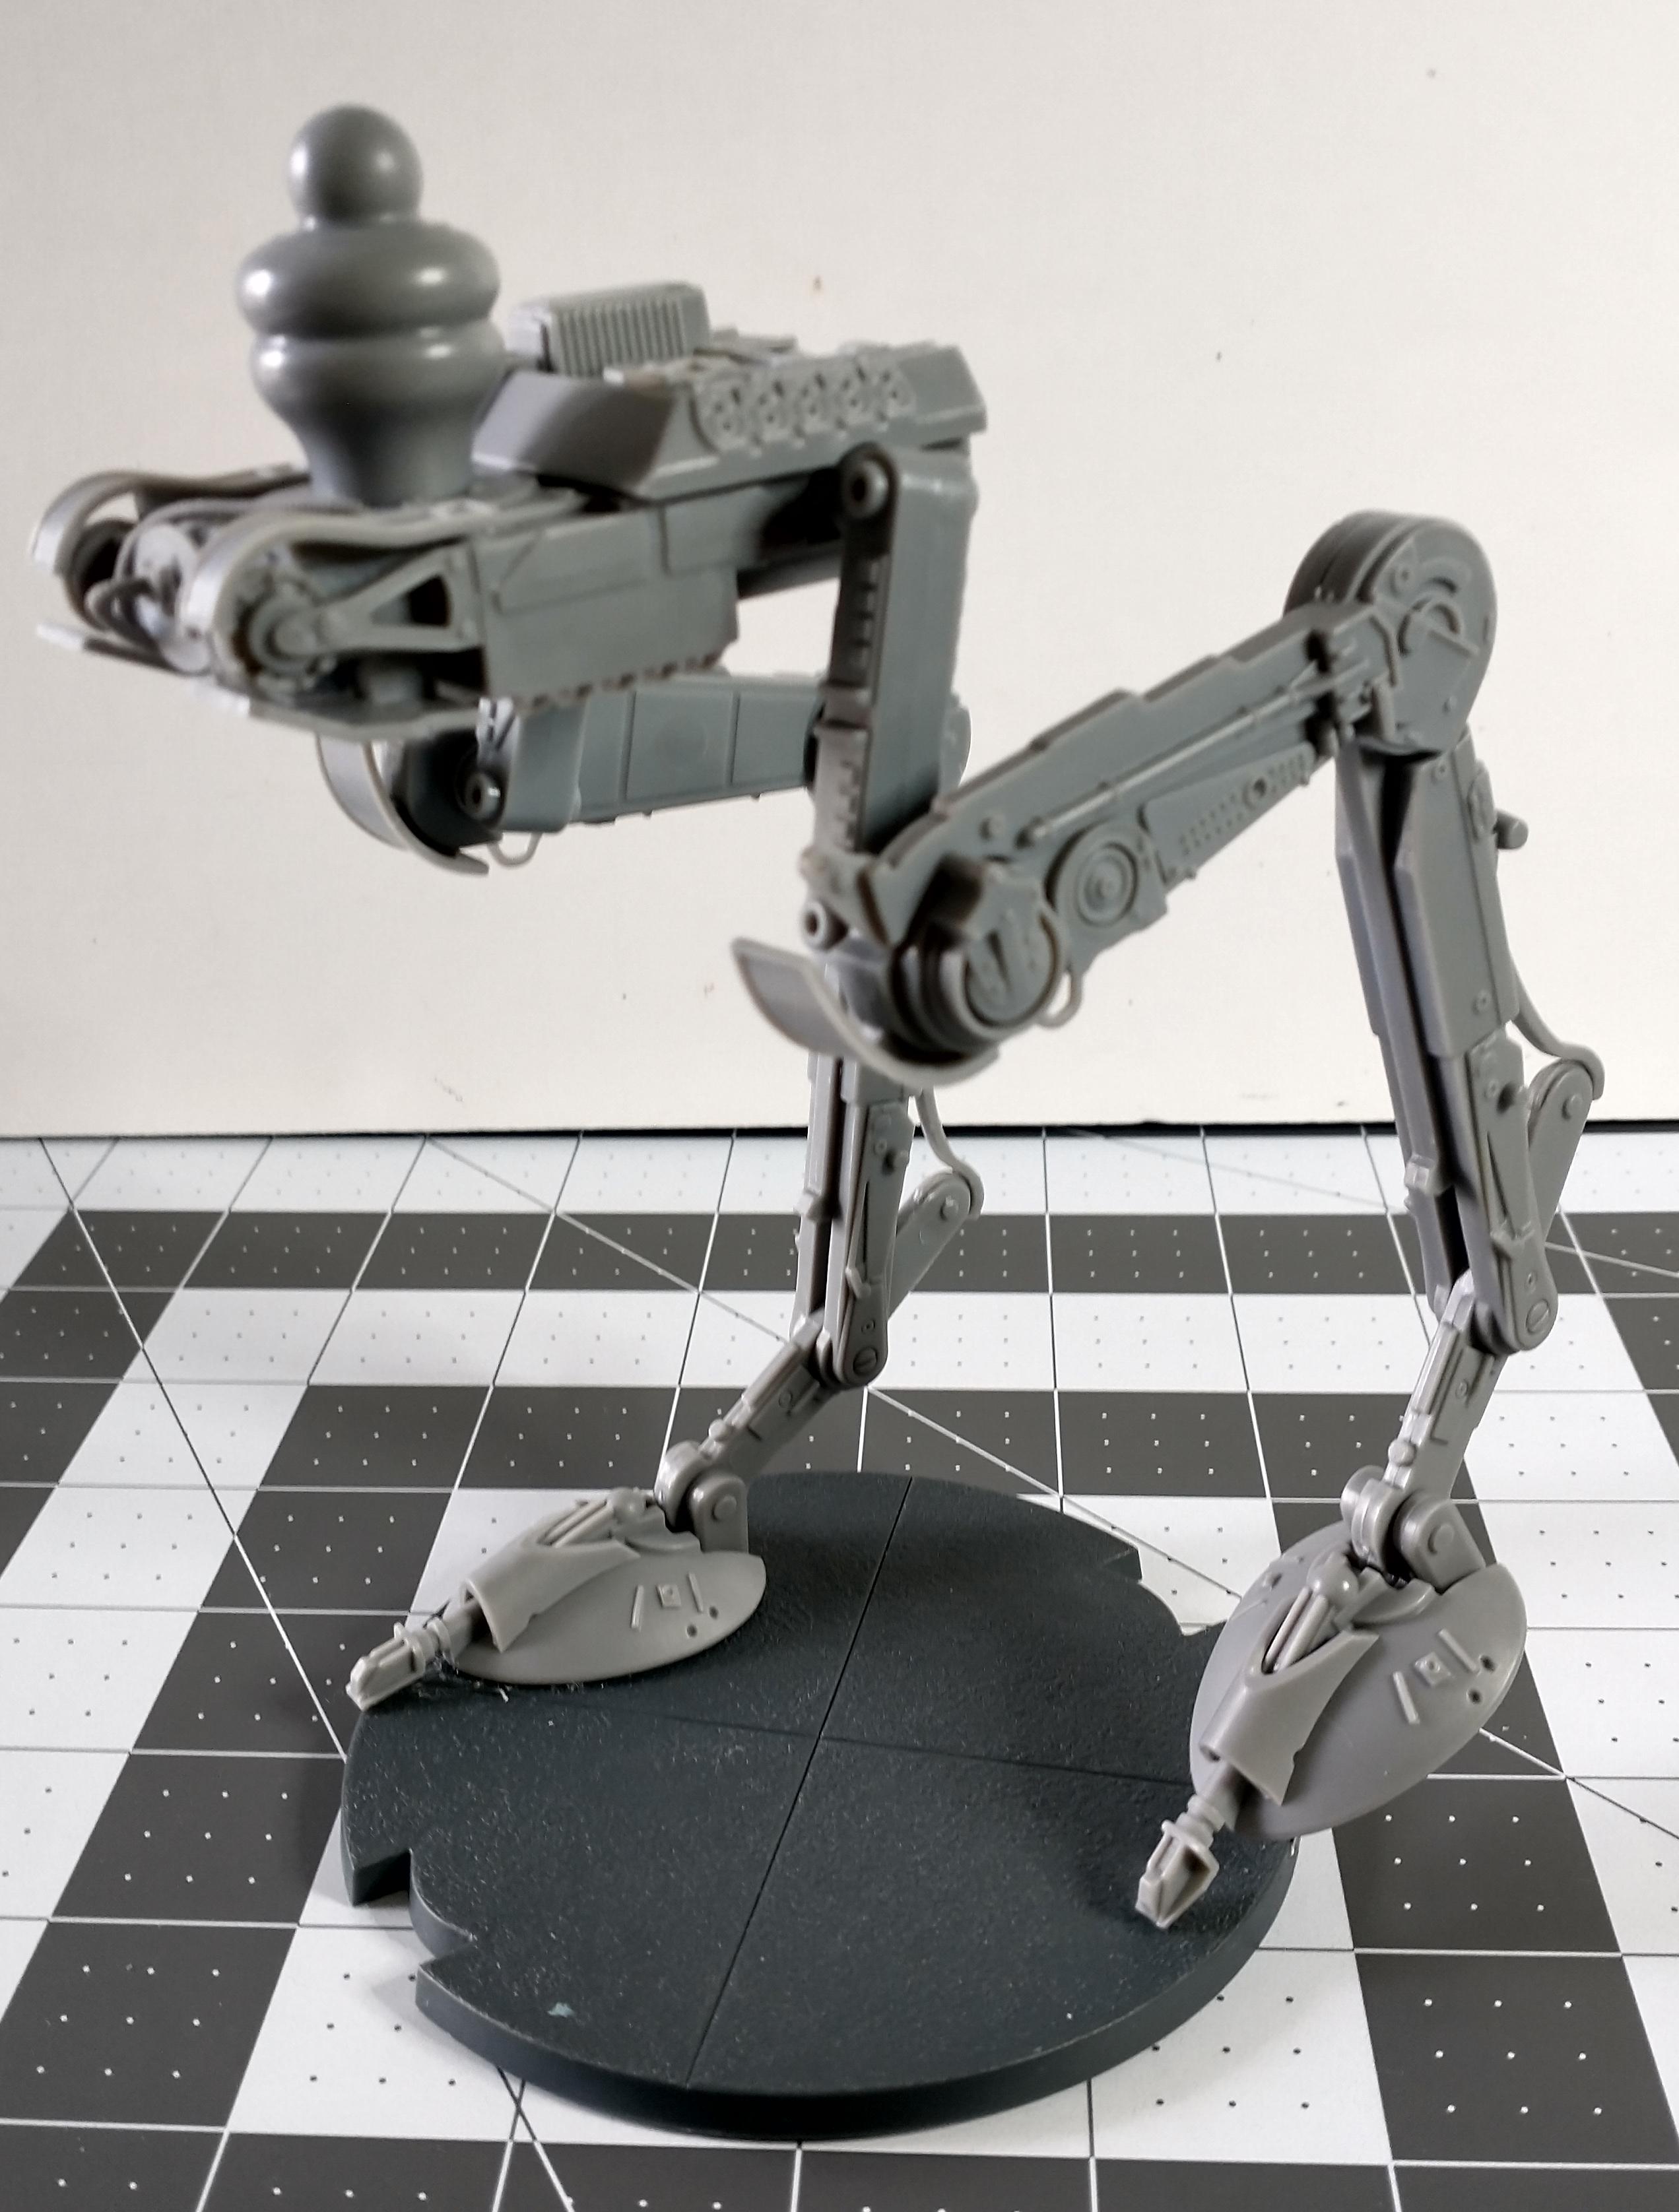
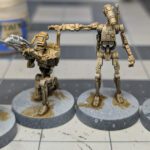
Above, I am test fitting some parts to make sure I can attain the desired angle of the legs, and I’m also making sure I can balance the other leg properly.
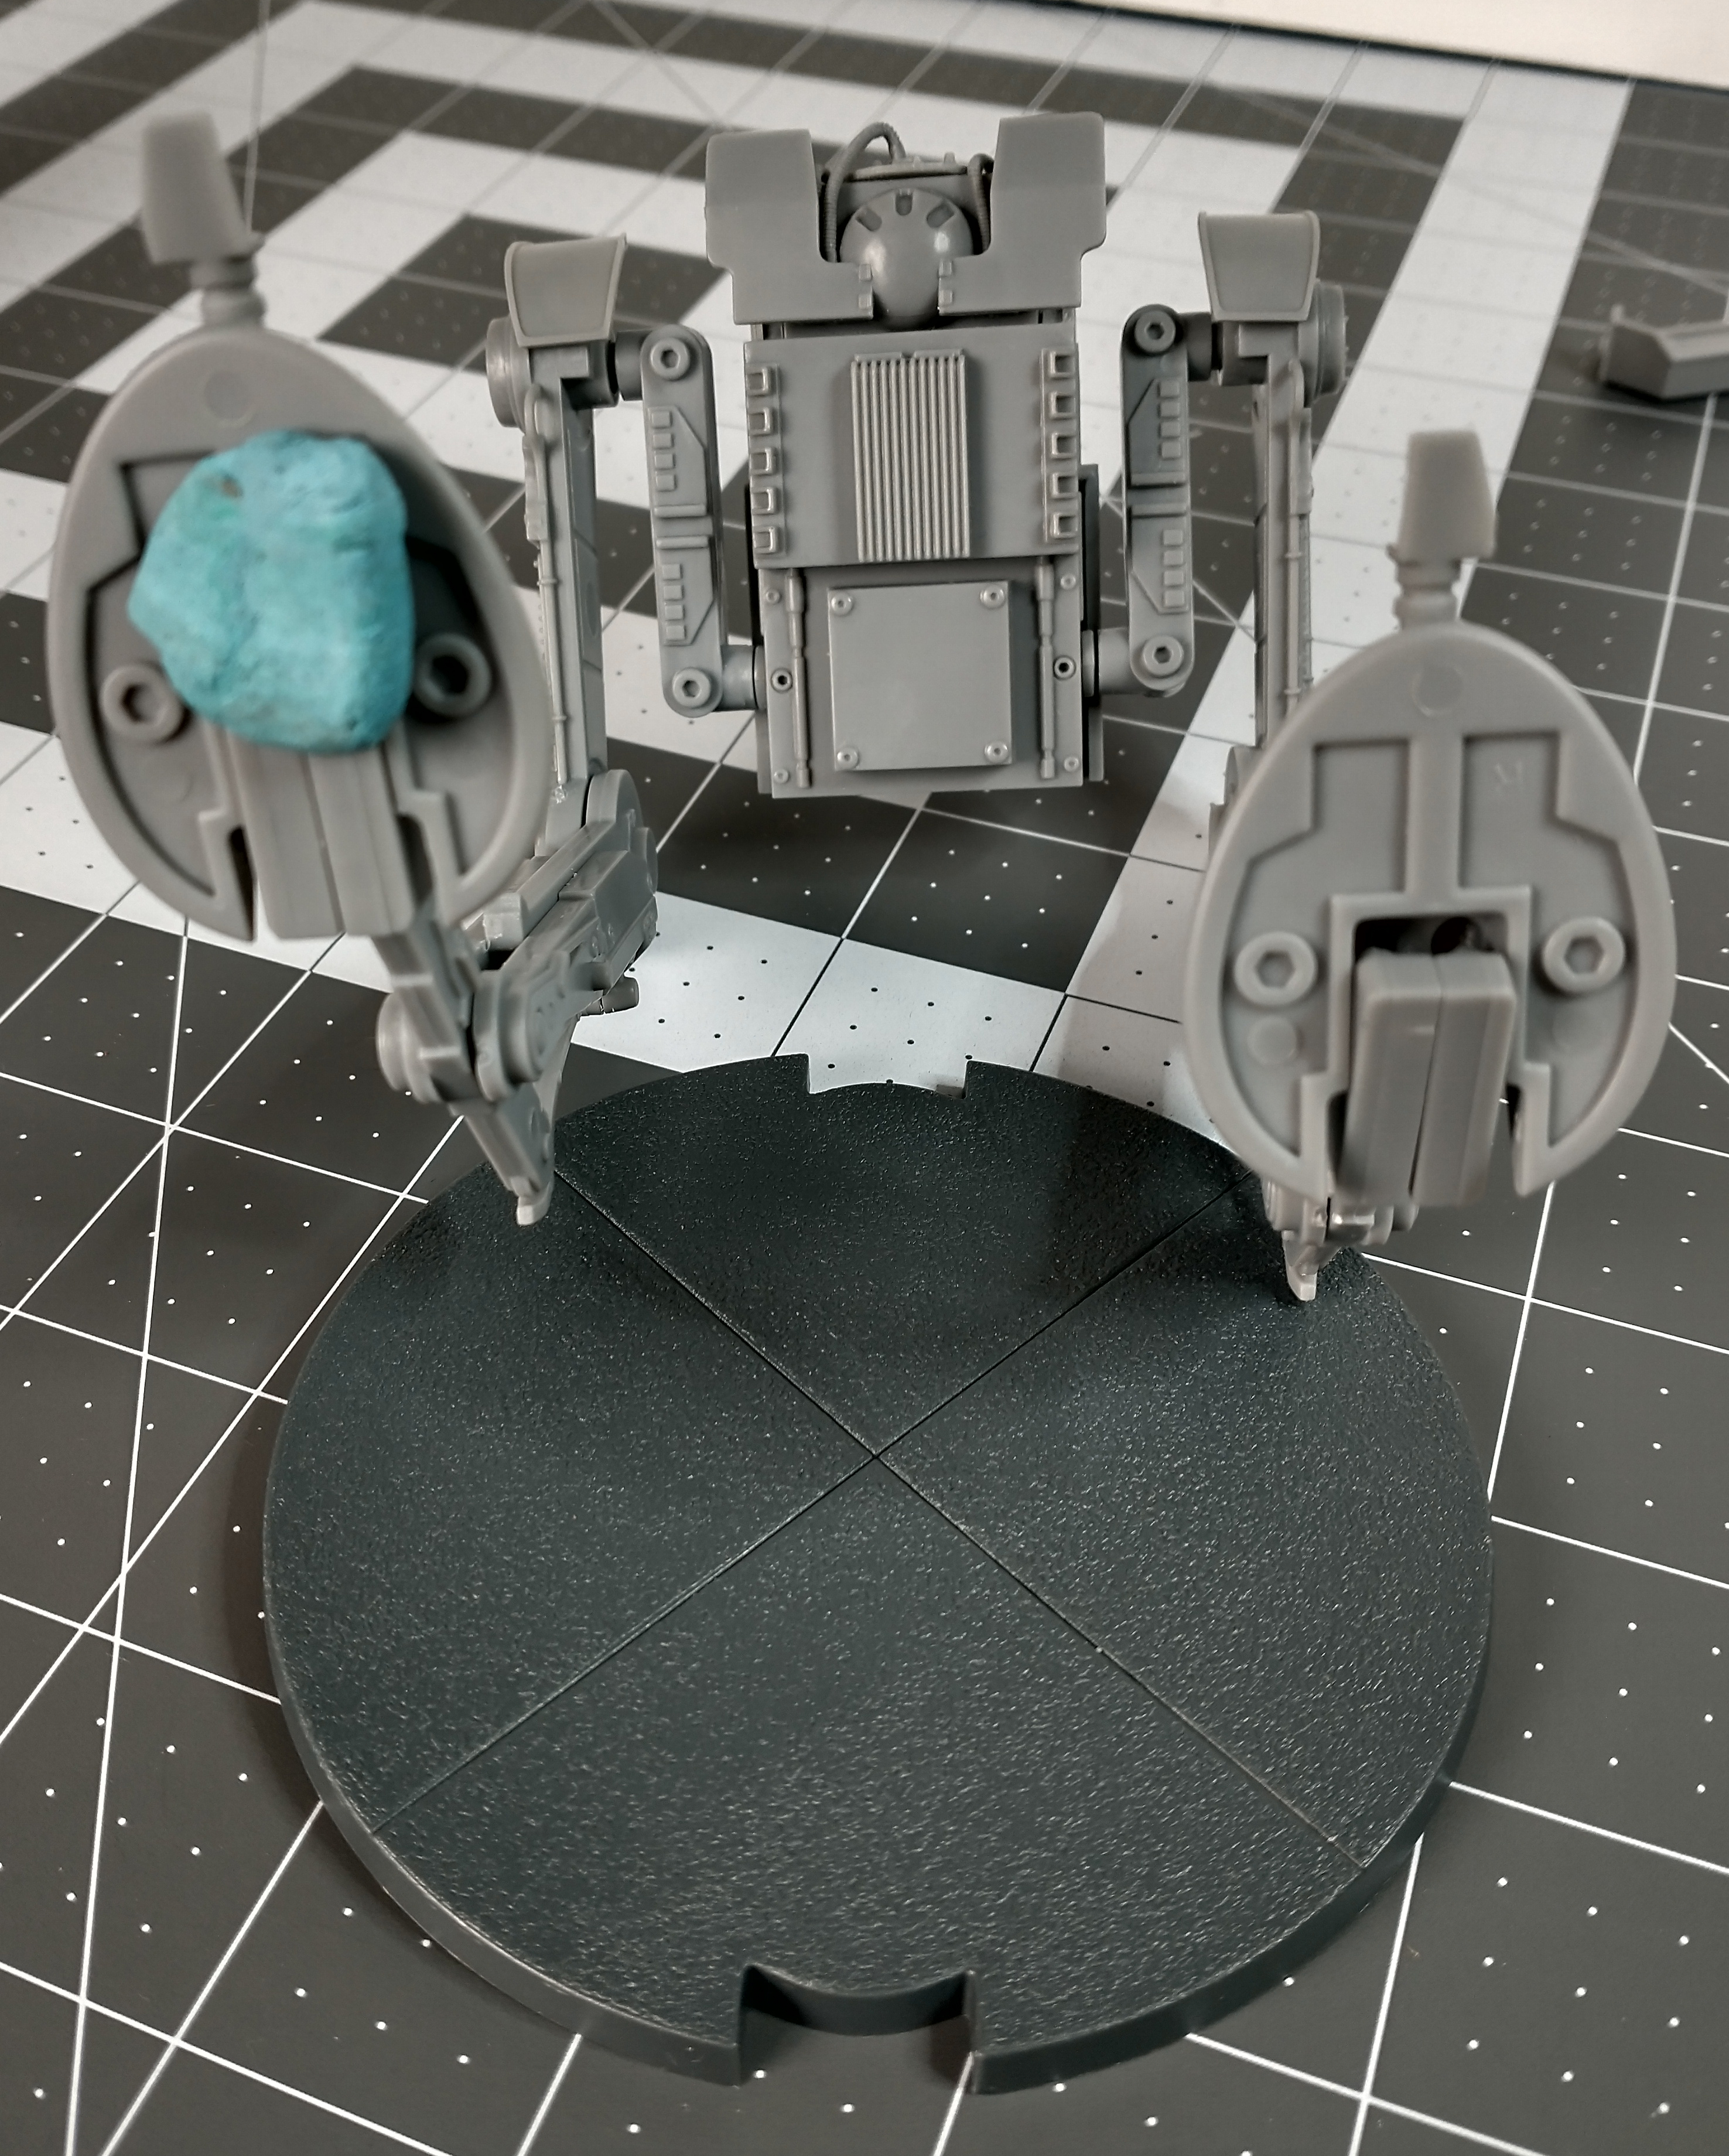
Adding Poster Tack to temporarily secure the model into position while I glue the leg pieces into position.
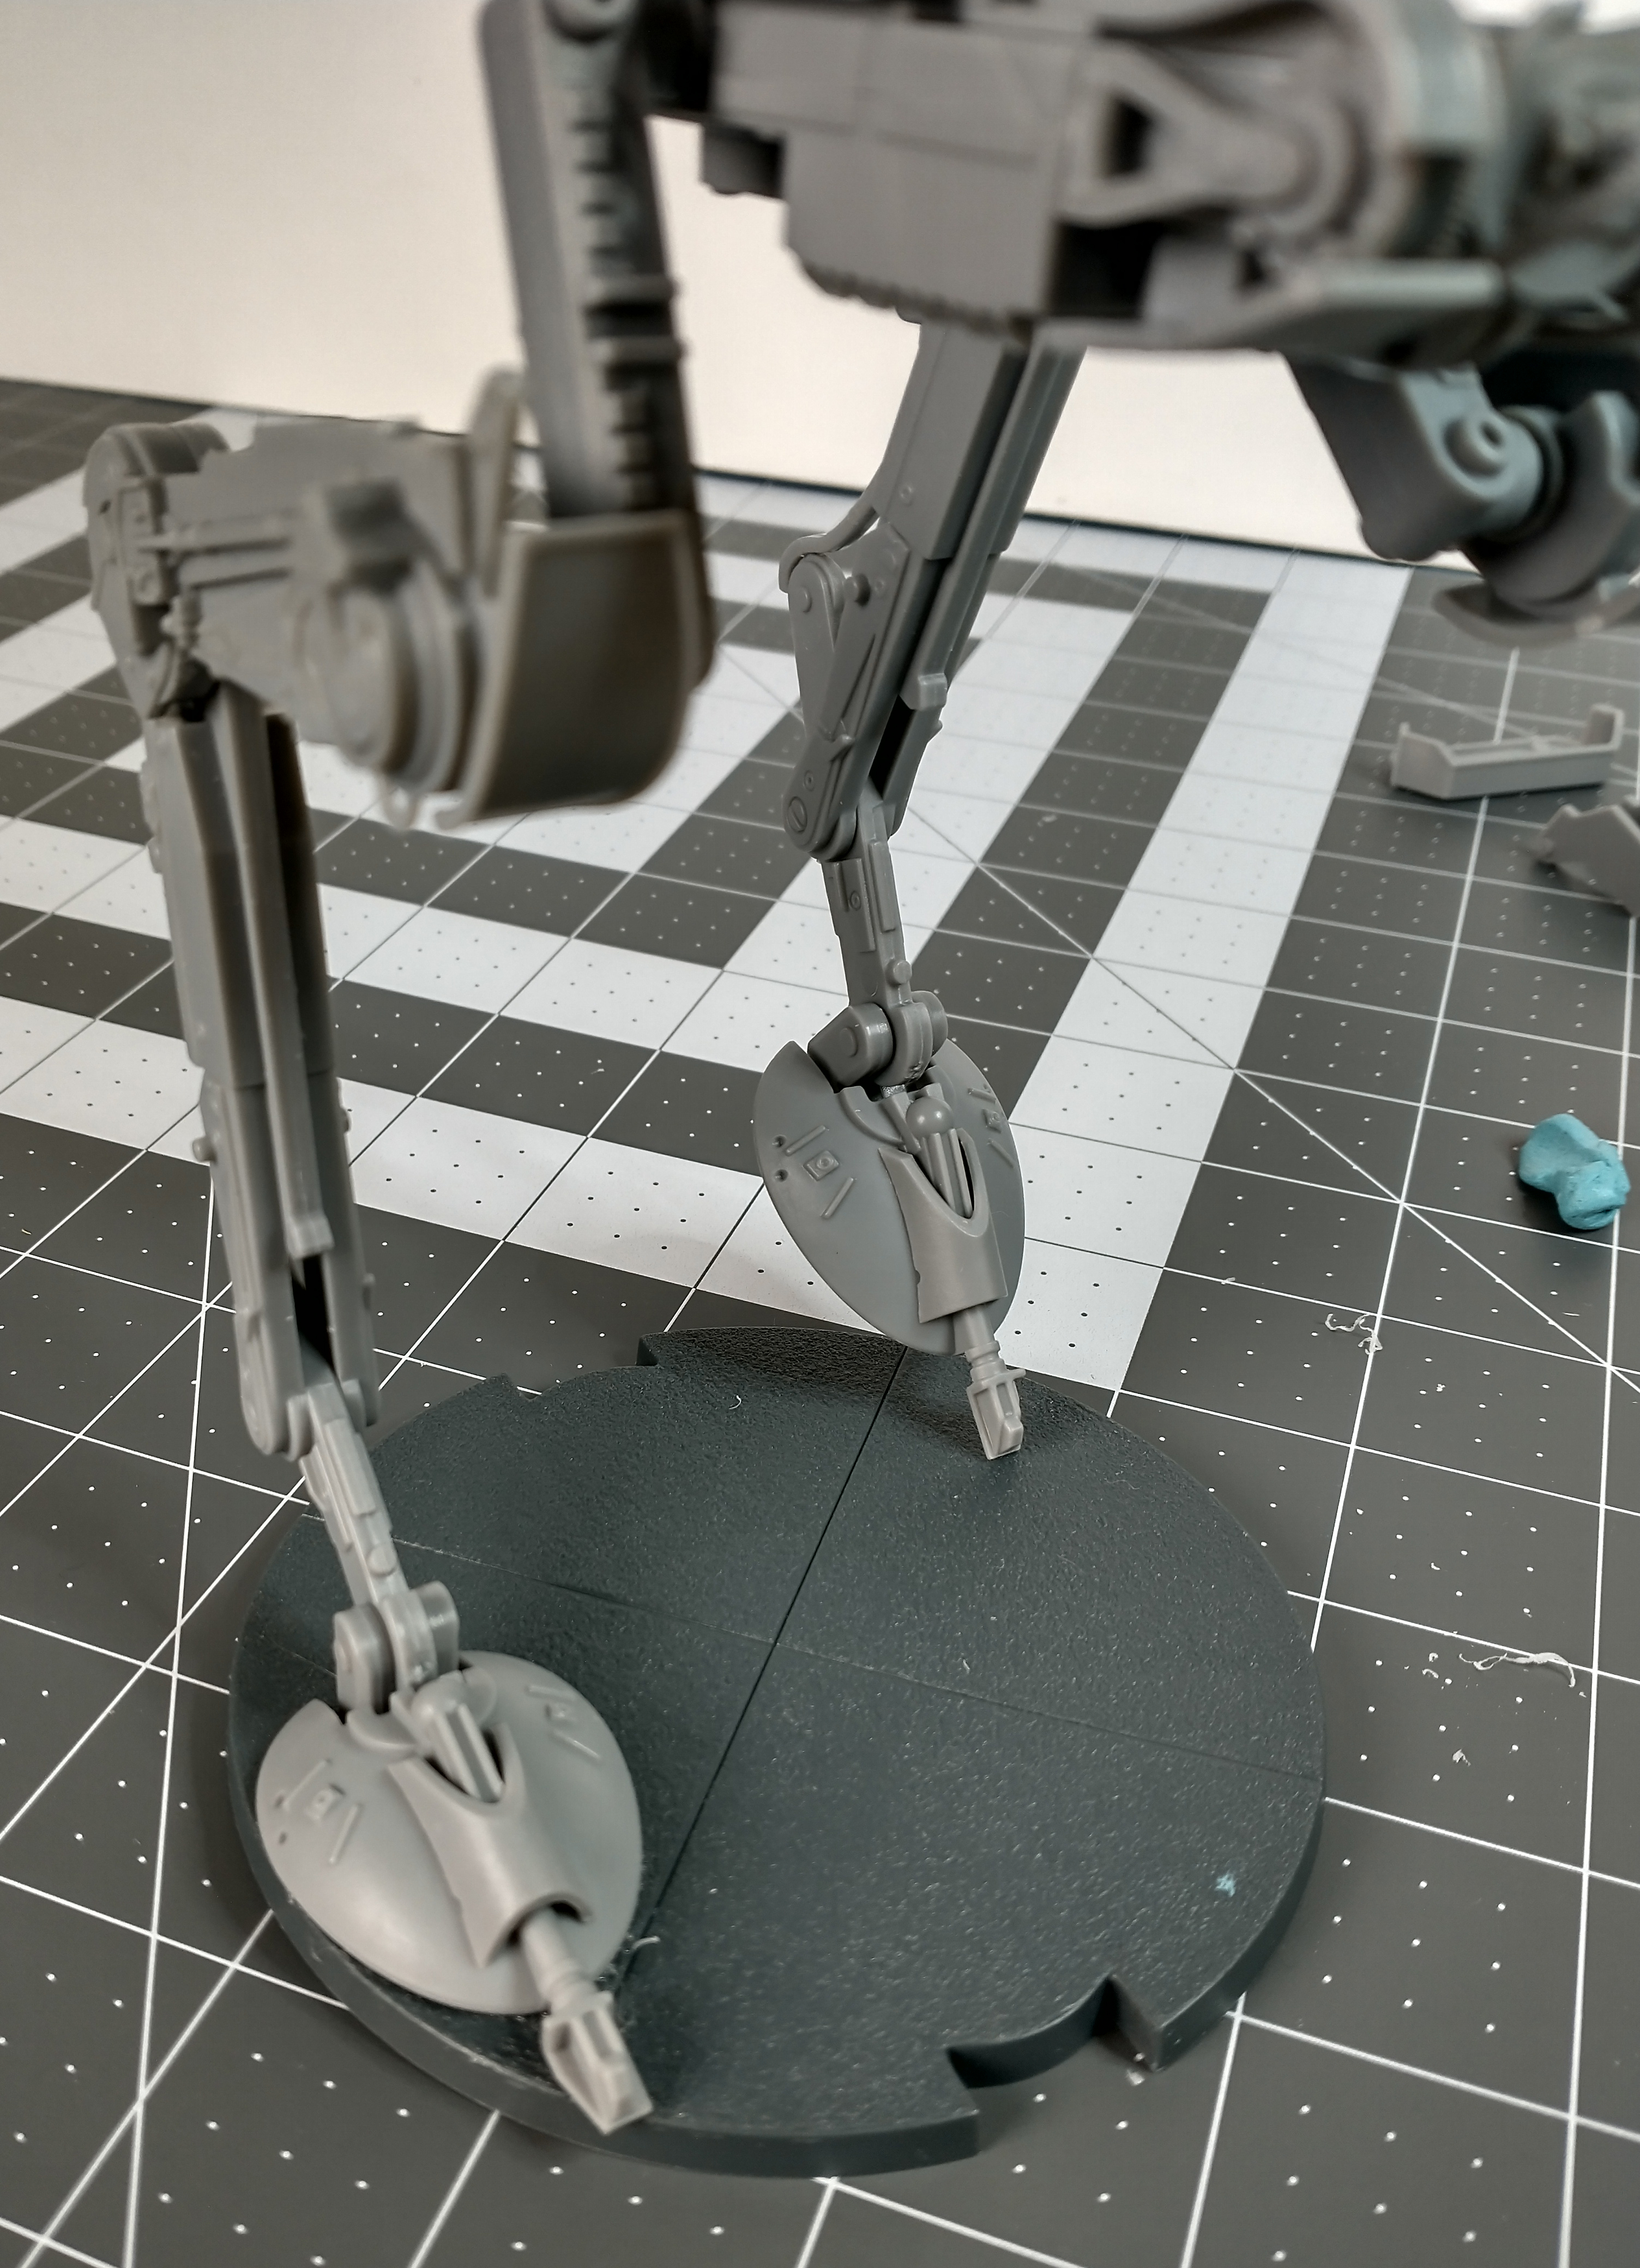
And here I have attained the final post and can glue each joint and feet to the base to make the stance more permanent. Later, texture paints and basing materials will help balance and secure the model into its permanent position.
Step 5: Gluing the Miniature Together
Depending on the material, different glues work best:
- Plastic Miniatures: Use plastic cement for strong, seamless bonds.
- Resin or Metal Miniatures: Use super glue for a quick, solid hold.
- Pinning for Strength: For larger resin or metal models, use a pin vise to drill small holes and insert pins for extra stability.
Gluing Tips:
- Apply glue sparingly to avoid excess spilling onto details.
- Hold pieces together for a few seconds until the bond sets.
- Use accelerators (for super glue) to speed up drying time if needed.
For delicate or fragile assemblies, allow your glue time to cure before moving on to the next steps. This could take anywhere from 30 minutes to an hour, or even overnight, but a firm foundation is always key to building on more. If after a certain time you find the assembly to be weak, you may need to rethink your design into something more stable.
Step 6: Filling Gaps (Optional)
If you notice gaps between assembled parts:
- Use Green Stuff or liquid putty to fill in the spaces.
- Smooth it with a damp tool or sculpting tool before it hardens.
- Sand gently after curing to maintain a smooth surface.
Step 7: Attaching Miniatures to Bases
Basing miniatures properly adds stability and improves the final presentation.
- Slot Bases: Insert the model’s peg into the base slot.
- Glue-Only Bases: Use super glue or plastic cement.
- Pinning Large Models: For extra durability, pin feet to the base.
- Temporary Hold for Painting: Use poster tack or clips to attach the model to a painting handle.
Step 8: Final Cleaning Before Painting
Before priming, remove any leftover dust or residue.
- Wash resin and metal miniatures with warm soapy water to remove mold release agents.
- Use a soft toothbrush to gently scrub parts.
- Let everything dry completely before moving to priming.
Final Thoughts
A well-prepared miniature makes for a much smoother painting process. By following these steps, you’ll ensure your models are clean, assembled securely, and ready for paint.
Prep and Assembly Supply List
- Citadel Mouldline Remover
- Citadel Detail Cutter
- Citadel Liquid Green Stuff
- Citadel Plastic Glue
- Tamiya Extra Thin Cement
- Pin Vise
- Poster Tack/Mounting Putty
- Fiskars Exacto Knife
- 1000 Grit Ultra Fine Sandpaper
- Atomic Mass Games AT-ST Walker Unit
No responses yet