Mythic Minis is reader-supported. When you buy through our affiliate links, we may earn a small commission—never costing you anything extra. Your support helps us keep creating helpful painting guides and hobby resources for everyone.
Introduction
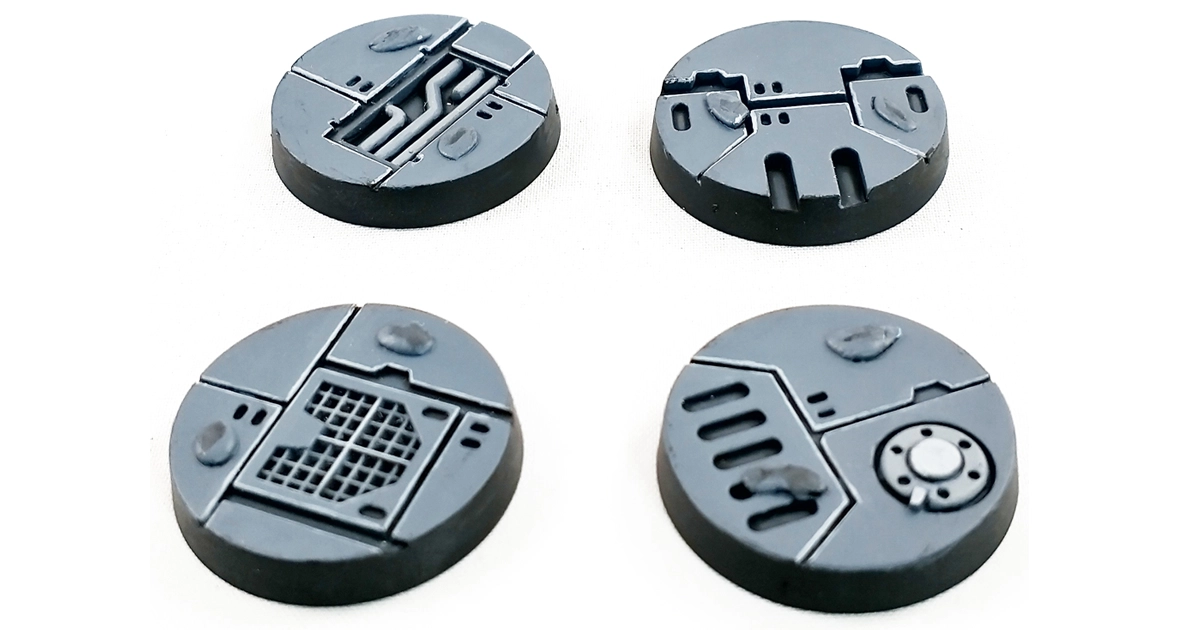
Welcome to my Step-by-Step guide on How to Paint Spaceship Deck Plate Bases. I found these super awesome Premium Troop Bases for Star Wars Legion Miniatures, which you can use these space ship deck plate themed bases for any of your sci-fi miniature projects.
When I saw these Premium Trooper Bases my thoughts immediately went to my next project – Emperor Palpatine and his retinue of Imperial Royal Guard. Perfect!
We’ll touch on everything you need to base your miniatures with a space ship deck plate theme using the base-shade-layer-highlight method.
What You’ll Need
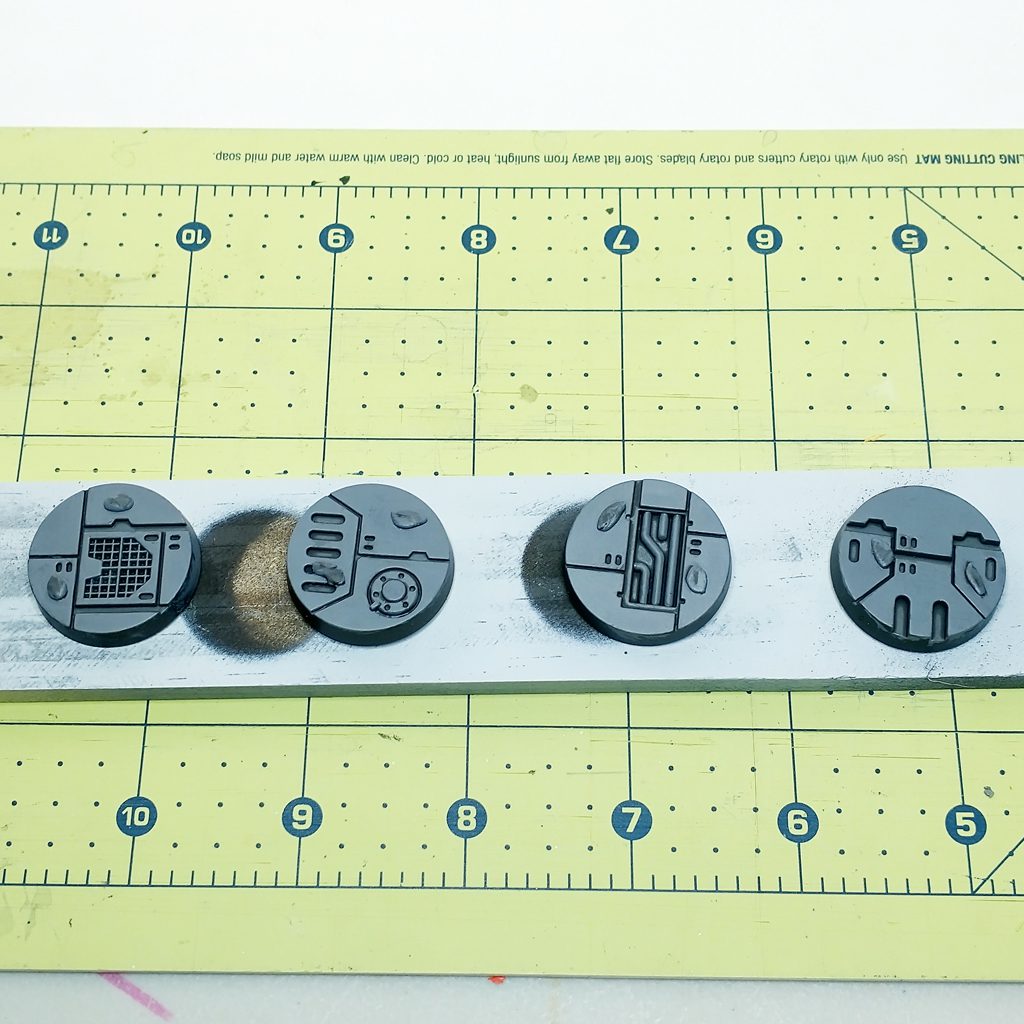
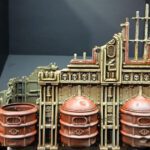
Star Wars Legion: Premium Trooper Bases
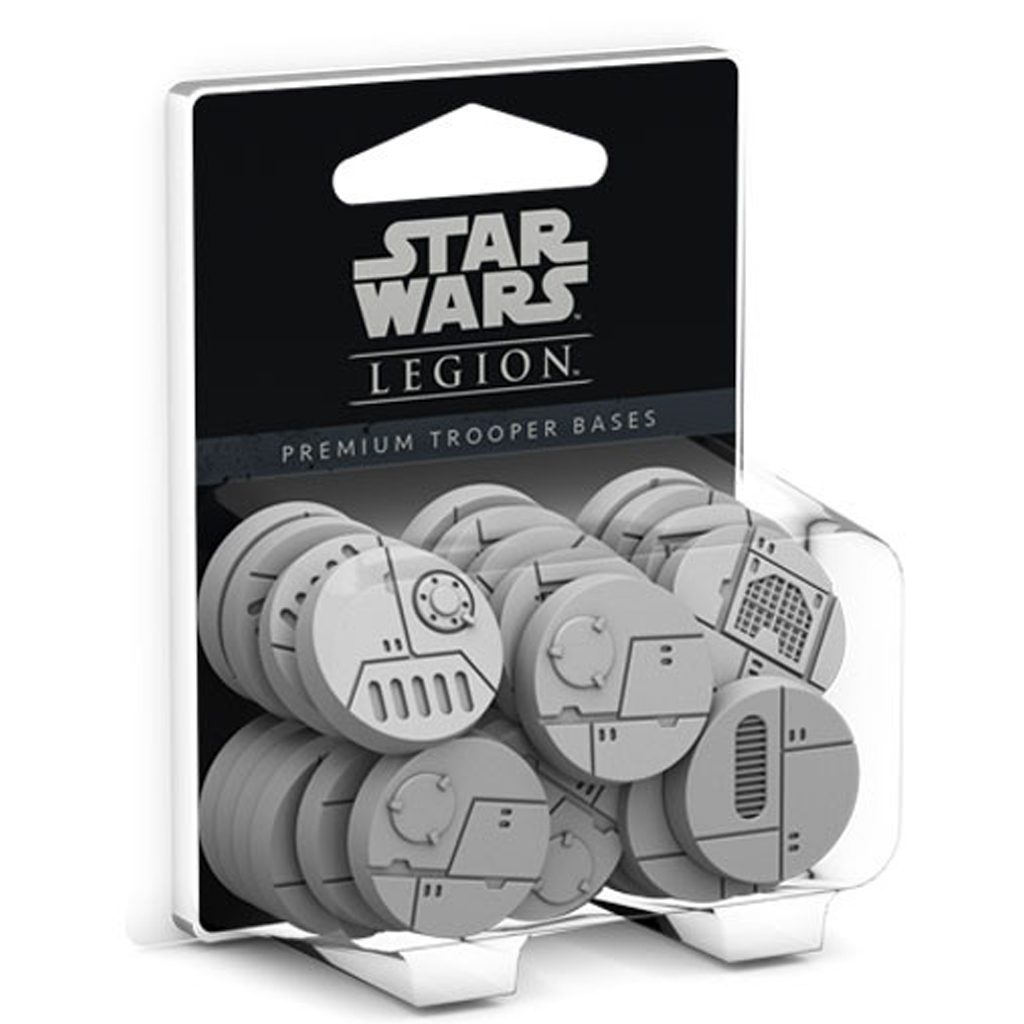
Each pack of Premium Trooper Bases contains 32 premium 27mm round bases. The bases contained in the pack include four copies of eight unique sculpts.
I would love to post an affiliate link, but unfortunately these particular bases are currently unavailable.
These might make a sufficient substitute until the Premium Trooper Bases are available: Endertoys Metal Plate Bases
Recommended General Painting Supplies
Recommended Supplies For Premium Trooper Bases
Paint Recipe Summary
[table id=1 /]
We’re going for simplicity with this color scheme and design. I want a nice, clean look. Starting with our Chaos Black primer, we’re going to bring the color up to a medium-dark grey with Mechanicus Standard, and then shade with Nuln Oil (black shade) to recover the shadows in the recesses of the details. This will enable us to push contrast with our layer and highlight colors.
Next, we’re going to layer up some of the features and details of the bases with some Dawnstone. Finally, We’ll use a little Administrative Grey for top-most details and as an edge highlight.
Building and Priming
These bases came pre-made, which eliminates the need for sculpting with materials and adhesives. While not as fun, it certainly does make this process a little easier.
Normally, I would just glue the figure down to the base and paint the whole thing together, but with these detailed bases I want to paint the base and figures separate.
If you want to do paint them separately as well, follow the optional steps below.
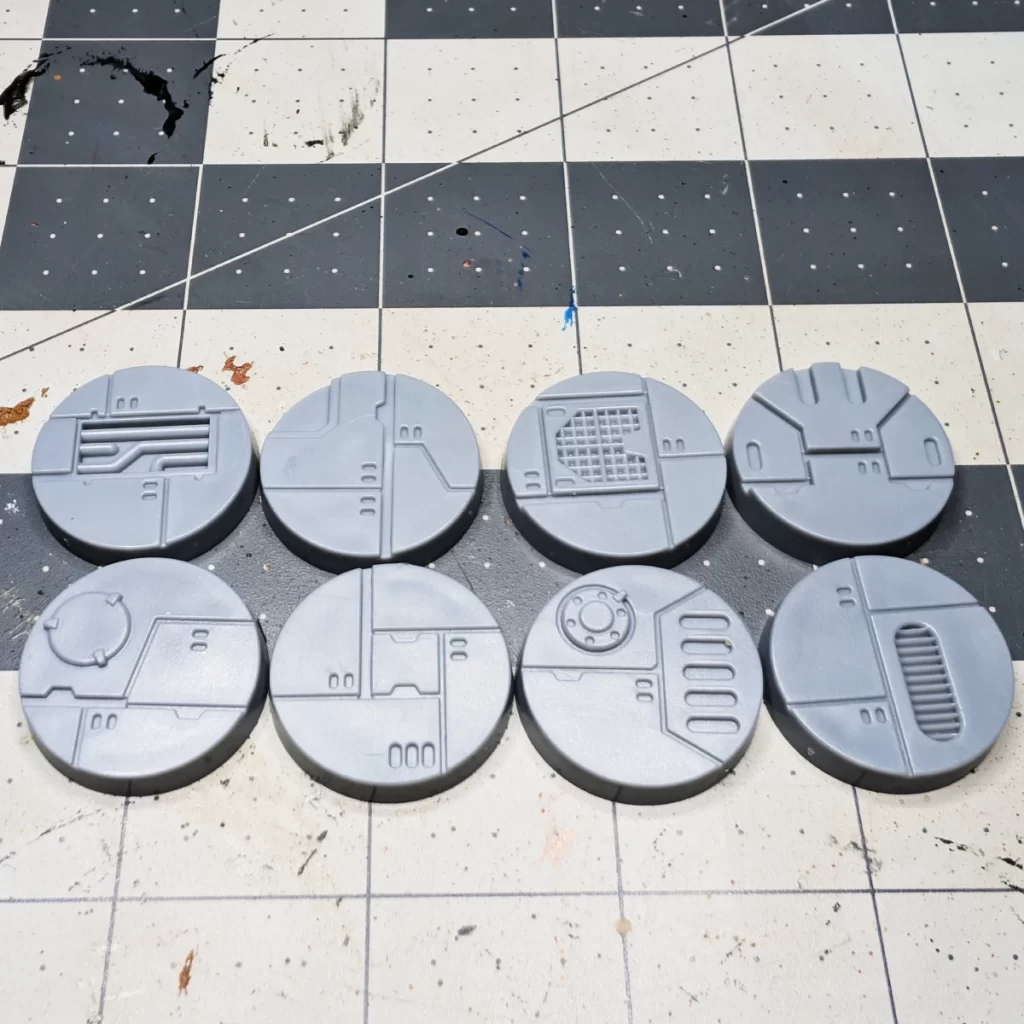
Figure Placement

This step is completely optional.
Plastic glue works better when you’re not trying to glue through paint. Otherwise, super glue works well after painting, but it may not be as permanent or clean.
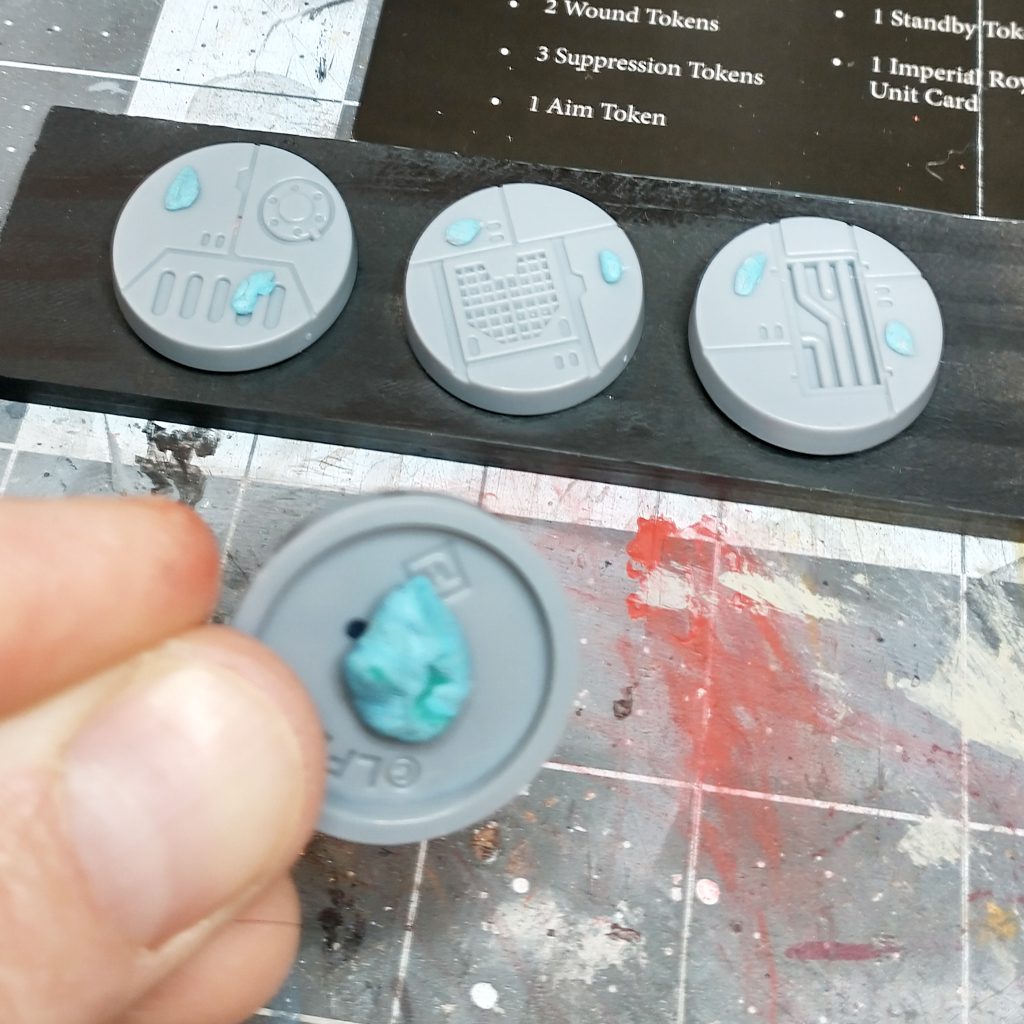
I’ve attached tiny bits of poster tack to the feet of my figures. I’m using the poster tack to gauge where the miniature will be glued down so that I don’t paint the base in those spots.
After placing the figure where I want him to be fixed to the base, I carefully transferred the poster tack from the feet to the base using a hobby sculpting tool as a spatula.
These little bits will remain for the duration of painting the bases.
Next, I’ve glued down the figure to a plain, temporary base. I’ve used just a tiny dot of superglue on both feet to do this. It makes it easy to break off the base later.
This makes painting the complete base easier (without a figure standing atop), and it makes for painting the figure easier because it doesn’t matter it you get paint on the plain base..
Also, I can attach the figure to my painting handle if I would like.

I’ve numbered the bottoms of my bases, so I won’t have to try to match feet up later on.
Of course, this is only necessary if you’re painting a squad of figures and not just a single model.

Priming Your Premium Trooper Bases
Attach the bases to your prime stick. While there are some cool priming tools on the market by our favorite hobby brands, I simply use a paint stirring stick from the hardware store.
The one I have is designed for stirring the big 5-gallon buckets, so it’s quite durable.
I use a big gob of poster-tack to adhere the bases to the prime stick. The poster-tack usually doesn’t get full of paint which makes it a reusable material.
Check out our post on How to Prime Your Miniatures for a Smooth Paint Job if you’re new to this process.
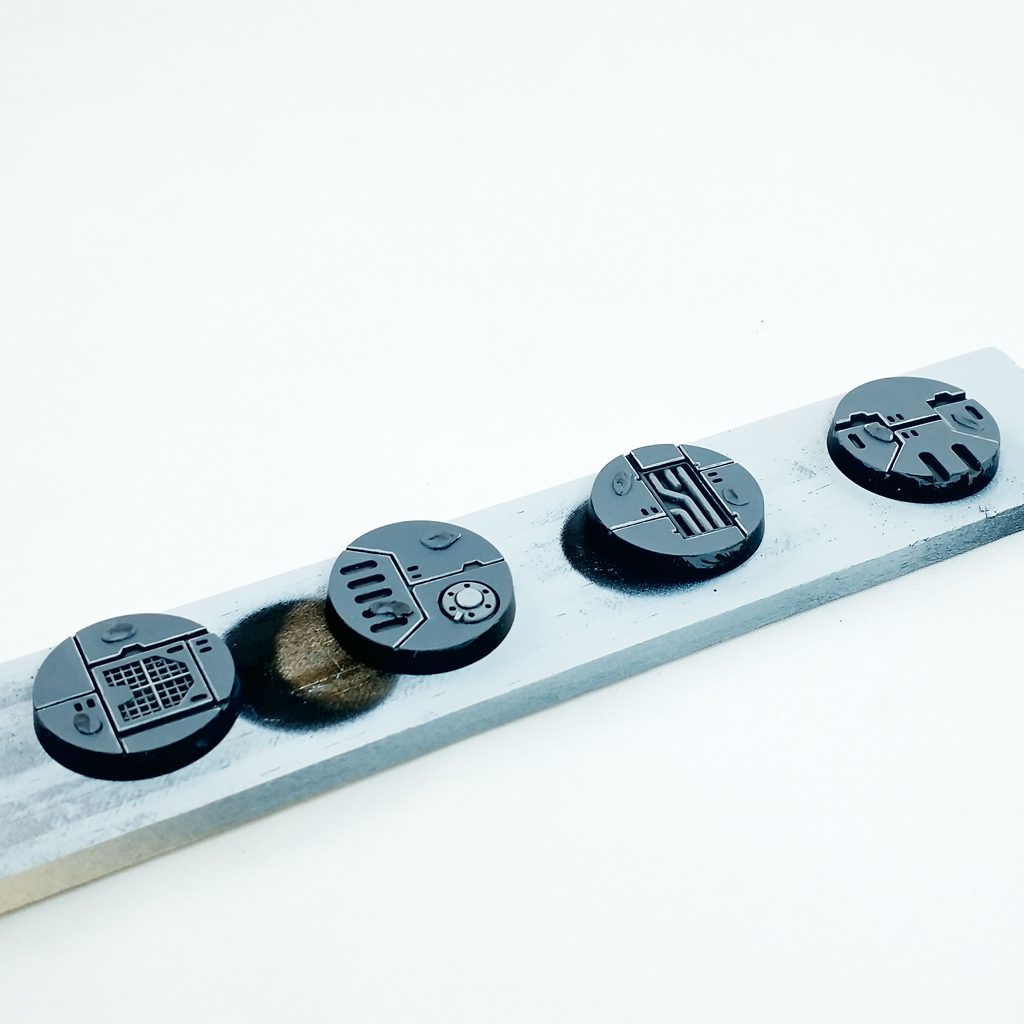
Here are the primed bases, still drying and a little tacky. I’ve used Chaos Black Primer to prime these. It requires such a minuscule amount of paint. Shaking the can, I actually thought it might be empty, but there was more than enough for this job!
As you can see, the poster tack footprints are still adhered to the bases, and they will remain until the painting process is completely finished.

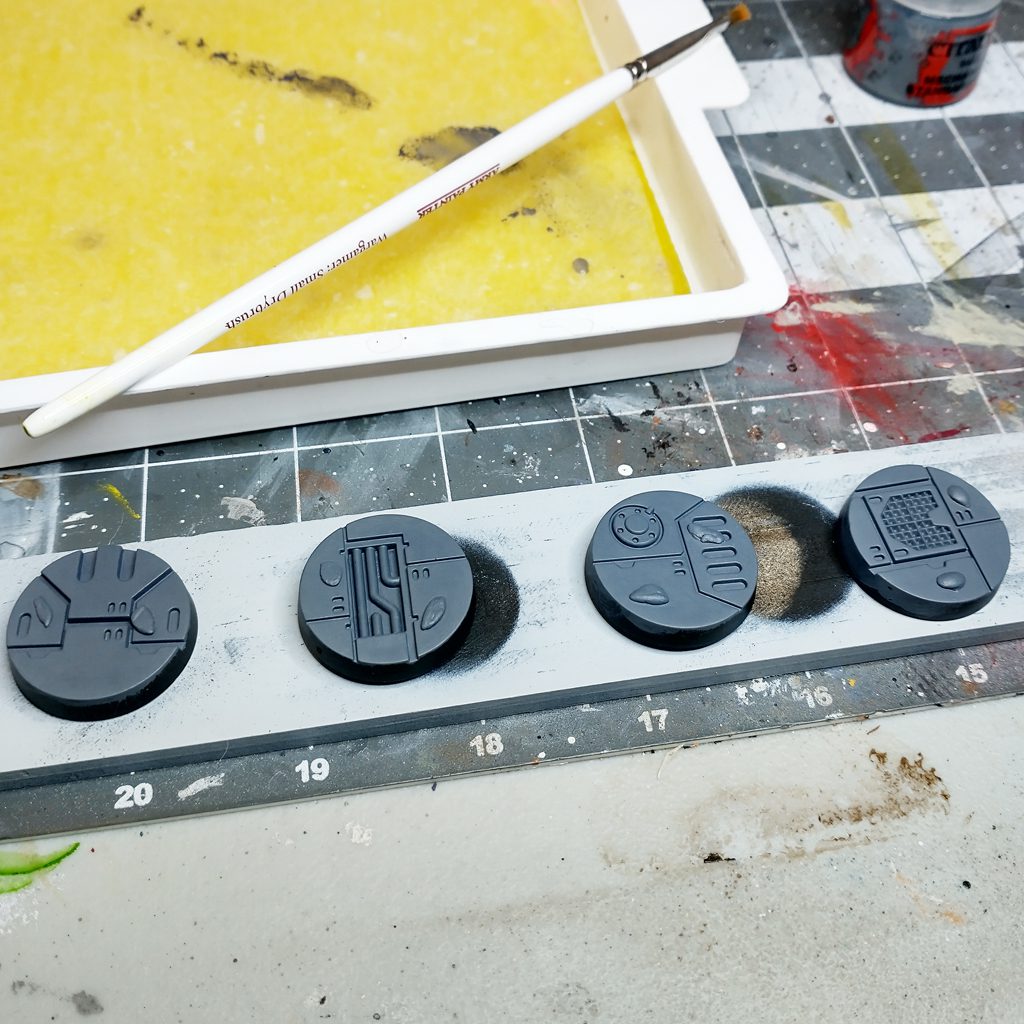
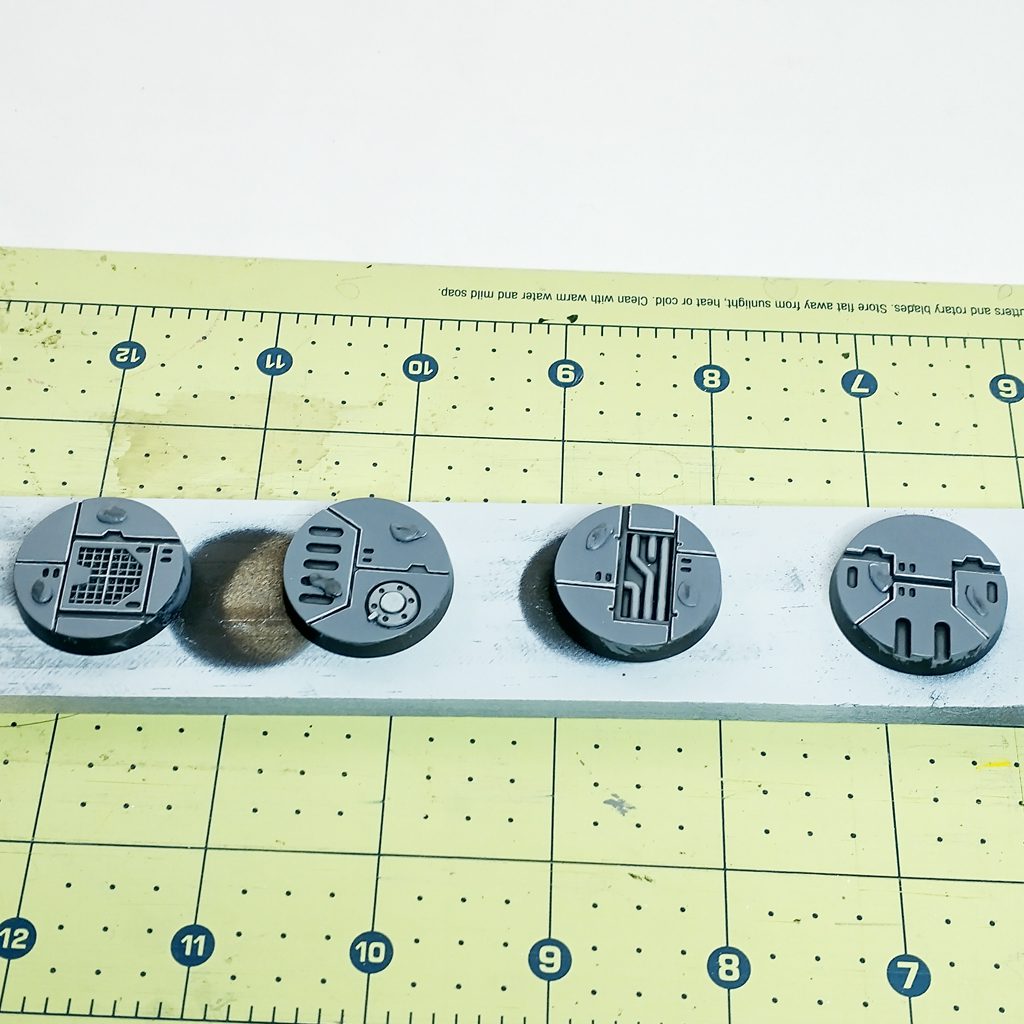
Base-coating the surfaces of the bases in Mechanicus Standard Grey. I do try to avoid the base rims, but mistakes happen and these can easily be fixed.

Base Coat 1
Thin your paint with water. The first coat will still show some of the black through, which is perfectly fine. You’ll want to apply thin coats multiple times to get a smooth finish and to make the color vibrant.
Base Coat 2
Our second coat is looking much better, but I want to push the color further, knowing that I’m going to apply a shade. in the next step.
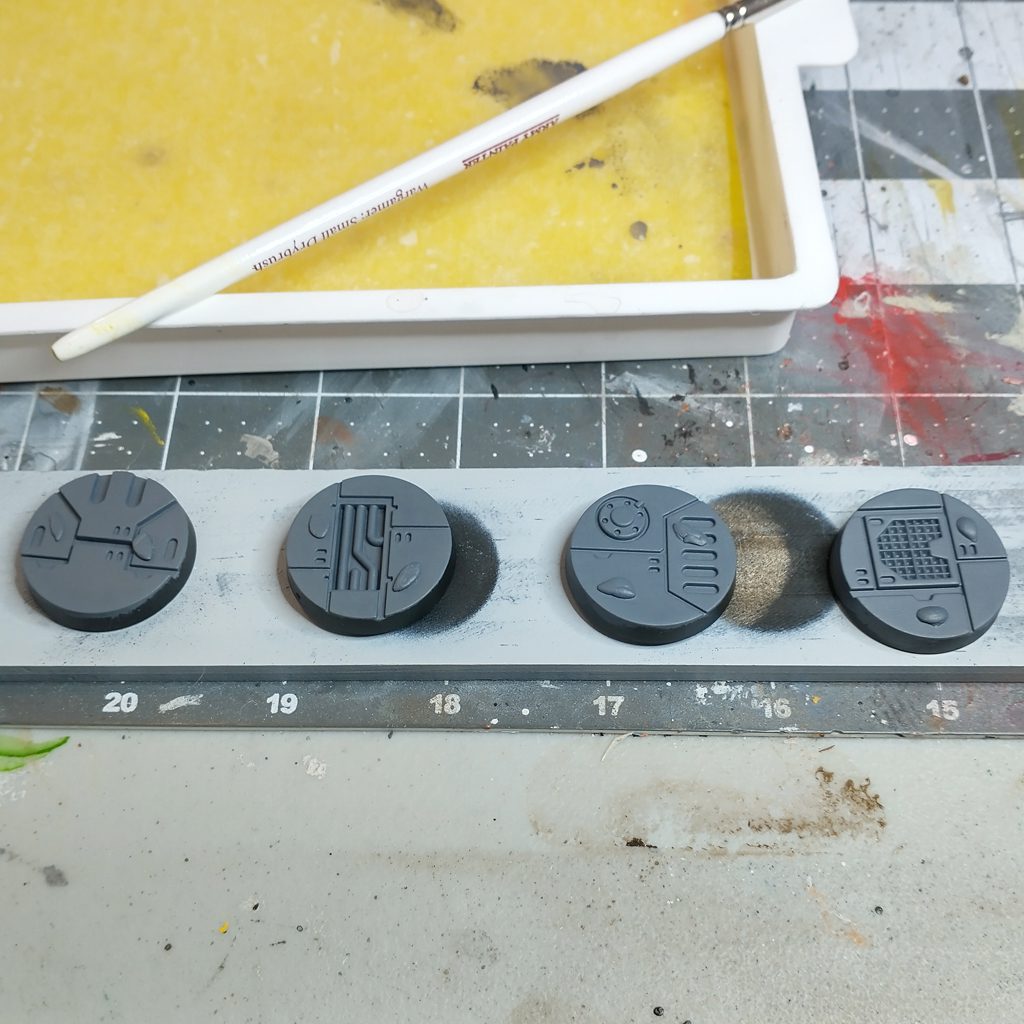
Base Coat 3
And lastly, our third coat really brings out a nice prominent grey that makes a great foundation for our next steps.
Applying the Shade to Darken the Recesses
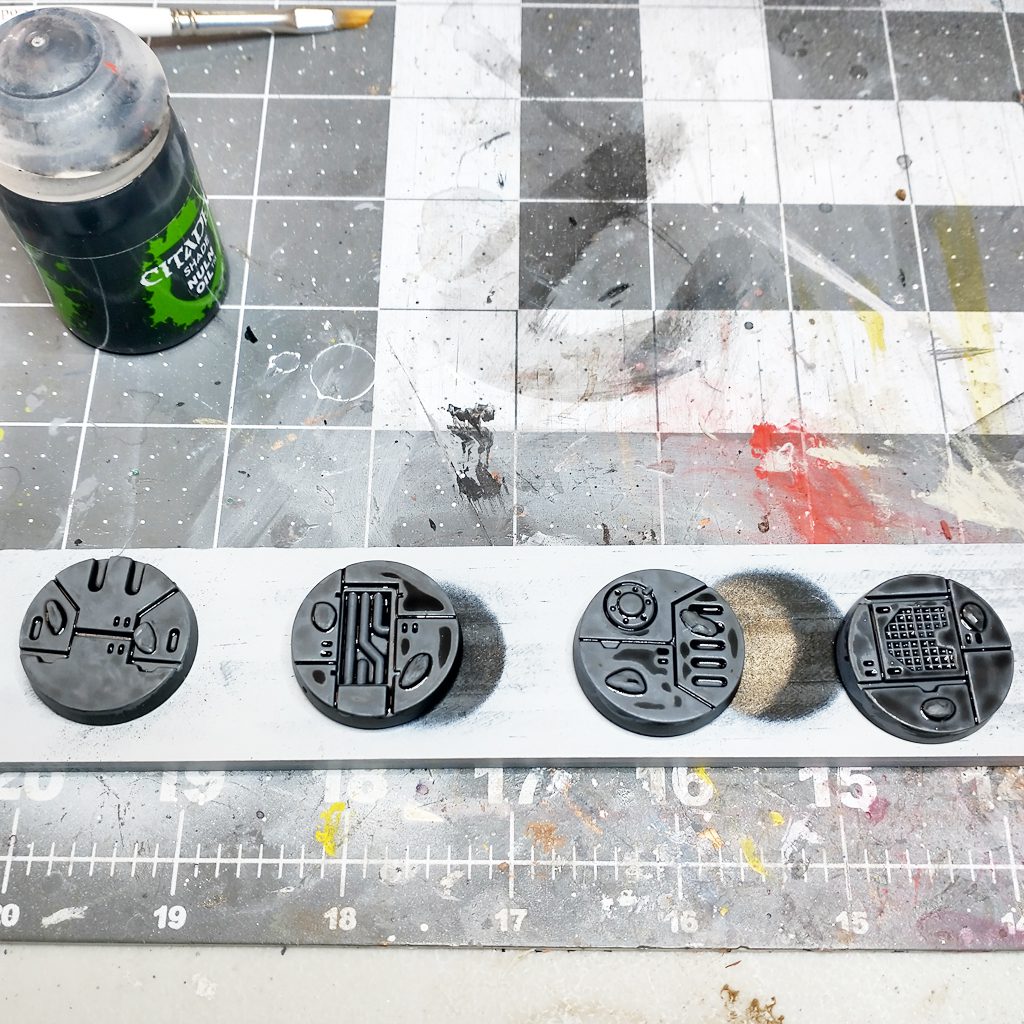
A good layer of Nuln Oil Shade is applied. A good, healthy amount of shade will do fine, but applying too much will make the next step, layering, more difficult for ourselves.
Give this a generous amount of time to completely dry before heading to the layering step.
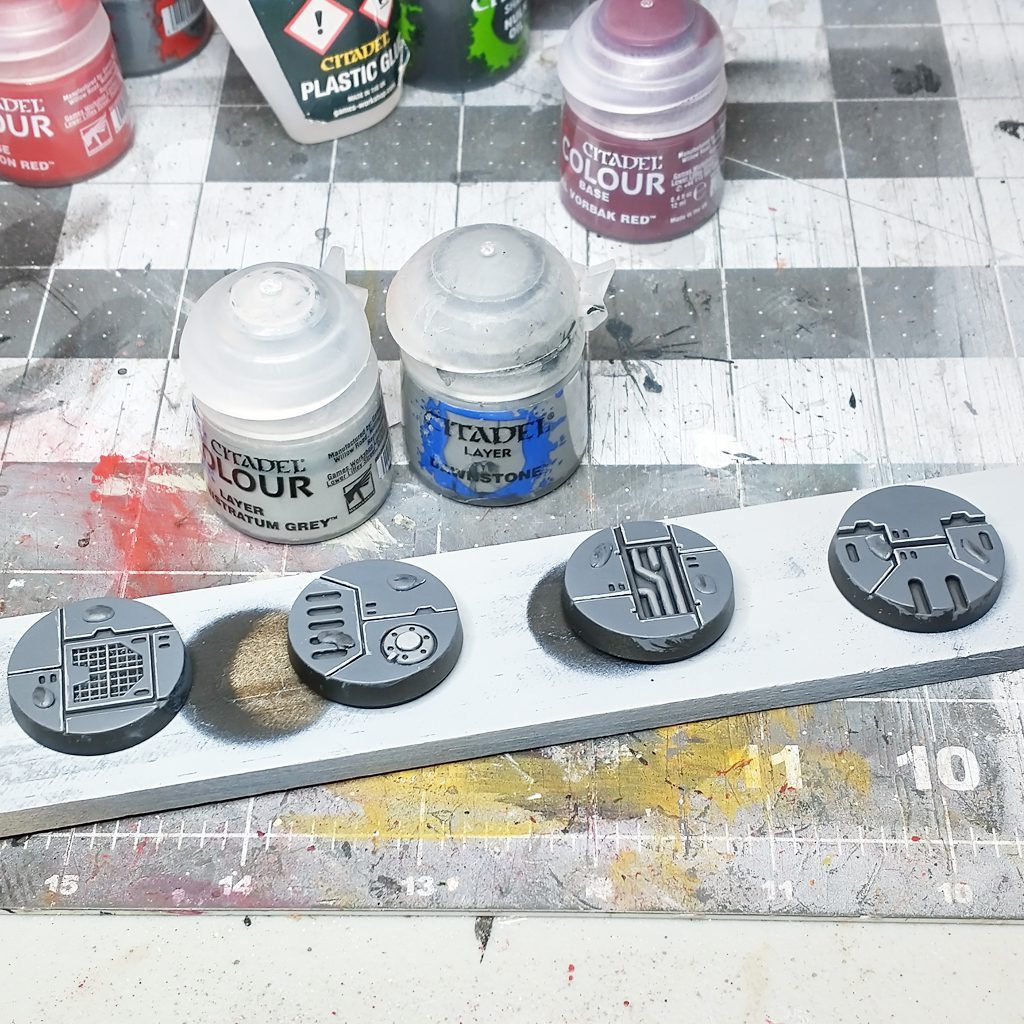
Layering Up Color After Shading
We’re going to layer the flat panel surfaces of each base back up using Mechanicus Standard Grey. Basically, we’re correcting the coffee staining effect the shading process has left behind. We want to use a little care and leave the recesses dark from the shading. This will help us establish mid-tones in our overall color contrast.
Layer 1
Similar to our base coat, we’re just adding thin layers of Mechanicus Standard Grey to our flat panels and some of the details to remove coffee-staining from the shade and create mid-tones for our overall contrast.
Layer 2
A second thin coat solidifies the color for our next step of highlighting details.
Highlighting the Bases to Push the Details and Contrast
Dawnstone will be our first highlight or detail color followed by Administratum Grey
Highlight 1
Beginning with Dawnstone, paint pipes, grates, and hatches. Along the panels an edge highlight can be applied to bring depth of contrast to the deck plates.
Highlight 2
Using Administratum Grey, go over the hatches, the most prominent bars of the grates, and edge highlight the deck plates.
Highlight 3
And lastly, using Administratum Grey, go back over your brightest details to lift the color and hit your deck plates edges once more to repair any broken or uneven lines.
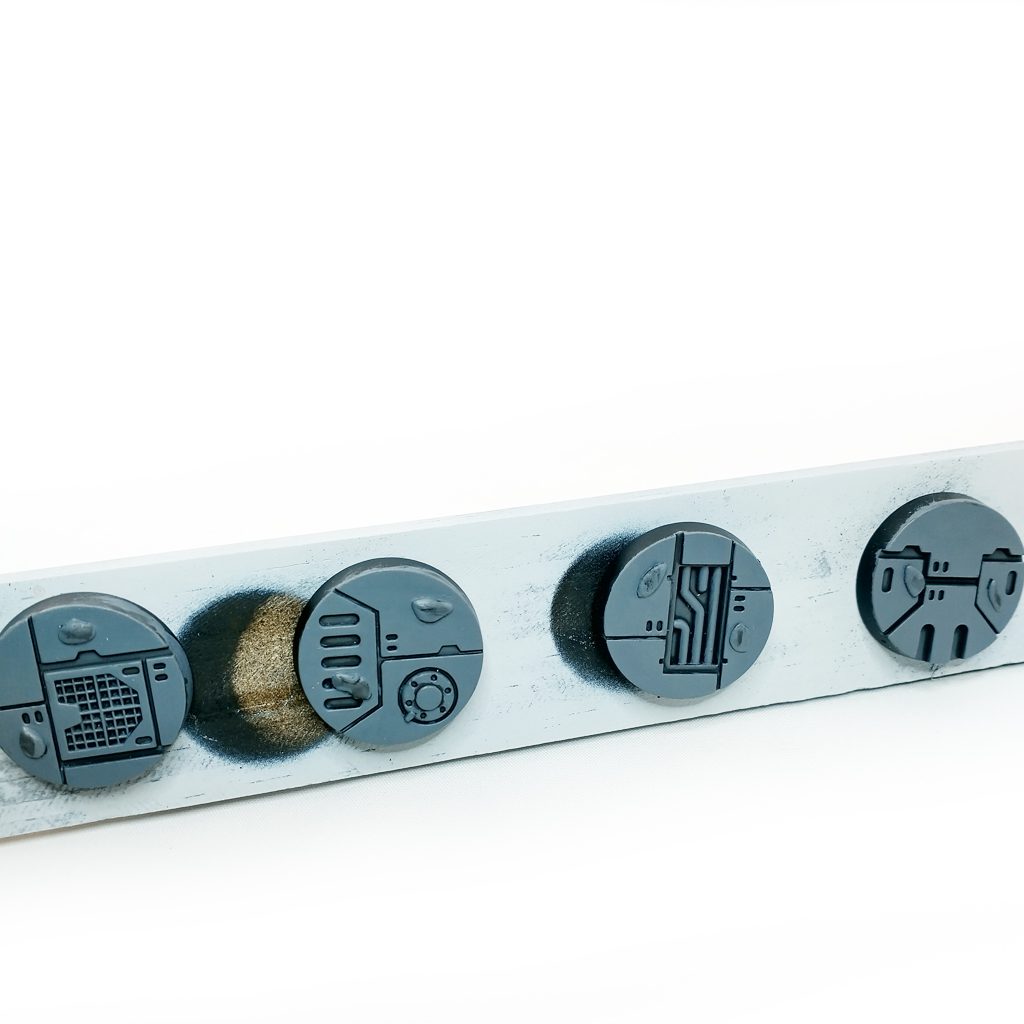
Final Steps – Finishing the Spaceship Deck Plate Bases

Here are the finished Spaceship Deck Plate Bases, ready for the Royal Imperial Guard when I am finished with them.
When ready, pull your poster tacks off, apply a dot of plastic glue, and permanently place your guys. The plastic cement is a more permanent bond without having to penetrate through layers of paint.
Don’t forget to paint your base rims Abbadon Black!
Of course, our high resolution cameras pick up every little mistake and brush stroke, but to the naked eye these are absolutely stunning. It’s hard as an artist to not want to go back and fix every little mistake, but do not despair, especially if it looks great!
Recap – How to Base Miniatures – Space Ship Deck Plate
This concludes our guide on how to paint Space Ship Deck Plate Bases using Premium Trooper Bases for Star Wars Legion.
We followed a simple base-shade-layer approach to painting these bases, and we added a simple edge highlight at the end to push the contrast and make a clean color scheme.
We also used a per-sculpted base, which took a lot of material hunting and guess-work out of the equation and made our project simpler, yet still awesome.
Next Steps

Coming soon – How to Paint Imperial Royal Guard and How to Paint Emperor Palpatine for Star Wars Legion
The form you have selected does not exist.

No responses yet