
Mythic Minis is reader-supported. When you buy through our affiliate links, we may earn a small commission—never costing you anything extra. Your support helps us keep creating helpful painting guides and hobby resources for everyone.
Introduction
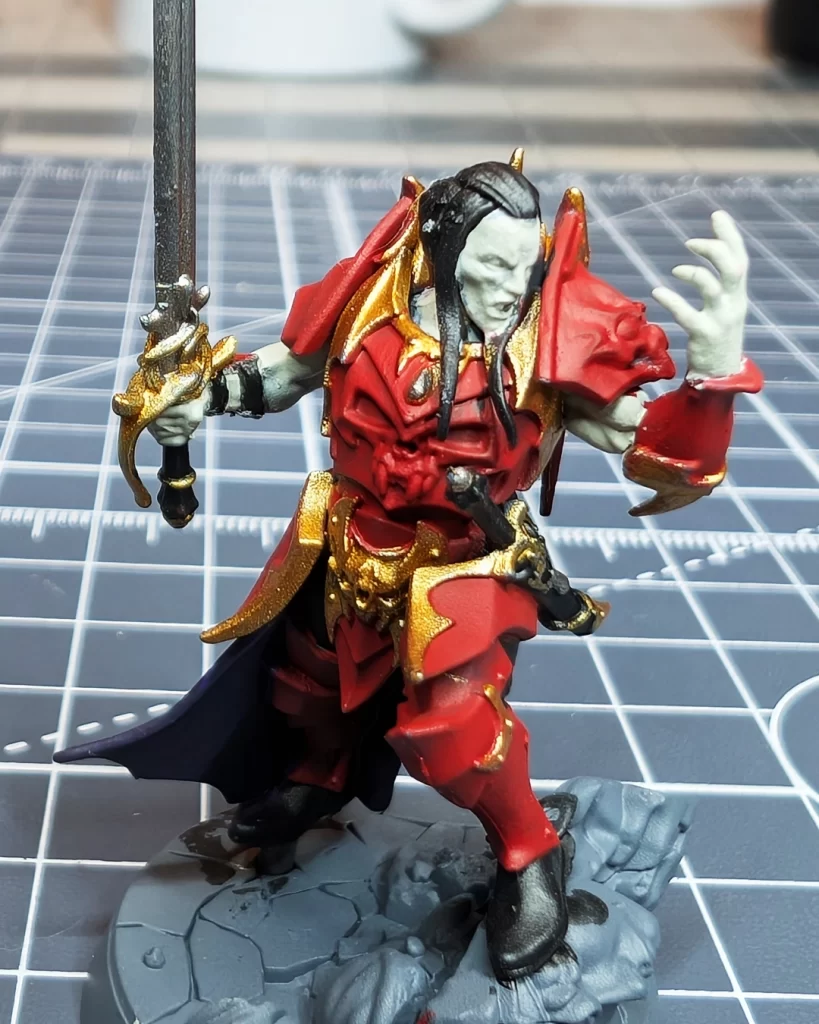
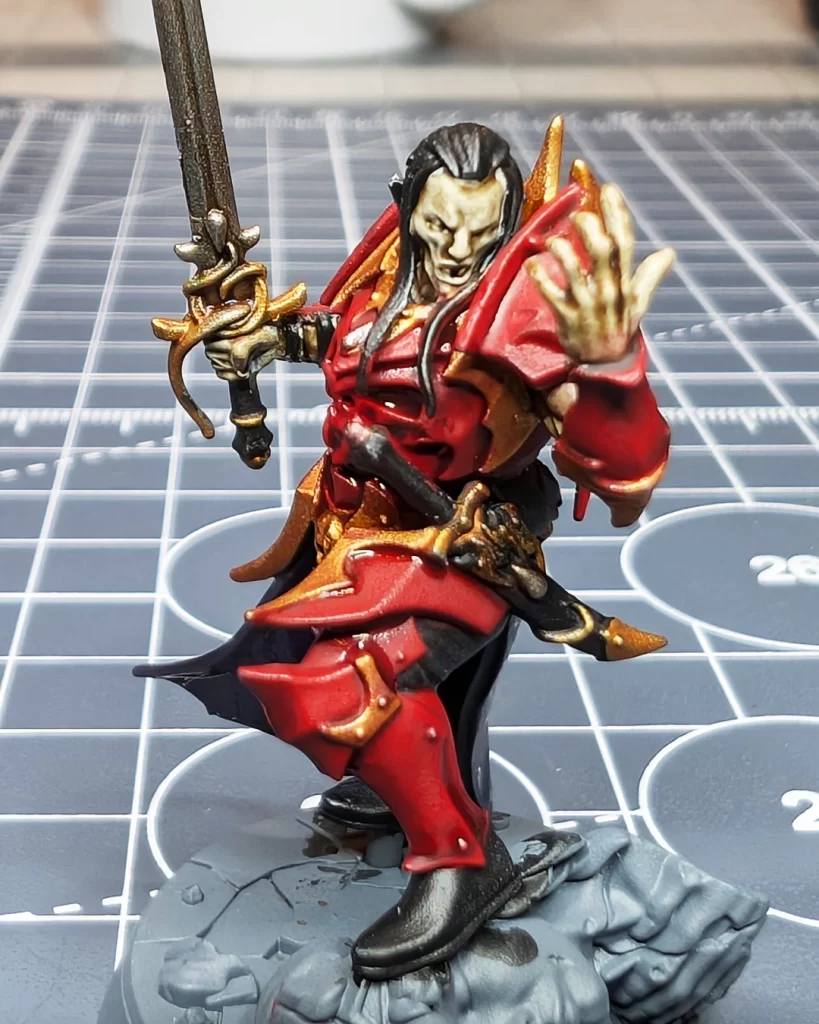
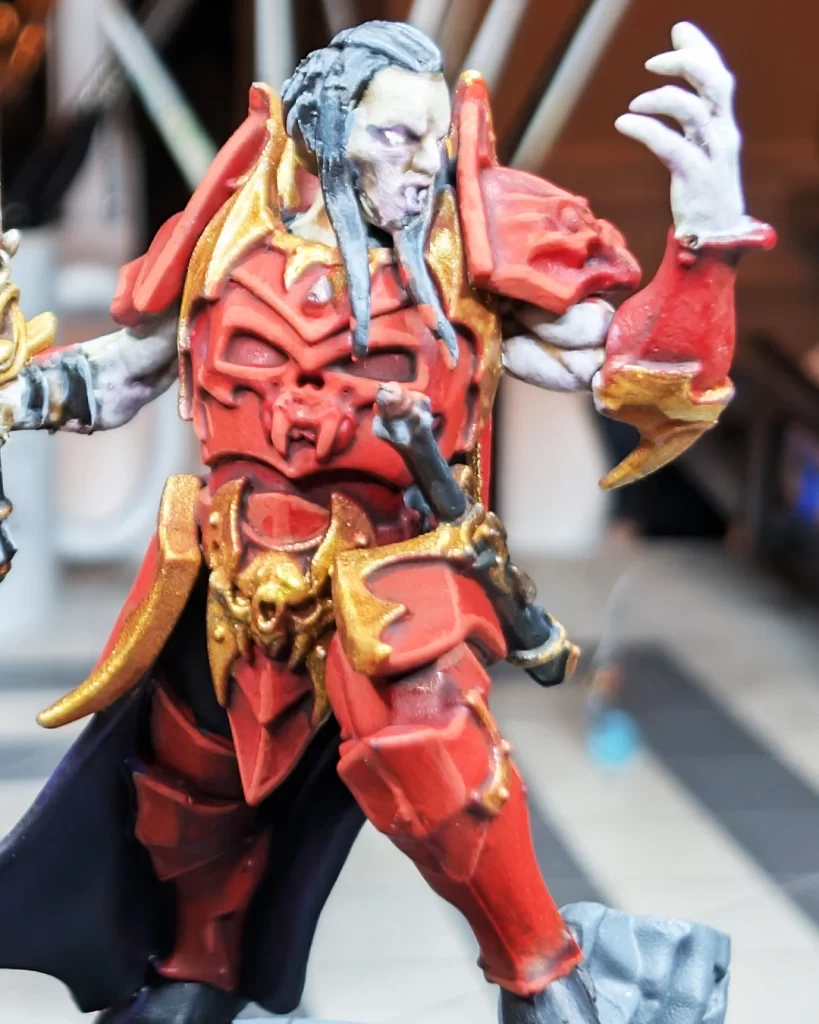
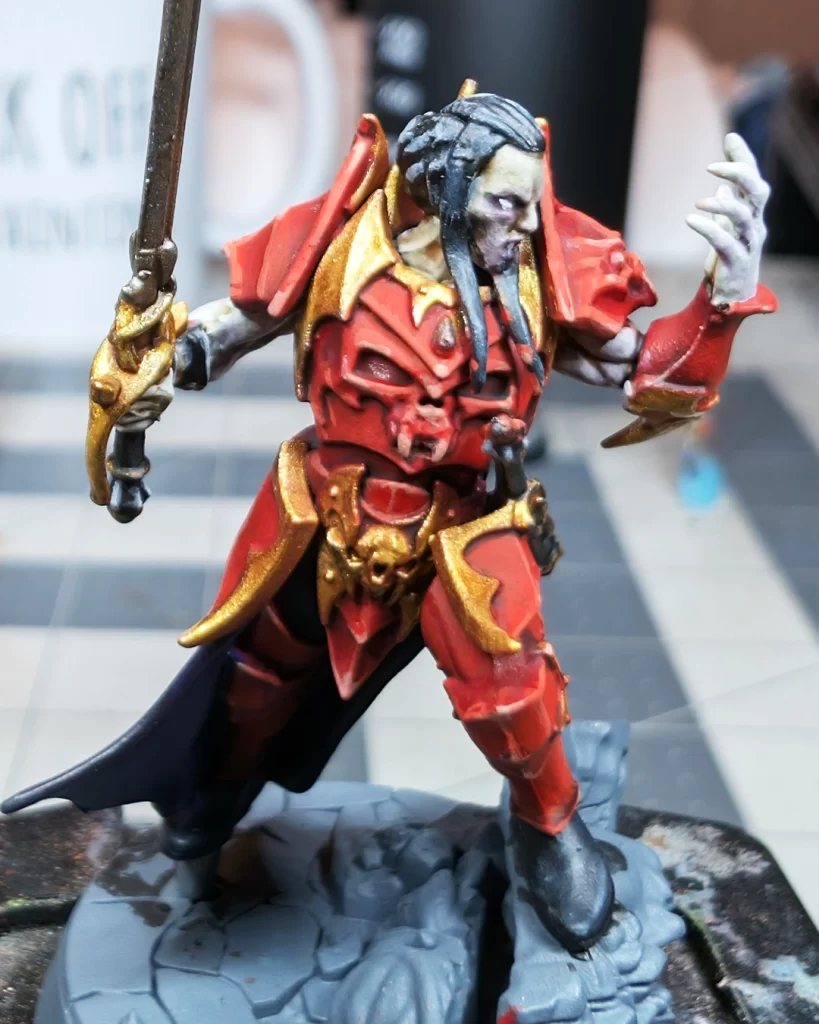
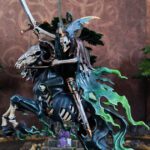
Prince Duvalle, leader of The Crimson Court from Warhammer Underworlds, perfectly embodies the regal yet savage nature of the Soulblight vampires. For this project, I wanted to give him the look of a Blood Dragon — one of the most striking vampiric knightly lineages, clad in crimson armor and gold trim.
This project was also a bit of a departure from my usual process. Instead of working through my normal base–shade–layer–highlight sequence step by step, I began layering and refining different areas organically as I painted. That approach gave me more control over color depth and balance — especially across the deep reds, cool purples, and pale flesh tones that define the model.
PDF Paint List
If you’d like a complete list of the paints, brushes, and hobby tools used in this project, I’ve put together a handy PDF reference guide. It includes every Citadel color mentioned, along with recommended brush sizes, primers, and basing materials—perfect to keep on hand while painting your own Crimson Court vampires. You can download it directly to follow along step-by-step or print it for easy reference at your hobby desk.
Basecoats

The foundation of the model sets the tone for everything that follows. Here’s the breakdown of the base colors I used:
| Element | Paint | Notes |
|---|---|---|
| Armor Plates | Mephiston Red | The dominant Blood Dragon crimson. |
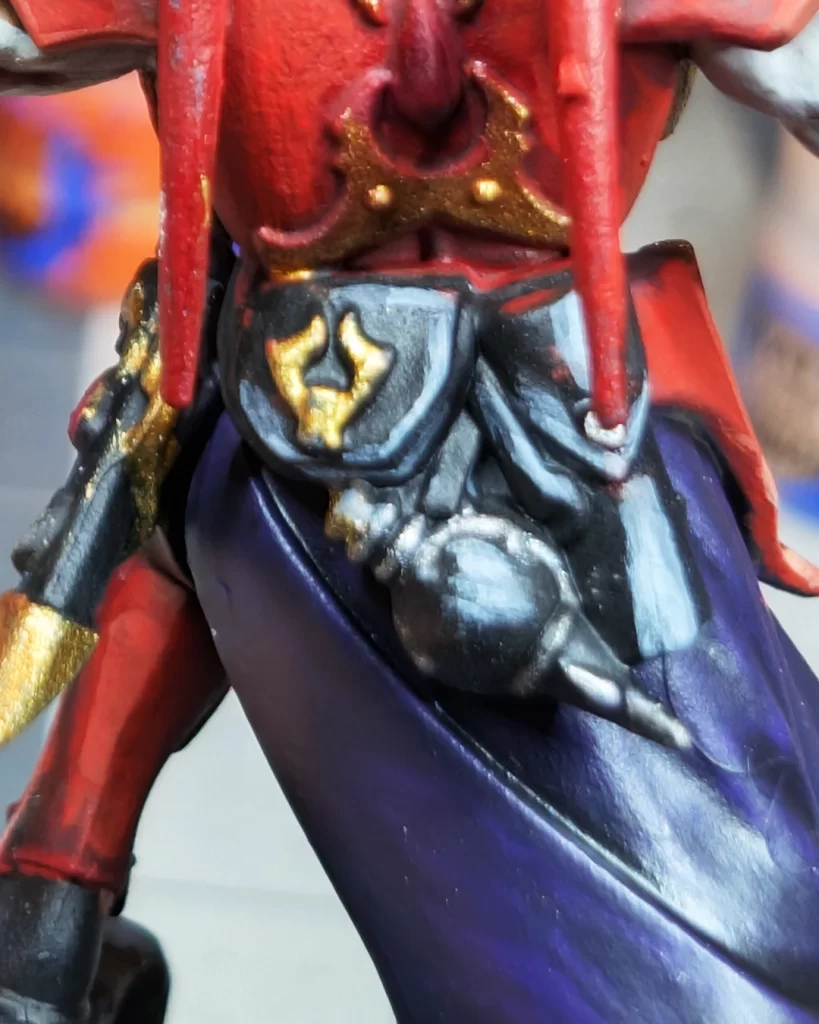
| Gold Trim, Sword & Sheath Details | Retributor Armor | Adds a regal contrast to the red. |
| Boots, Sheath, Utility Belts, Underclothes | Abaddon Black | Matte black elements to balance the brighter tones. |
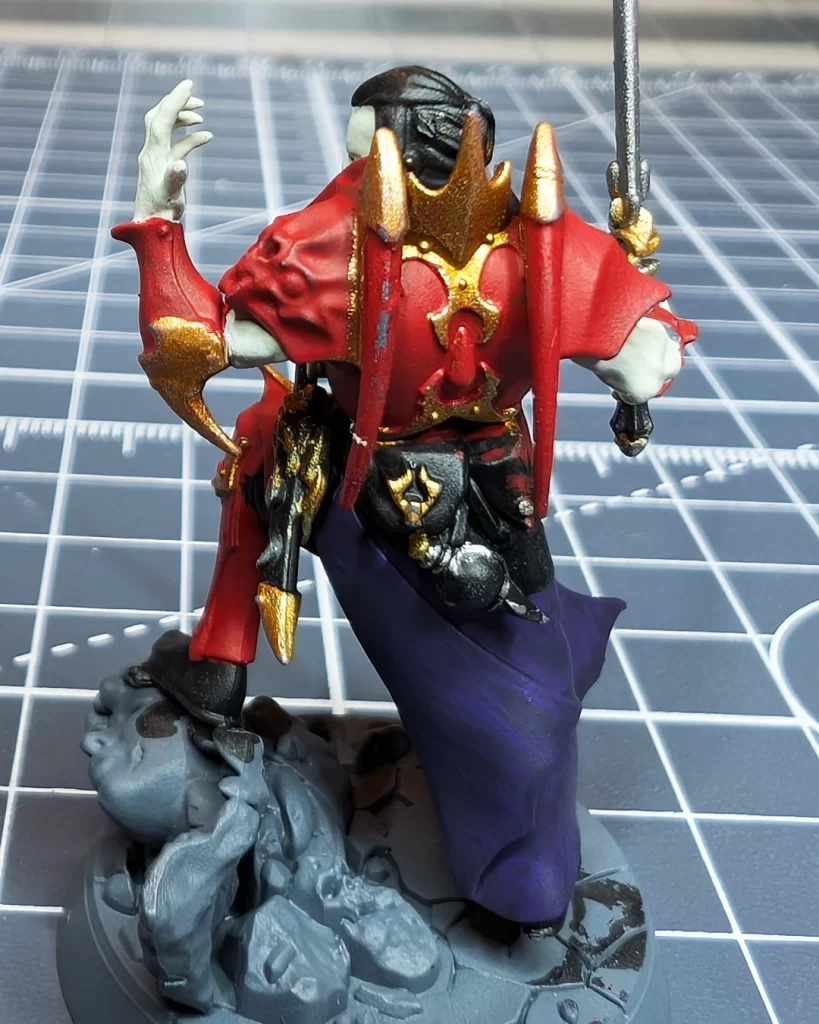
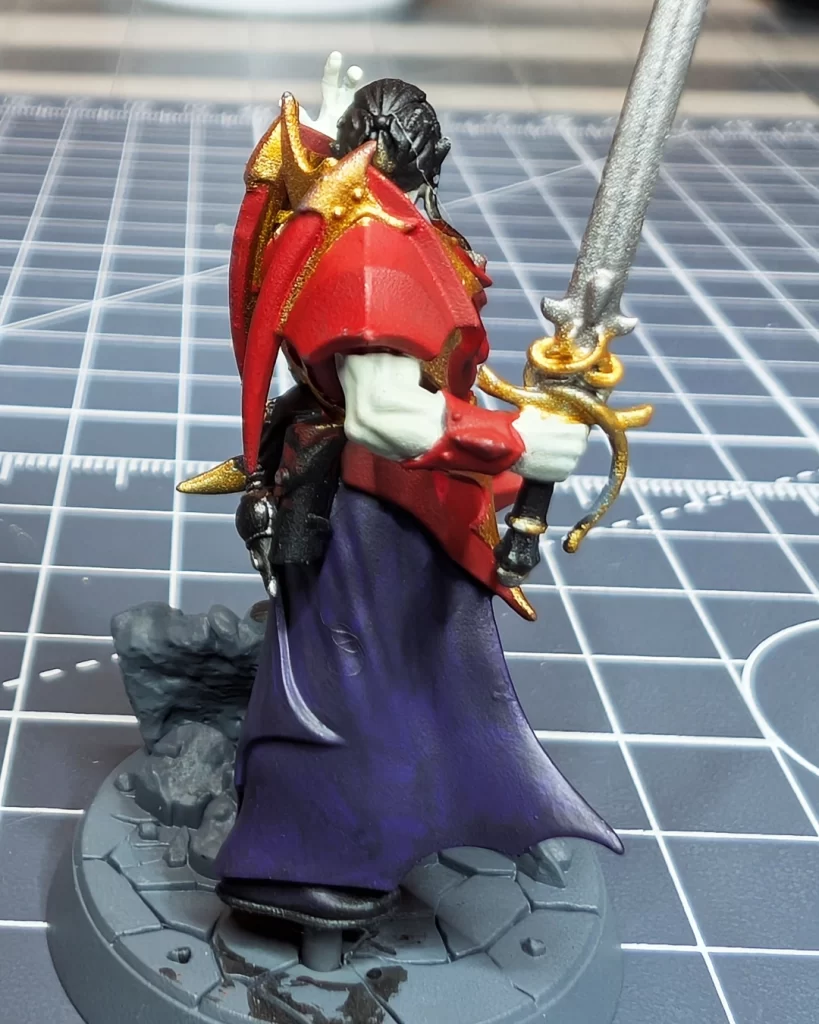
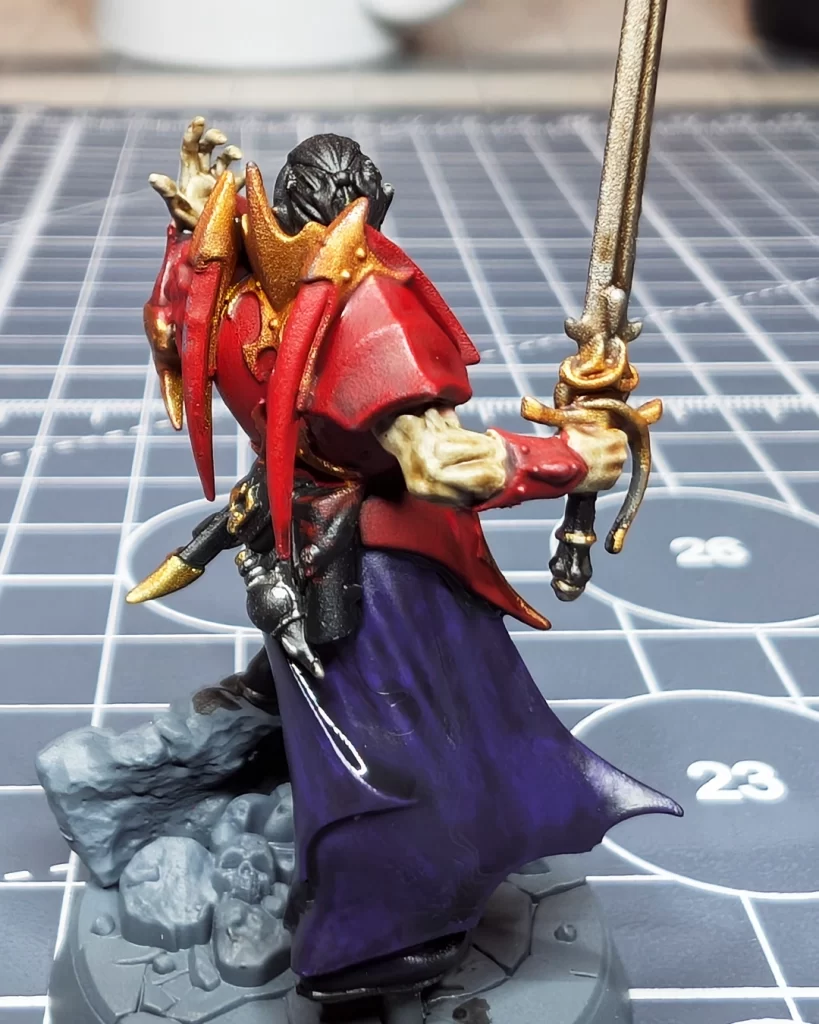
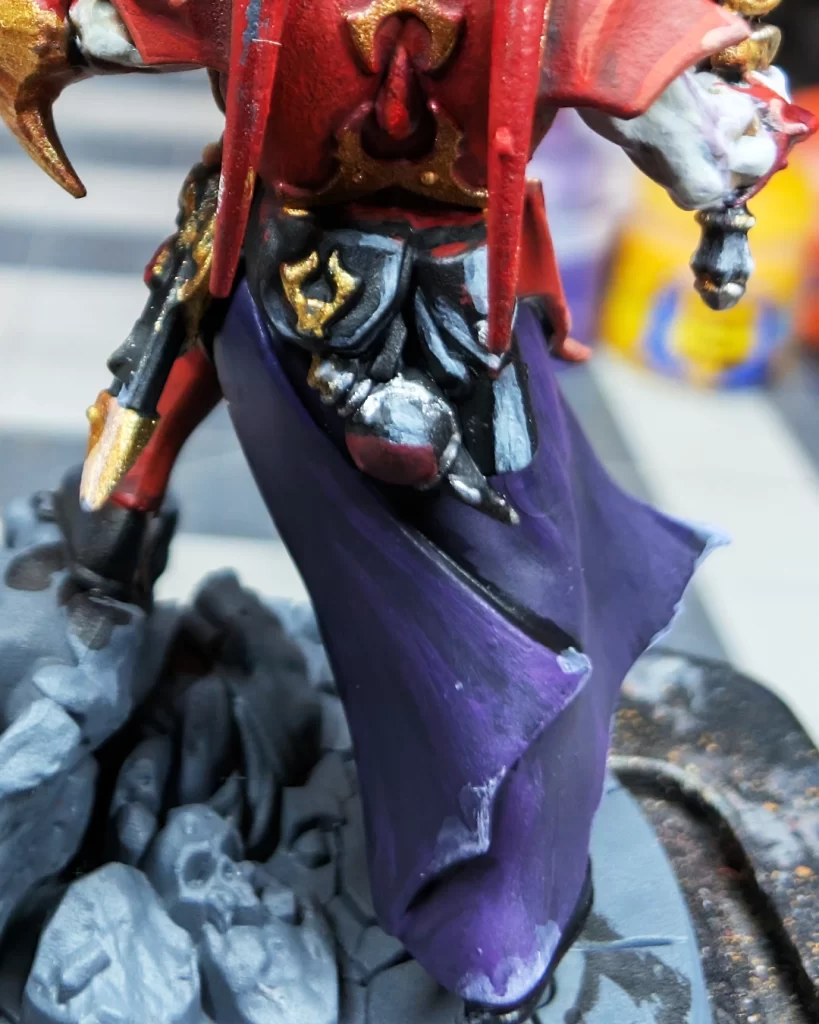
| Cloak | Naggaroth Night | A rich purple, dark and mysterious. |
| Skin | Deepkin Flesh | Pale and ghostly — perfect for a vampire. |
| Hair | Corvus Black | Keeps focus on the face without competing with the armor. |
| Sword Blade & Metallic Details | Iron Hands Steel | A cold, sharp tone for the weaponry. |
This stage was straightforward — clean base coverage, separating the major materials and making sure each color had a solid, even finish.
Shading
Next came shading to deepen the contrast and bring life to the model:
- Carroburg Crimson over the red armor to enrich the tone and bring out the sculpted plates.
- Reikland Fleshshade on gold areas to add warmth and depth.
- Nuln Oil for the silver details, sword, and leather components.
- Agrax Earthshade on the skin for an aged, lifeless pallor.
This step unified the tones and created a moody, goth feel — perfectly fitting for a vampiric noble.
Layering
Here’s where I deviated from my usual method. Instead of completing all shades before layering across the model, I started to build up colors intuitively, focusing on the most striking areas first.
- Evil Sunz Scarlet layered over the red armor to restore richness and color after the shade.
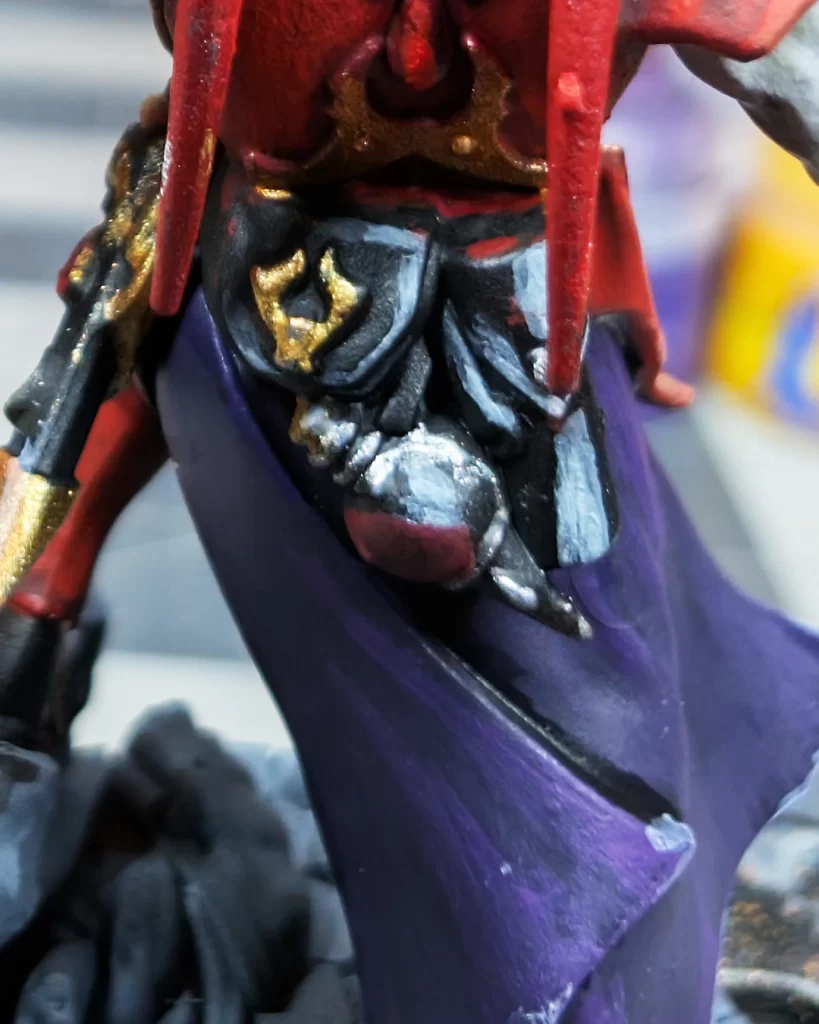
- Auric Armor Gold for the gold details, adding subtle shine and depth.
- Deepkin Flesh reapplied on raised skin areas to bring back the vampiric pallor.
- Xereus Purple over the cloak to rebuild the richness lost during shading and set up for later highlights with Genestealer Purple.
Working this way let me judge the balance of the reds, golds, and purples as I went — something that’s hard to do when painting each phase strictly in sequence.
Once the main colors felt right, I defined the edges to sharpen the model’s profile:
- Wild Rider Red for the armor edges, keeping the crimson bold but controlled.
- Mechanicus Standard Grey for black areas like the boots, belts, and sword handle.
- Pallid Wych Flesh for the skin’s upper ridges — subtle but essential for that deathly glow.
These highlights start carving out the form and giving the armor a crisp, reflective finish.
Fine Highlights & Point Details
To push the reflections and final contrast, I added finer, point highlights:
- Cadian Fleshtone applied sparingly to the armor’s sharpest edges and rivets — it sounds unusual for red armor, but the slight peach tone gives a convincing reflection of warm light.
- Administratum Grey on the black leather and sword handle to make the edges pop.
- Runefang Steel gently applied to the brightest gold edges and filigree — a quick way to make the ornate trim gleam under light and separate it from the armor’s warm tones.
This step made a big difference in how the light catches the model on the table.
Focus Details
At this stage, I focused on the areas that define Duvalle’s character and bring the whole model together:
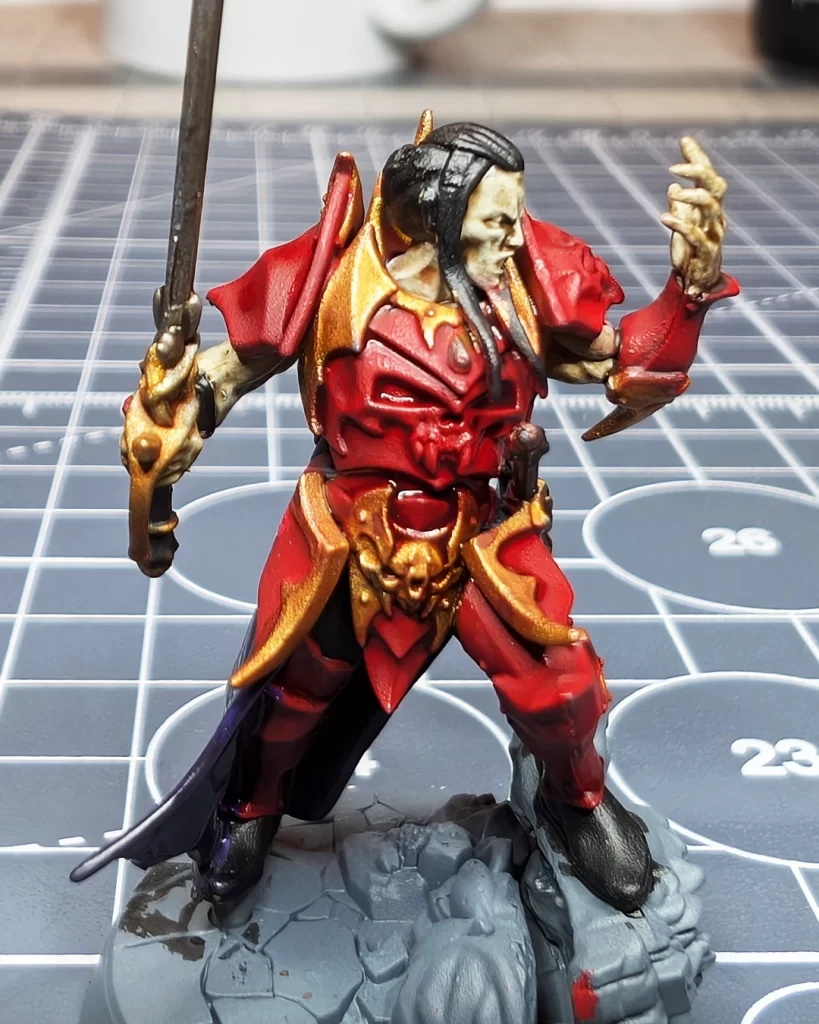
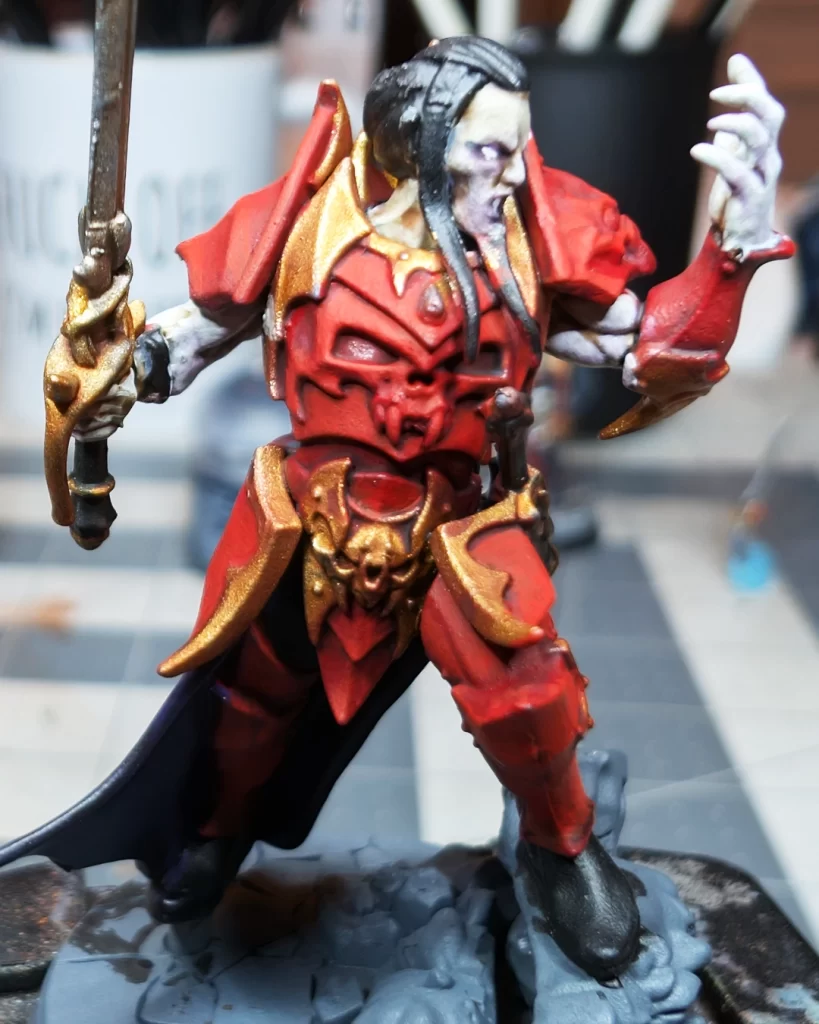
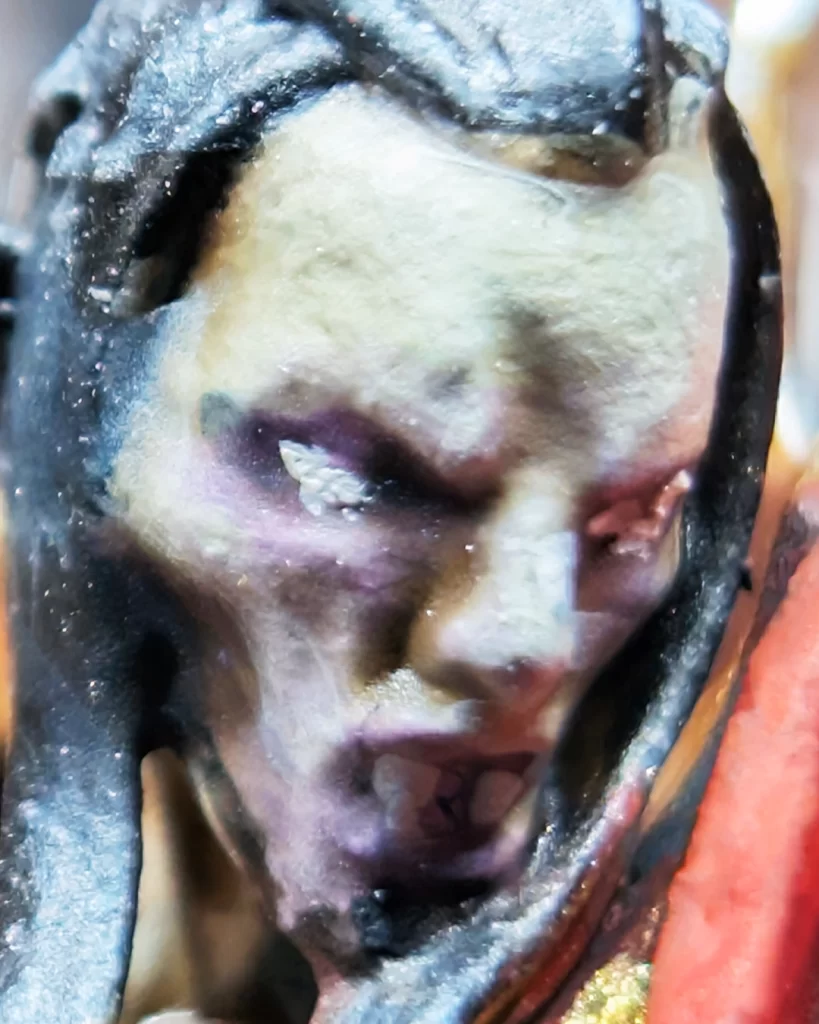
Face – Reapplied Pallid Wych Flesh to the raised areas of the skin, then glazed Druchii Violet around the eyes to create that sleepless, vampiric intensity. This subtle touch adds emotion and draws immediate attention to the model’s expression.
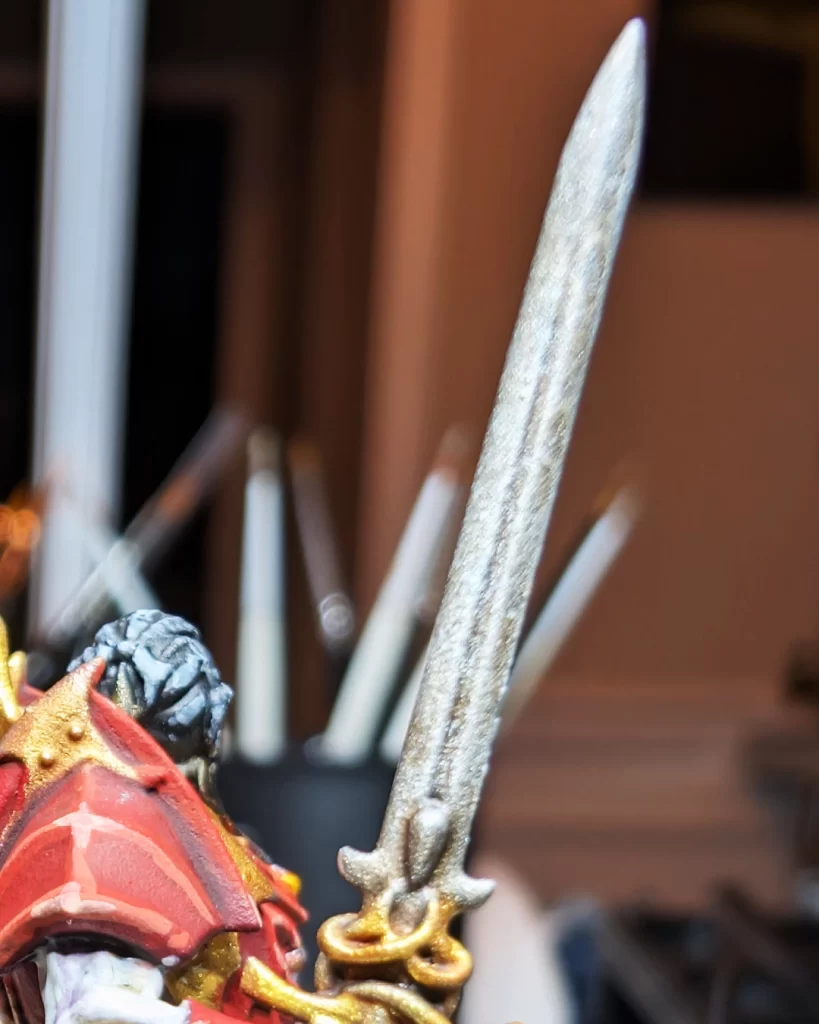
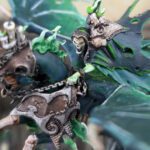
Tusks – Painted with Morghast Bone, shaded with Seraphim Sepia, and highlighted with Screaming Skull for an aged ivory look that contrasts beautifully with the rich armor tones.
Sword – Lightly drybrushed with Runefang Steel to create crisp reflections and enhance the weapon’s sharp, cold finish. This quick technique ties the metallic elements together without dulling the shaded depth underneath.
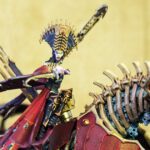
Painting Gemstones
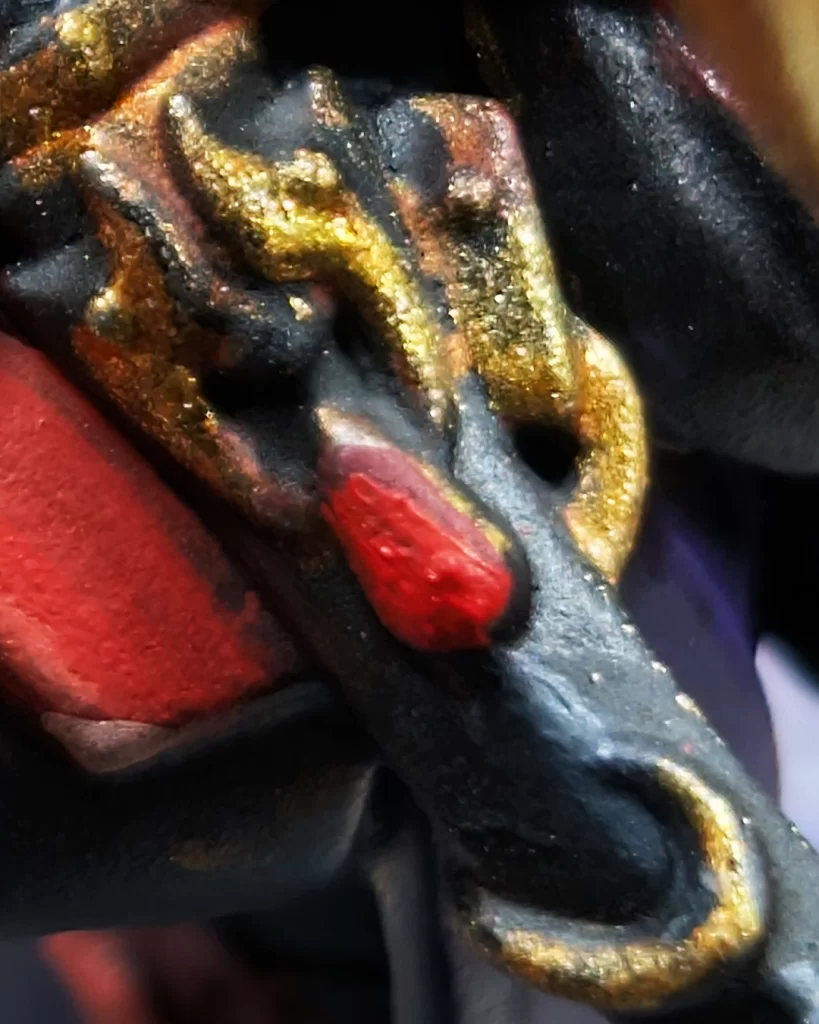
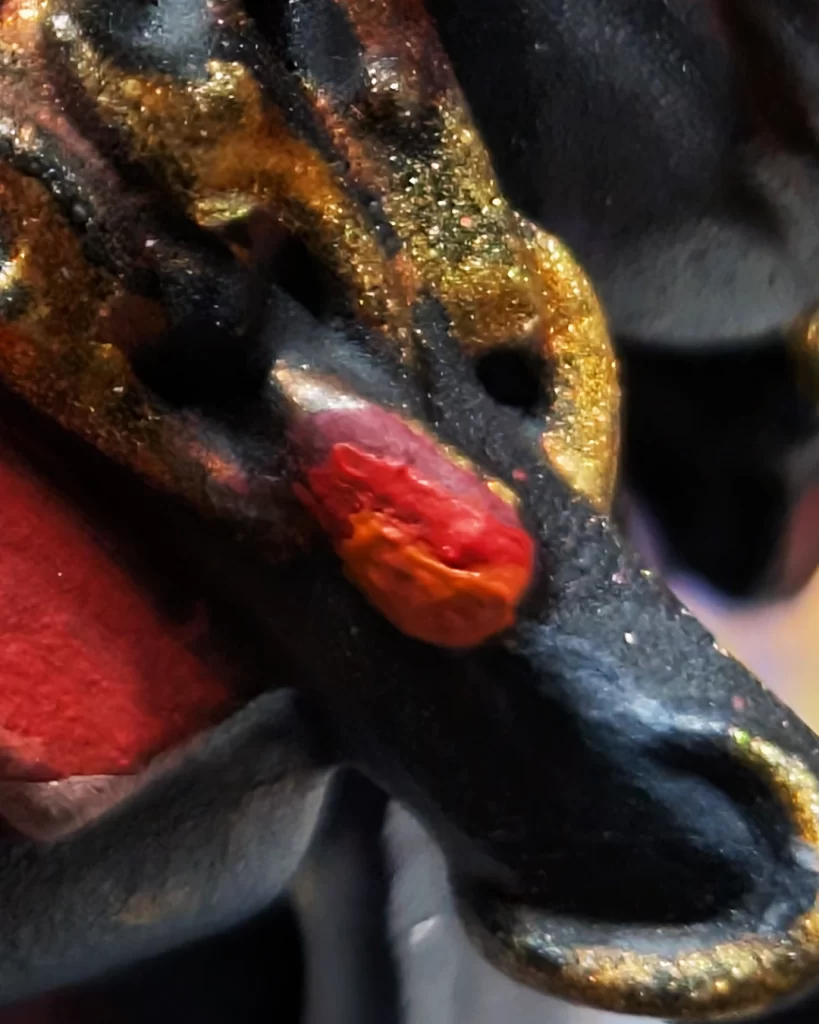
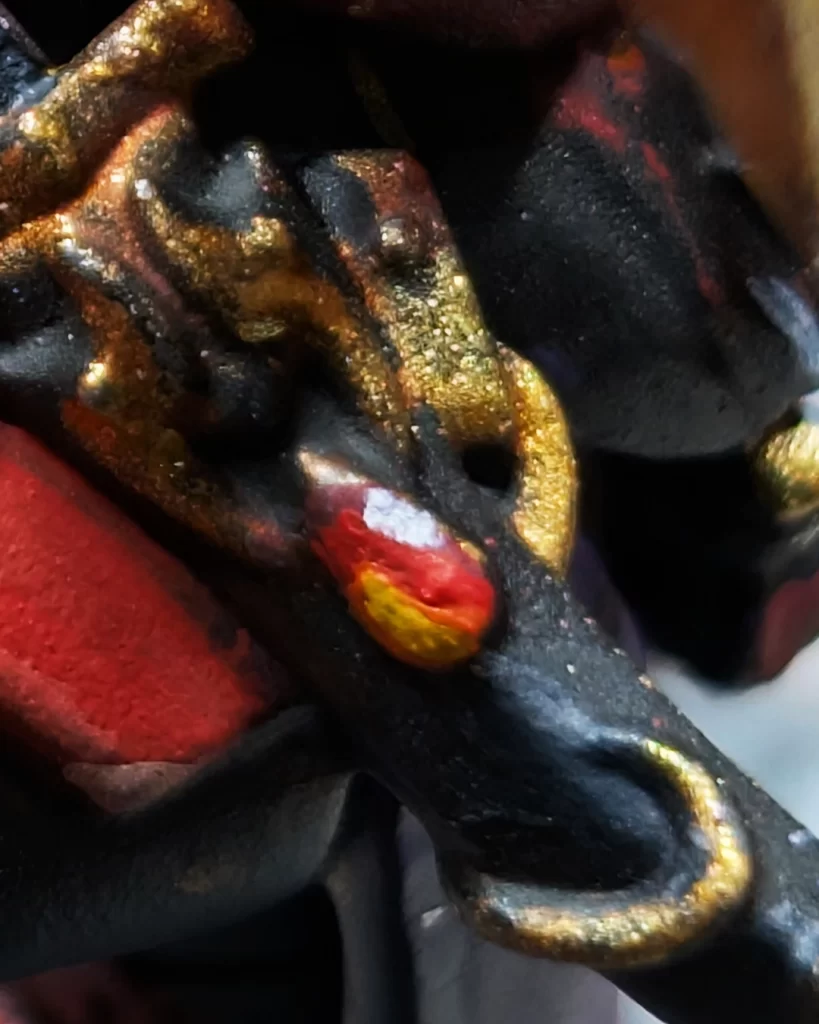
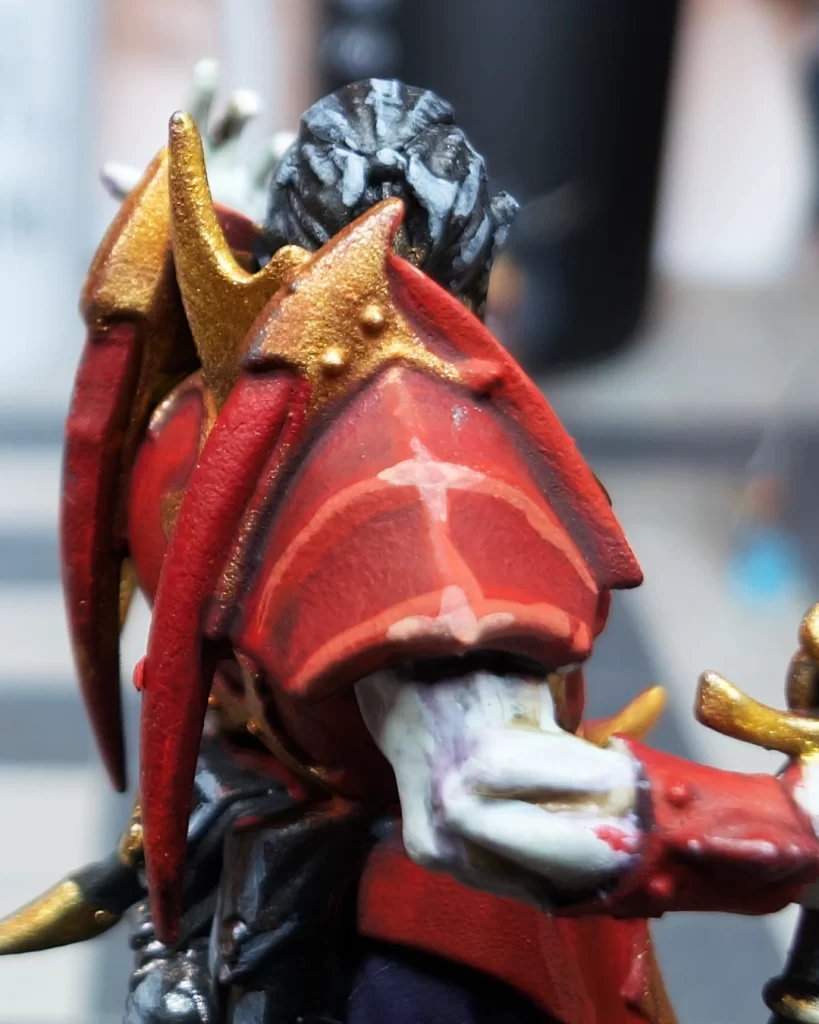
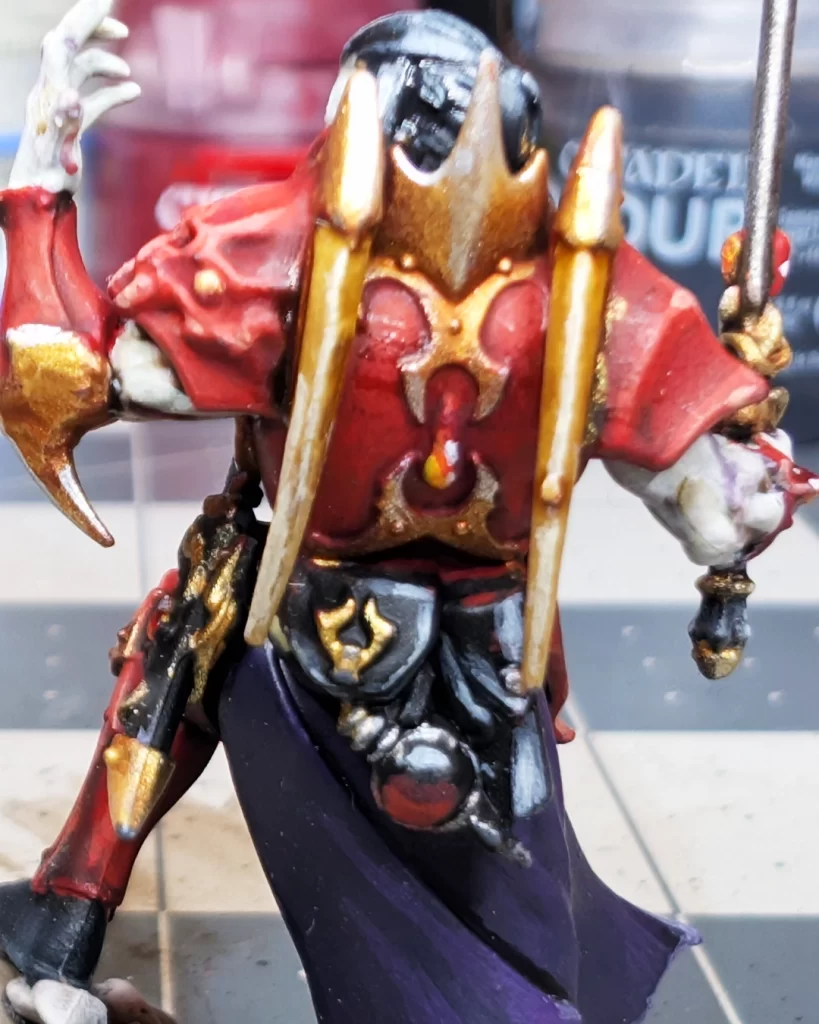
For the gemstones, I wanted them to stand out as small but eye-catching details — glimmering accents that add life to the armor’s deep crimson tones. Each gem was based with Khorne Red, then I layered Evil Sunz Scarlet over the lower two-thirds to create a warm gradient. I followed this with Fire Dragon Bright on the bottom third to simulate light passing through the gem, then added a small dot of Flash Gitz Yellow to the lower left for a spark of reflected light. Finally, a tiny dot of Corax White in the upper right corner creates the illusion of a glossy surface catching a pinpoint of light. It’s a quick but striking technique that makes even small details shimmer like enchanted bloodstones, perfectly suited to the Blood Dragon aesthetic.
Remember, there are gemstone on the sheath, his right gauntlet, his back, and on his sword.
Painting the Phial of Blood
Hanging from Prince Duvalle’s belt is a small phial, an elegant but unsettling detail that reinforces his vampiric nature. I painted the glass casing with Abaddon Black, keeping it deep and glossy to suggest darkened glass. The metal fittings were picked out with Iron Hands Steel for a cold, utilitarian edge. For the fluid inside, I used Khorne Red as the base and blended Evil Sunz Scarlet toward the lower half, matching the same gradient technique I used on the gemstones. Finally, a tiny reflection of Corax White at the top of the fluid completes the illusion of glass catching light — a small touch that makes the piece feel truly three-dimensional.
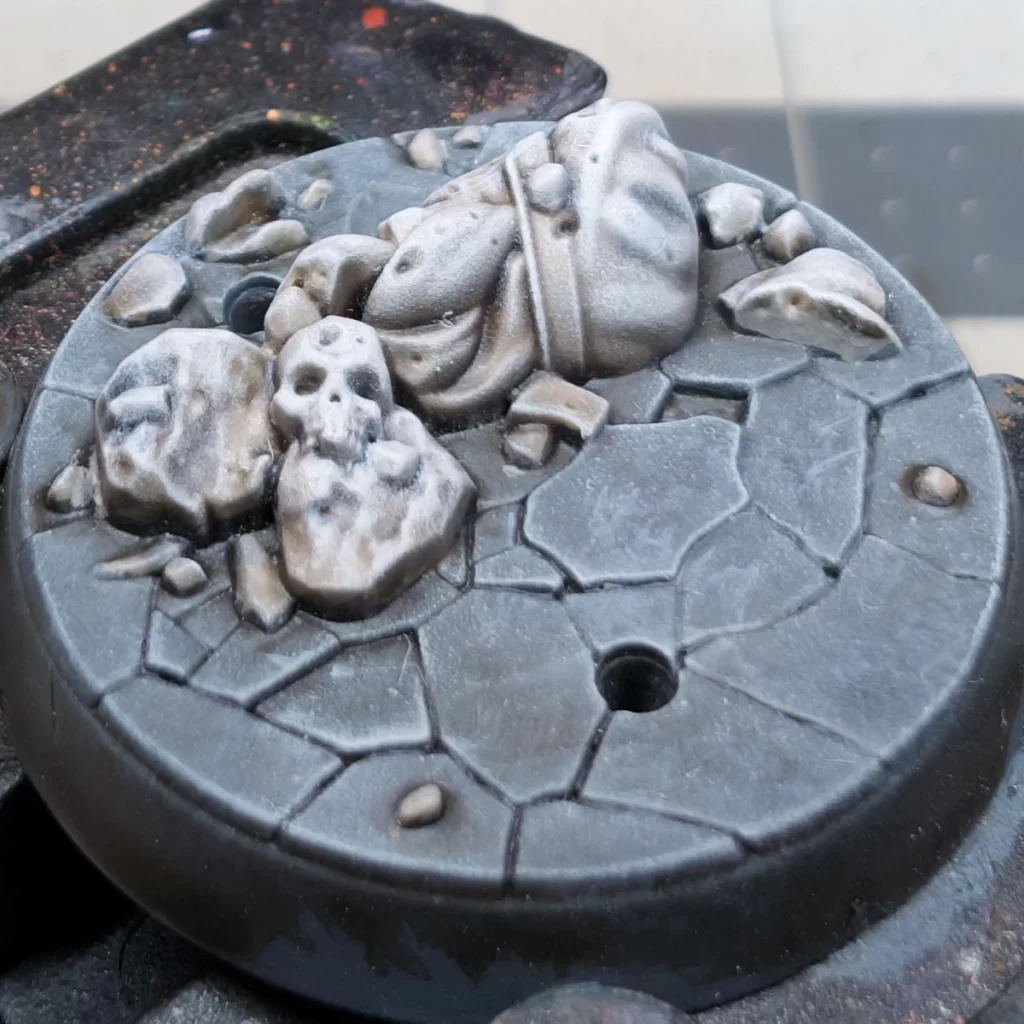
Basing Prince Duvalle
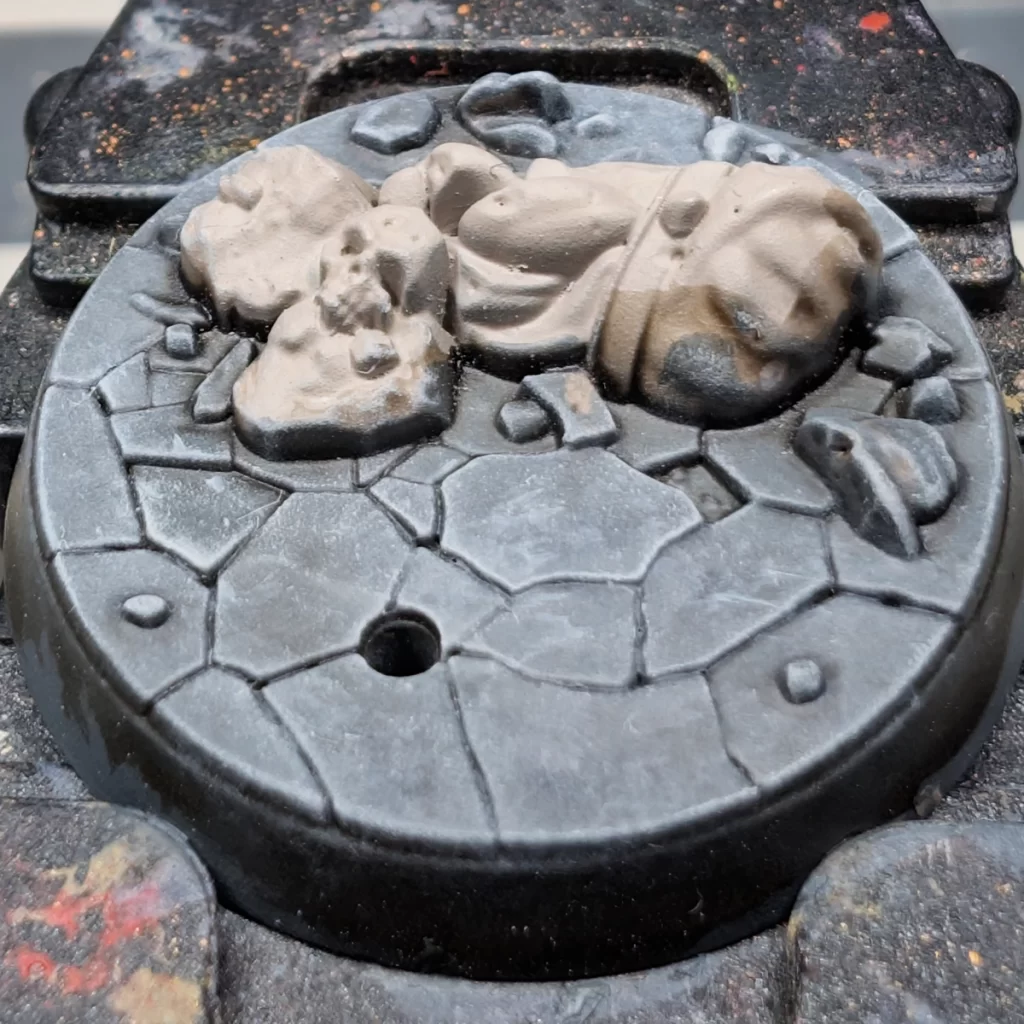
I started the base with the stone floor, establishing a neutral foundation that contrasts nicely with the model’s rich crimson armor. The stones were basecoated with Mechanicus Standard Grey, then shaded generously with Agrax Earthshade to settle warmth and depth into the recesses. Once dry, I gave the stones a broad drybrush of Dawnstone to bring out the texture, followed by a lighter drybrush of Administratum Grey focused on the upper edges and raised surfaces. This final pass catches the crisp corners of the sculpted stones and gives the base a natural, weathered look — perfect for a vampire lord striding across the ruins of his ancient keep.
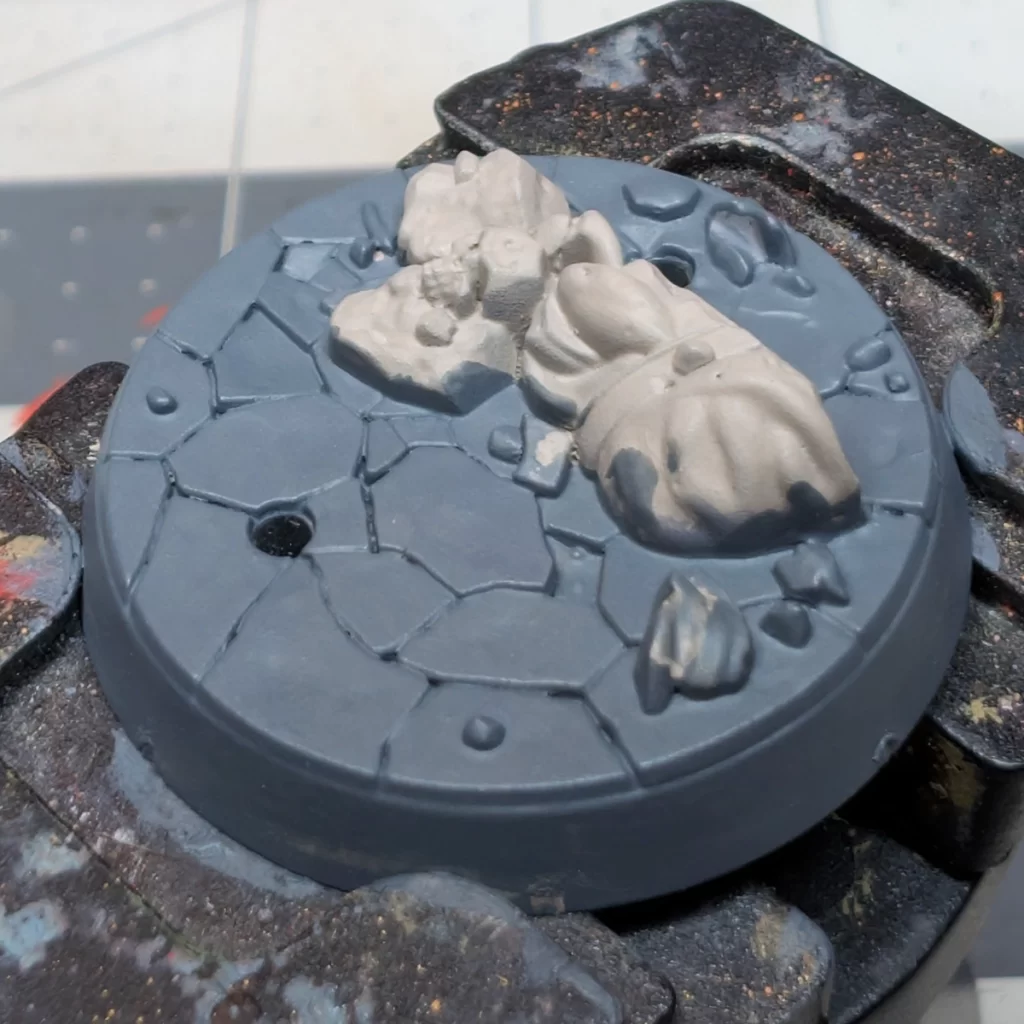
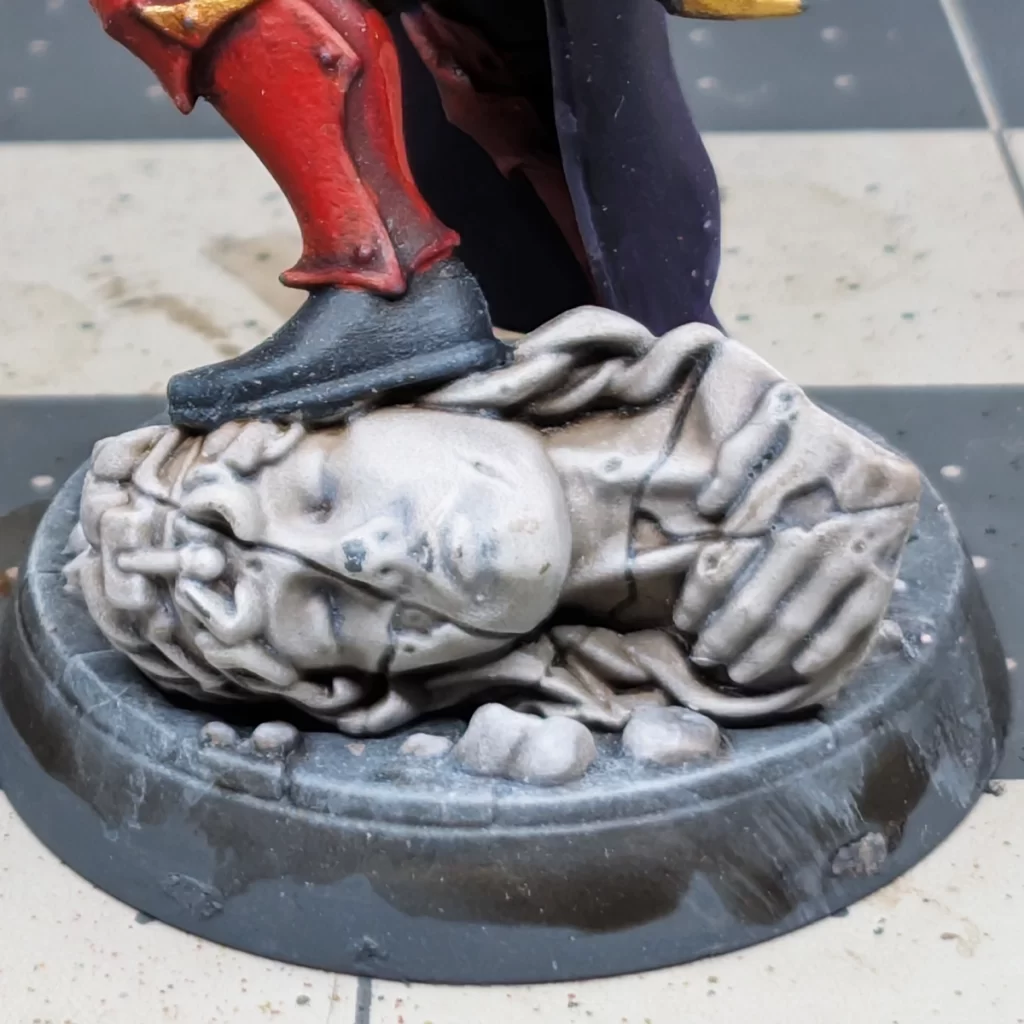
Basing Prince Duvalle – The Marble Statue
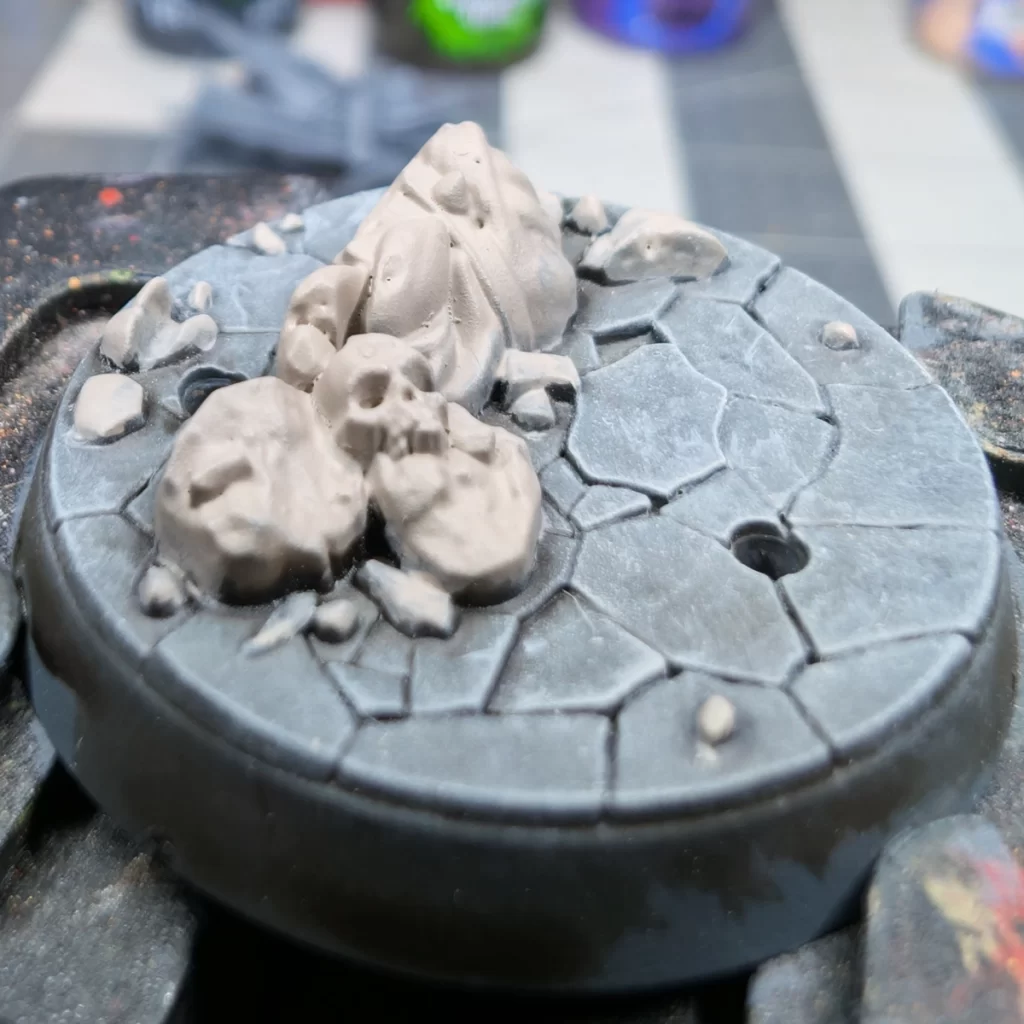
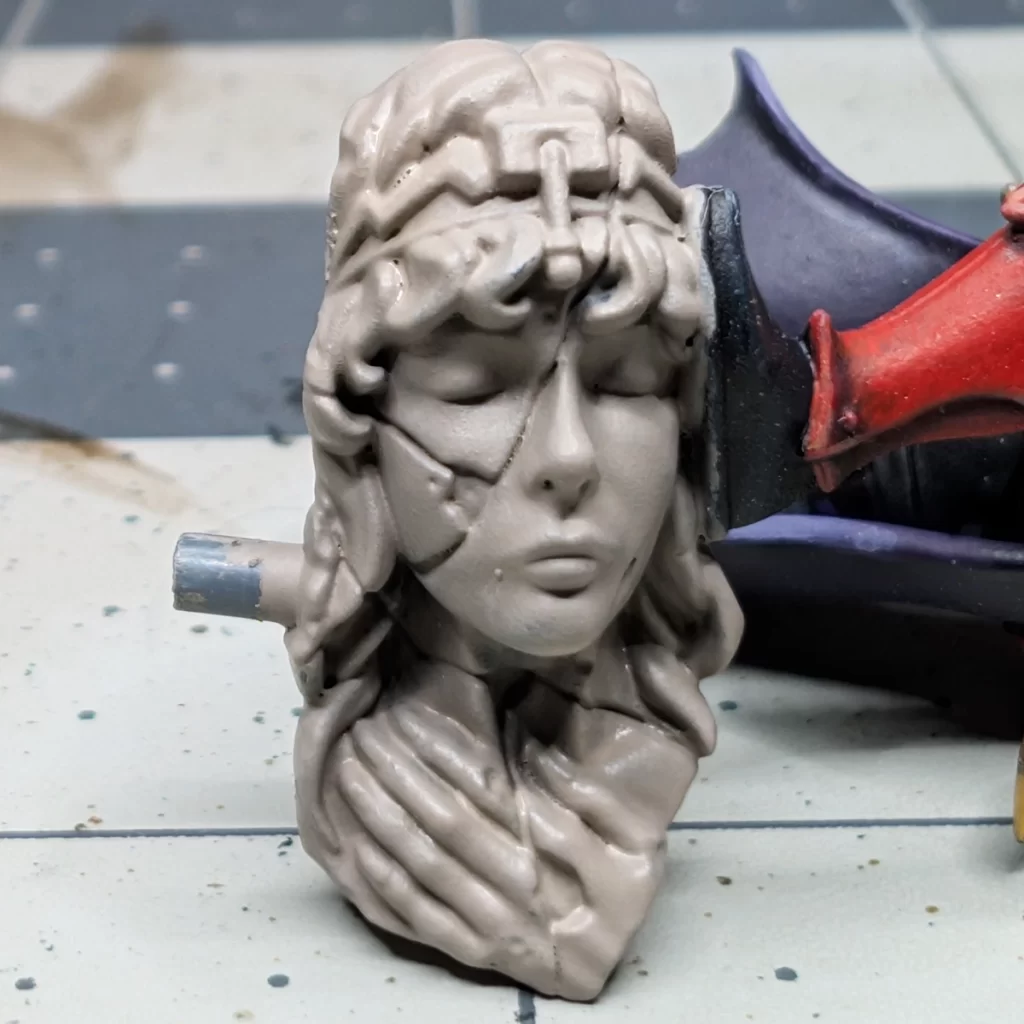
To start, I basecoated the statue steps and the broken head with Rakarth Flesh. There are two separate parts to this area — the main stone base beneath the model, and the cracked statue face that’s attached to Duvalle’s foot. Keeping these areas consistent helps the whole base read as one connected piece of carved stone.
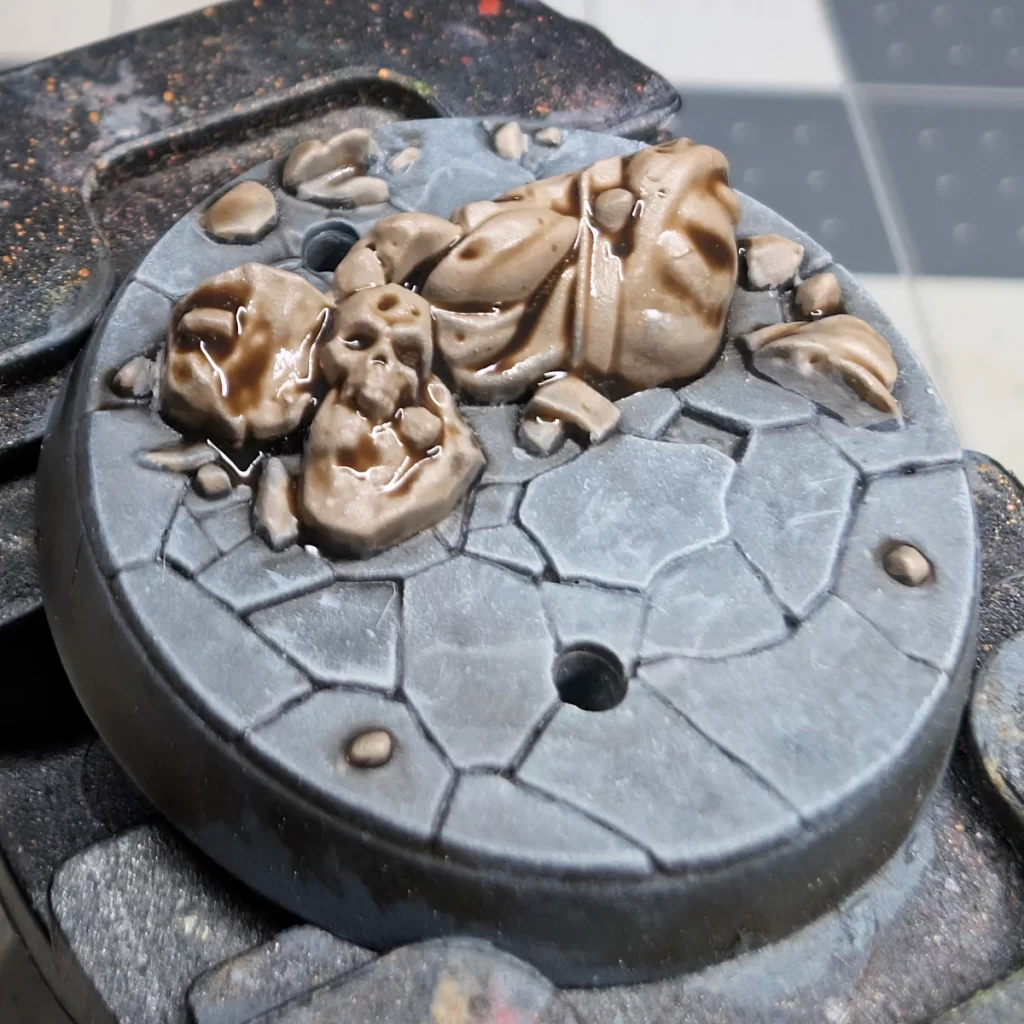
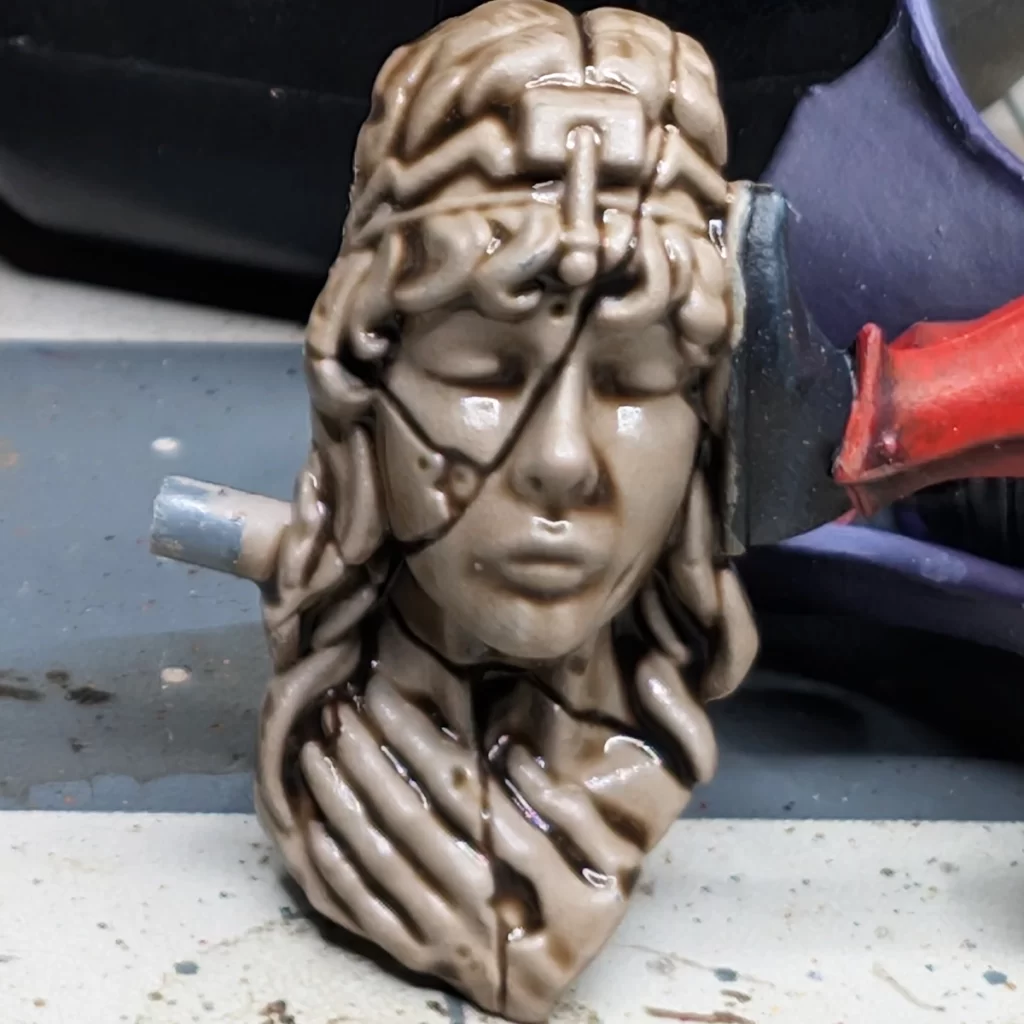
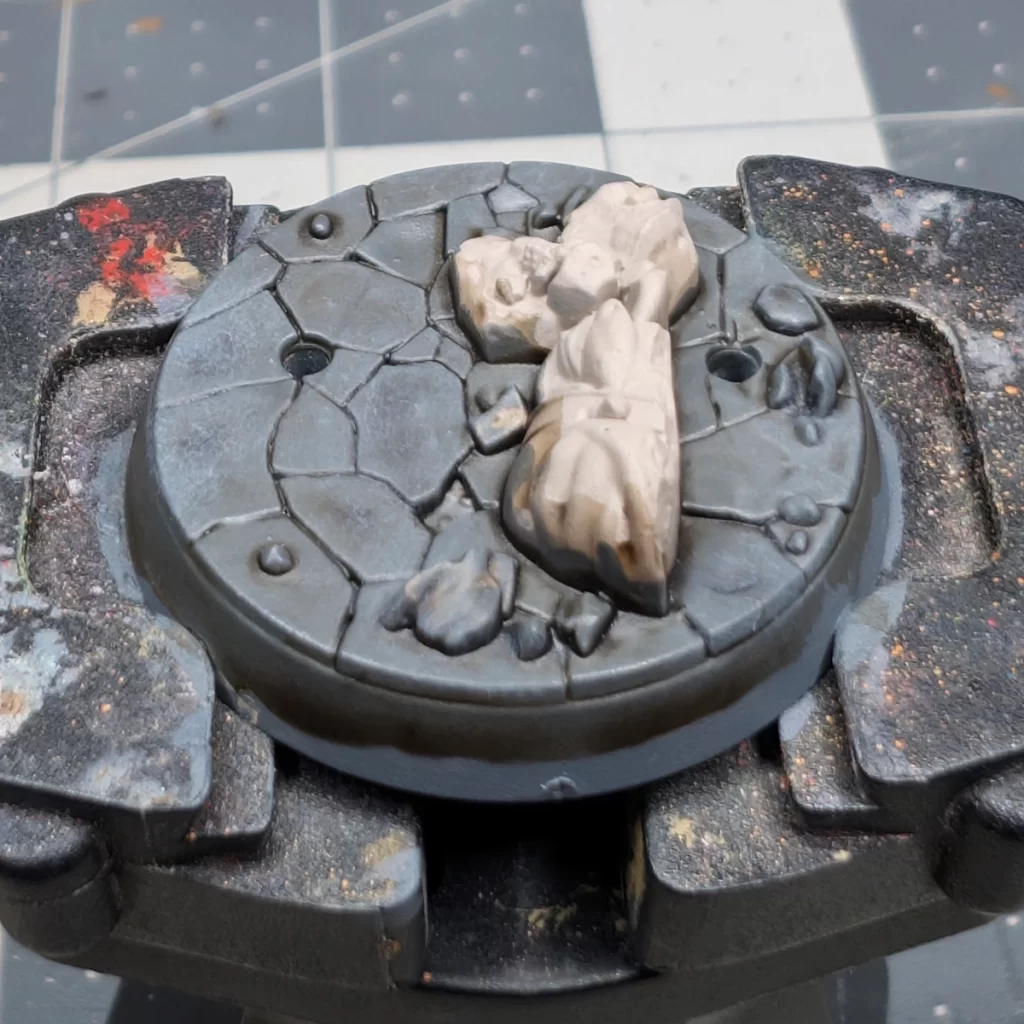
After basecoating the statue steps and the broken head with Rakarth Flesh, I shaded both parts with Agrax Earthshade. This helped define the cracks and recesses, giving the stone texture a natural depth and making the details pop.
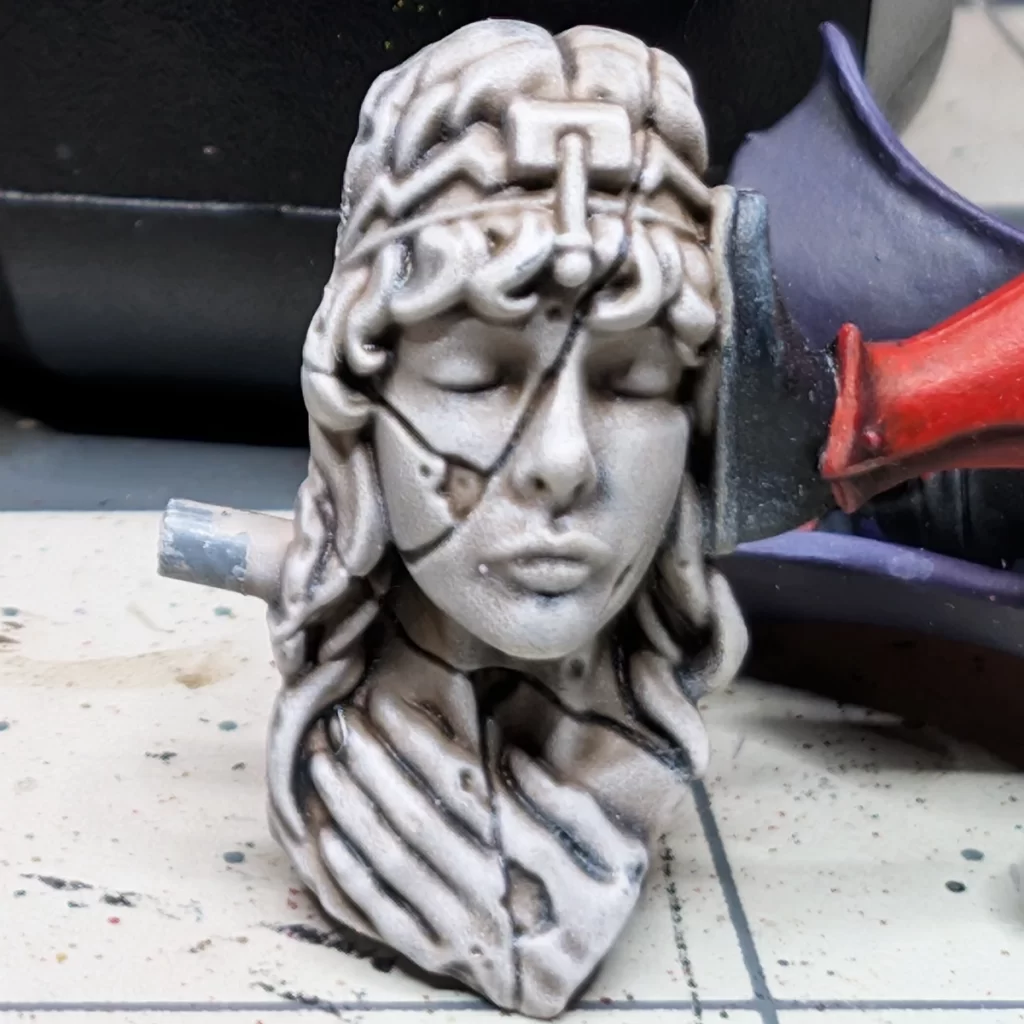
After shading with Agrax Earthshade, I drybrushed the statue steps and broken head with Pallid Wych Flesh. This light layer catches the raised edges and surfaces, enhancing the texture of the stone and giving the statue a weathered, aged look.

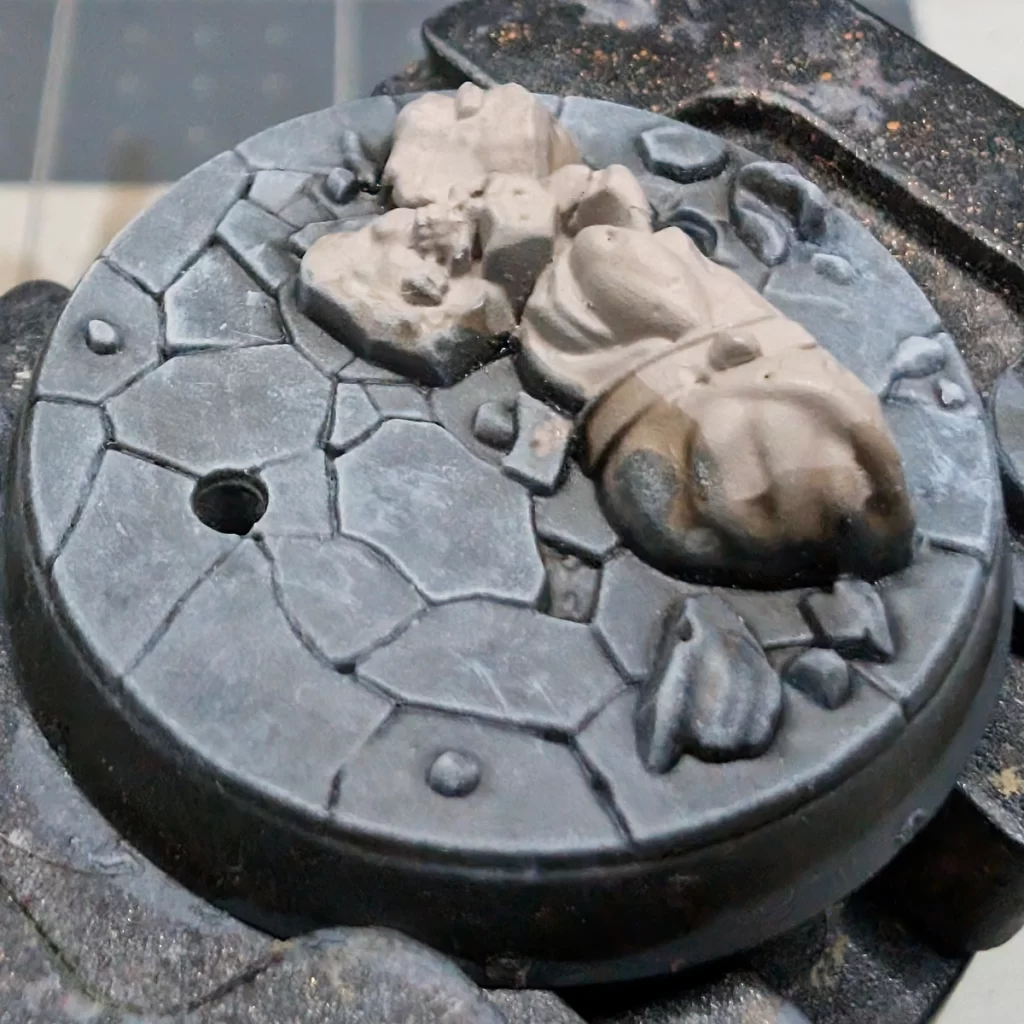
To finish the stone, I lightly drybrushed Corax White over the raised edges to pick out the sharpest points and give the statue a crisp, worn look.
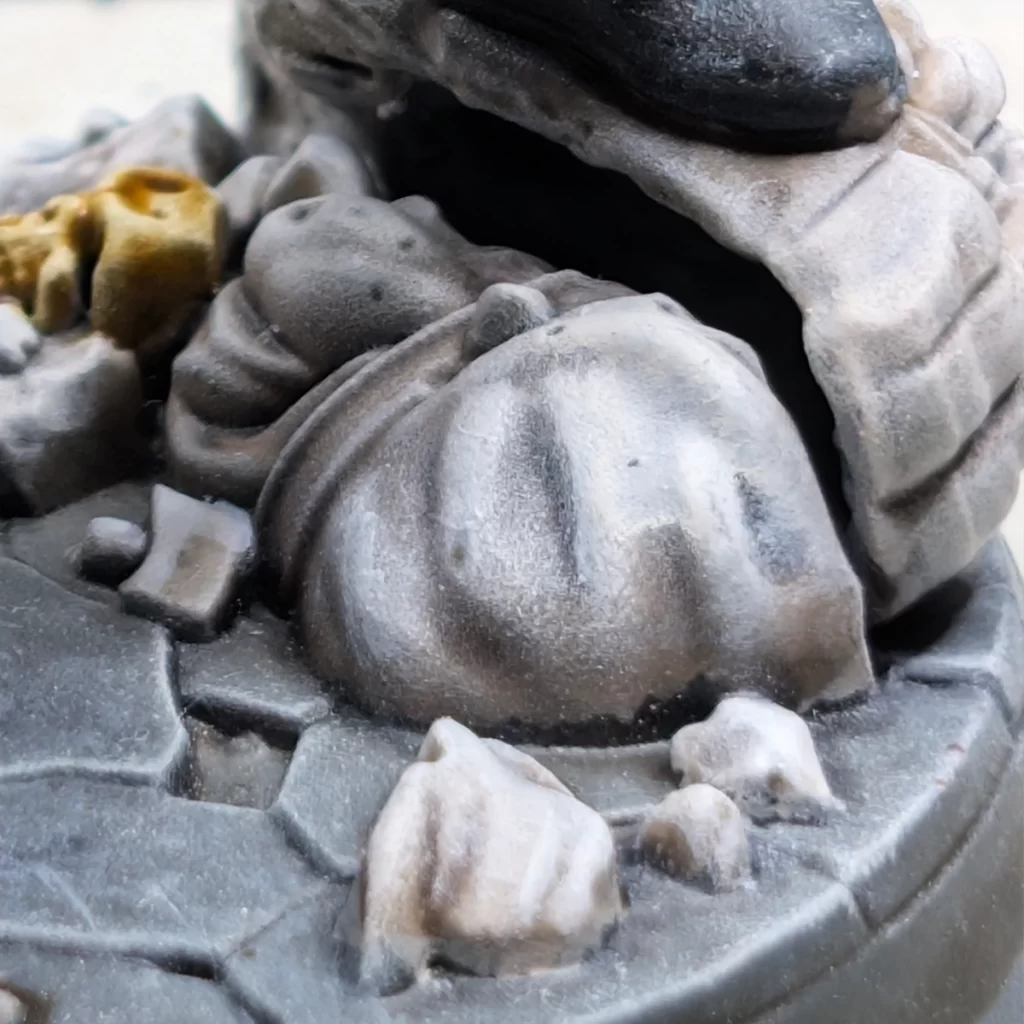
Finally, I added a small touch of Contrast paint from the Skeleton Horde range to the skull embedded in the statue. This brought out the bone texture and added a subtle, eerie detail that complements the Blood Dragon theme without overpowering the stonework.
Closing Thoughts
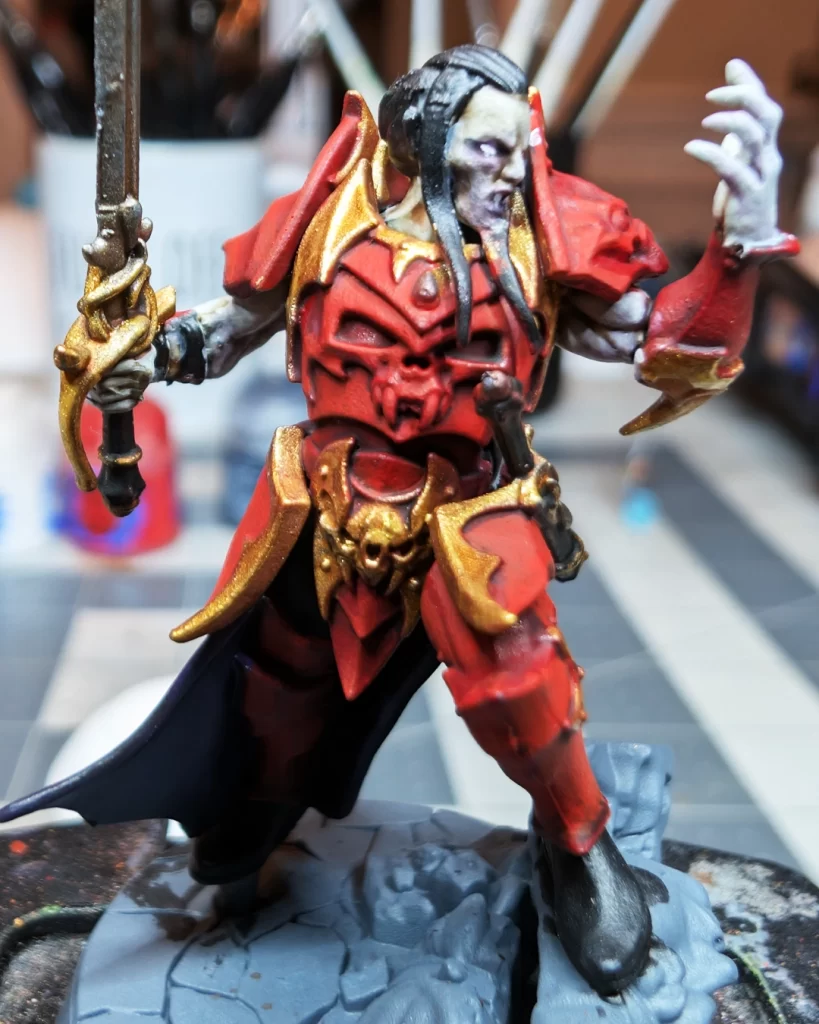
Painting Prince Duvalle in this Blood Dragon scheme was a rewarding experiment in breaking my own habits. Working in layers and highlights more freely gave me finer control over how the model’s colors interacted, and it felt more like sculpting with light than painting by numbers.
I’m thrilled with how he turned out — a noble, cursed warrior in gleaming red and gold — and I can’t wait to carry a similar scheme across the rest of The Crimson Court.
No responses yet