Disclosure: This post contains affiliate links. If you click through and make a purchase, I may earn a small commission at no extra cost to you. Thank you for supporting Mythic Minis Studio! For more information read my full disclosure.
Setting the Scene: Bringing Kill Team Hivestorm Terrain to Life
Ready to learn how to paint your Kill Team Terrain and bring your Hivestorm kit to life? In this guide, we’ll take you through each step of painting these detailed pieces, from priming and base coating to adding weathering effects that capture the grimdark aesthetic of Warhammer’s industrial hive worlds. With easy-to-follow techniques and tips on color choices, this tutorial will help you create terrain that enhances the atmosphere of your tabletop battles. Let’s get started and turn your Hivestorm set into an unforgettable battlefield centerpiece!
Don’t yet have your Kill Team: Hivestorm Tactical Skirmish Combat Game? Get it here!
Tactical Advantage: Using Hivestorm Terrain in Your Kill Team Strategy
Kill Team Hivestorm terrain serves as an essential strategic element in your games, providing cover, vantage points, and choke points that can dramatically influence the outcome of a match. With its towering industrial structures, barricades, and narrow pathways, this terrain encourages tactical positioning and close-quarters combat, allowing players to employ ambushes and flanking maneuvers. Mastering the use of Hivestorm terrain not only enhances the immersive feel of your battlefield but also offers a new layer of strategic depth—making every move, cover choice, and line of sight a critical part of your team’s survival and success.
Step-by-Step Guide: Painting Your Hivestorm Terrain
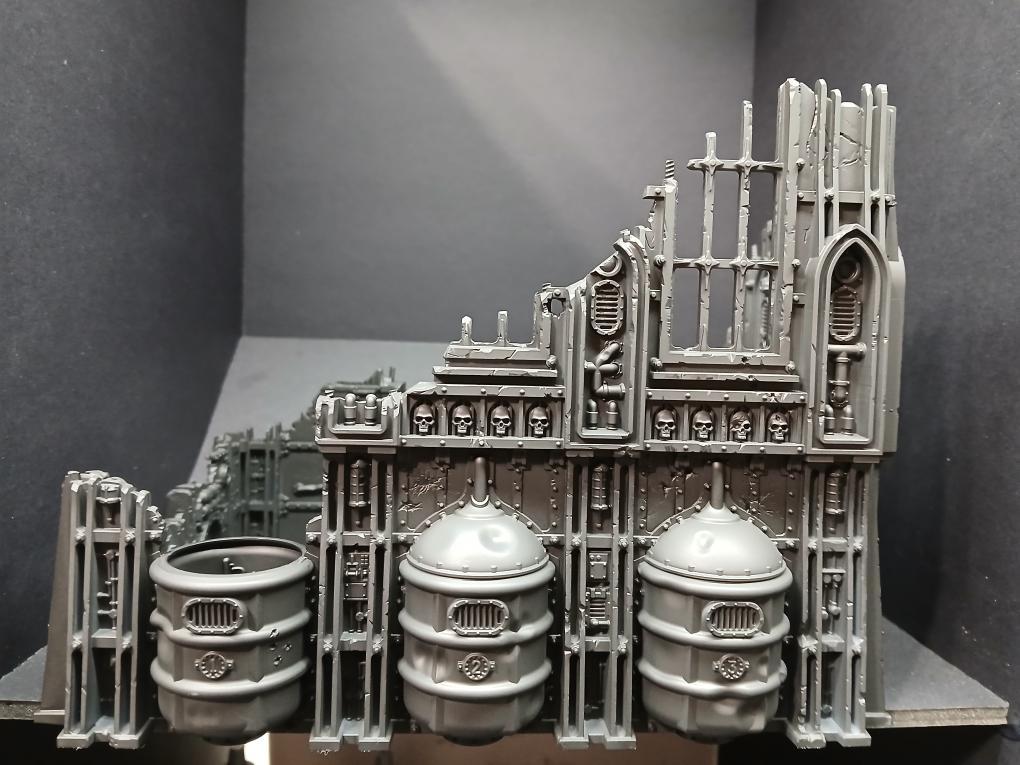
Start your painting process by priming the entire section with black.
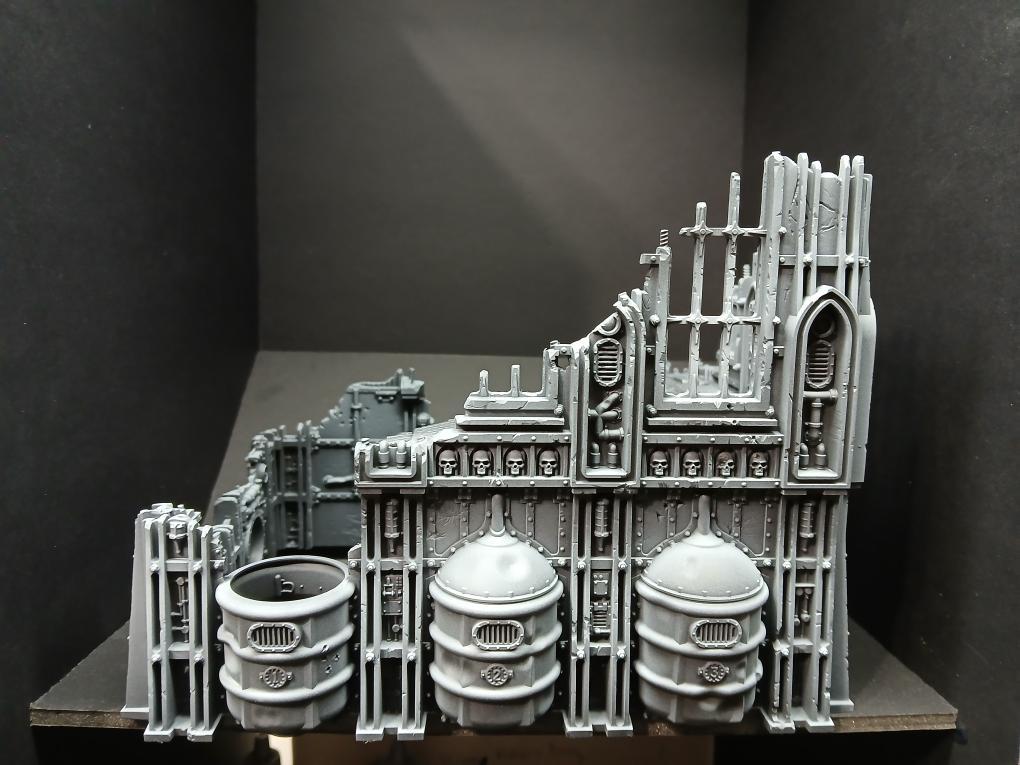
Do a zenithal with white, usually this is done at a 45 degree angle or so.
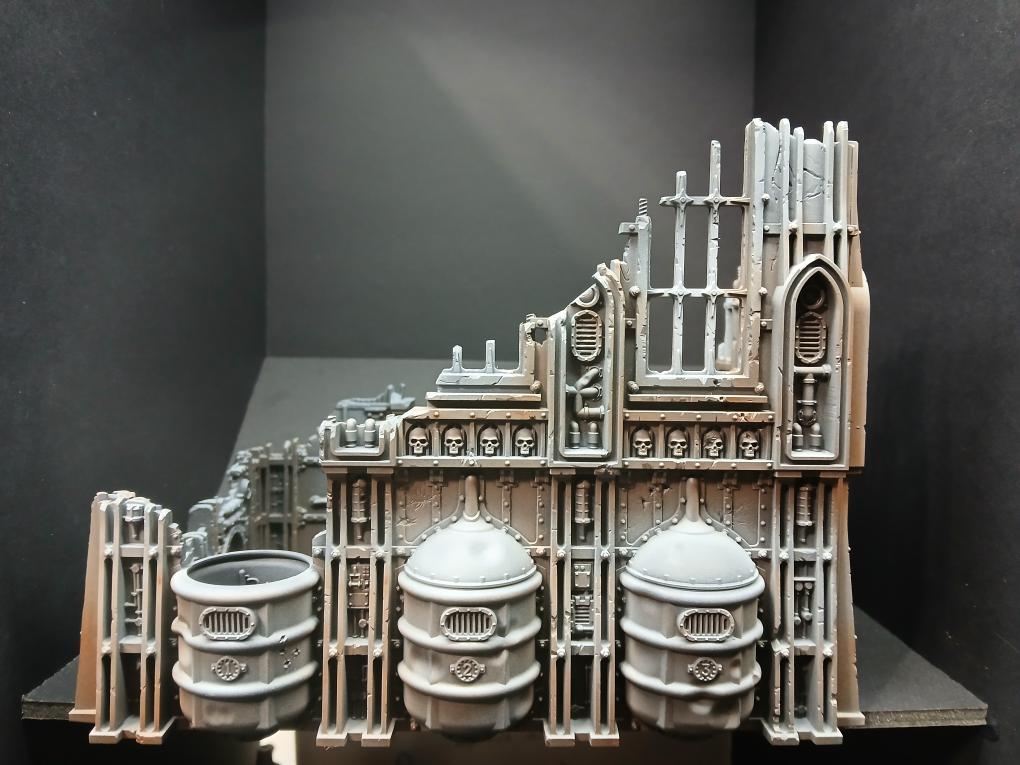
To add a gradient to the color, which contributes to the illusion of light and shadow, spray Mournfang Brown from the bottom. You can hit this from about a 45 degree angle, being careful not to saturate the color too much. You want to hit that upper deck just a little bit.
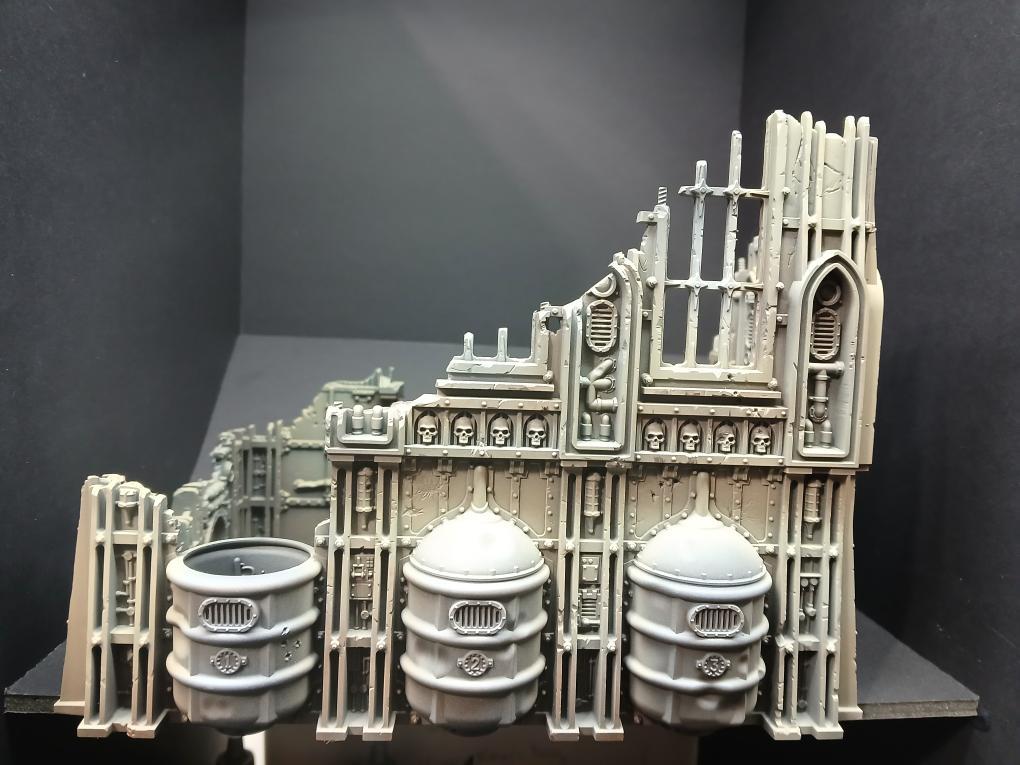
And finally, from the top spray Morghast Bone maybe from a little higher angle than 45 degrees.
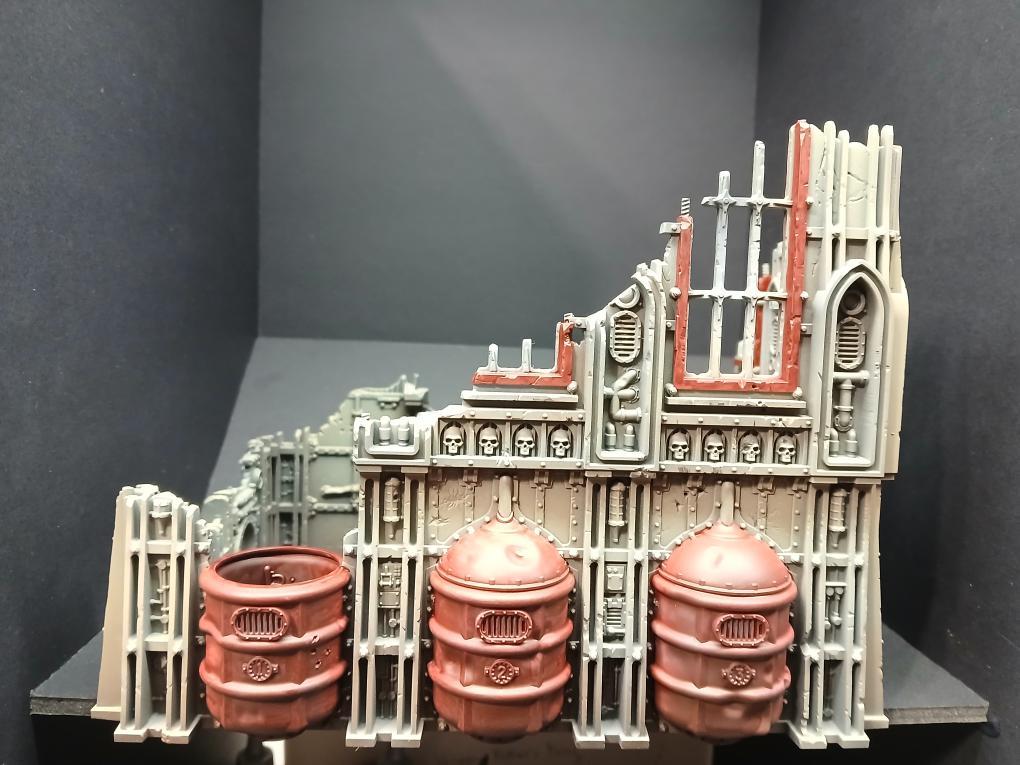
Our next step is to paint Blood Angels Red on all the parts of the above photo that are red.
To get a nice, smooth finish, thin the contrast paint down with water. I do not use contrast medium because while the medium dilutes the color it does not thin the paint. You’ll want to go for a 3 parts paint to 1 part water ratio.
The trick here is to use thin coats of the contrast and to try to mop up any places the contrast paint is pooling before it dries.
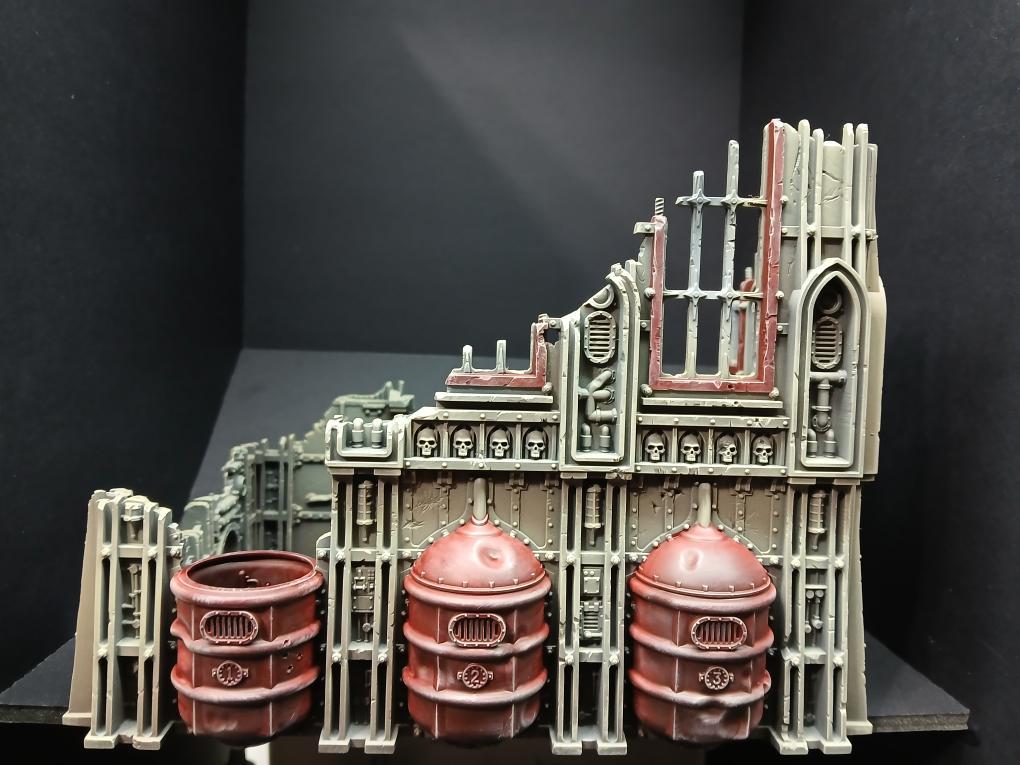
Next, drybrush the entire assembly with Ushabti Bone. I use the drybrushing method where you barely moisten the tip of the brush because it helps to eliminate the dry, chalky look that can be an effect from drybrushing.
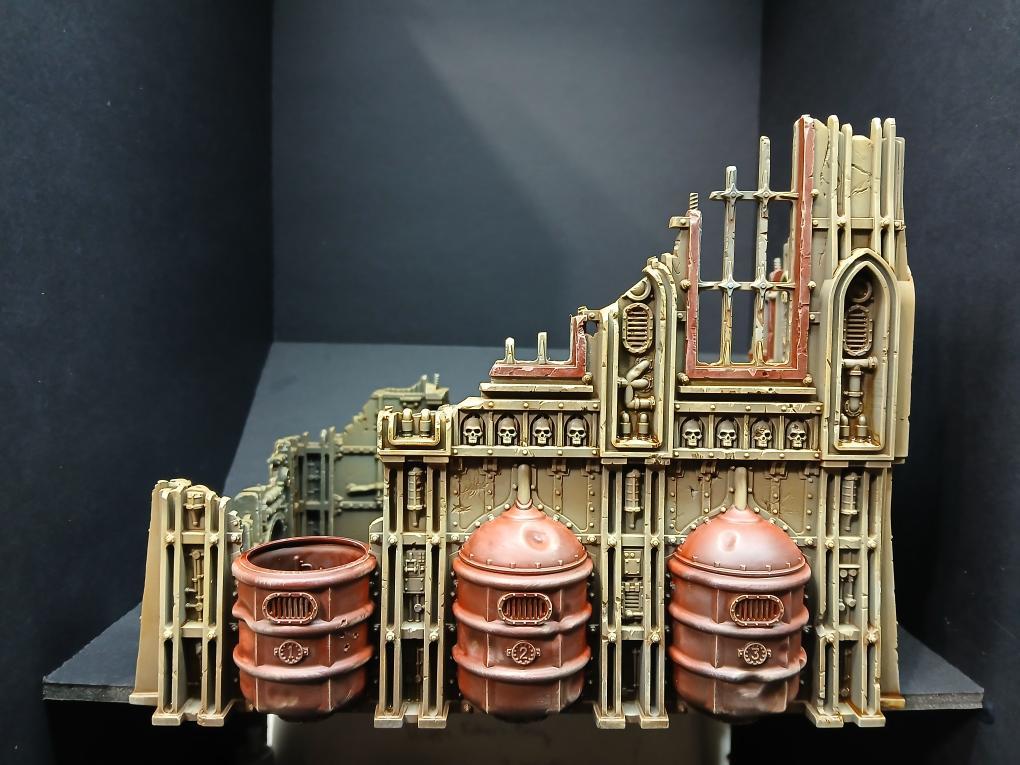
For this step, I used a thinned Burnt Umber oil paint thinned heavily with paint thinner. Apply it all over the model.
Specifically, this is Georgian Oil: Burnt Umber#223, which can be picked up at most hobby or art supply stores.
As far as thinner for oil paints, I use an odorless paint thinner (mineral spirits), Klean Strip, which you can get at hardware or department stores in the hardware department.
A pea-sized dollop of the oil paint and about 5 ml of thinner is a good ratio and will be enough to paint squads, large models, or large terrain pieces such as this. Use a synthetic brush when applying oil paints as the oils will stain a natural brush and ruin it. Use clean paint thinner to clean the brush.
How to Paint Kill Team Hivestorm Terrain, Tabletop Quality
If you’re aiming for a tabletop-ready paint job on your Hivestorm terrain, this is a great point to stop! With base colors, shading, and some basic highlights complete, your terrain pieces are already visually striking and will look fantastic on the battlefield. These steps provide the rugged, industrial feel that’s perfect for a grimdark environment without requiring advanced detailing techniques. This level of painting strikes a good balance between quality and time efficiency, ensuring your terrain is game-ready without spending too much time on complex effects. Feel free to add a matte varnish to protect your work, and your Hivestorm set will be primed for battle!
If you want to push the details on your terrain just a little bit more continue with the following steps!
How to Paint Kill Team Hivestorm Terrain, Pushing the Details
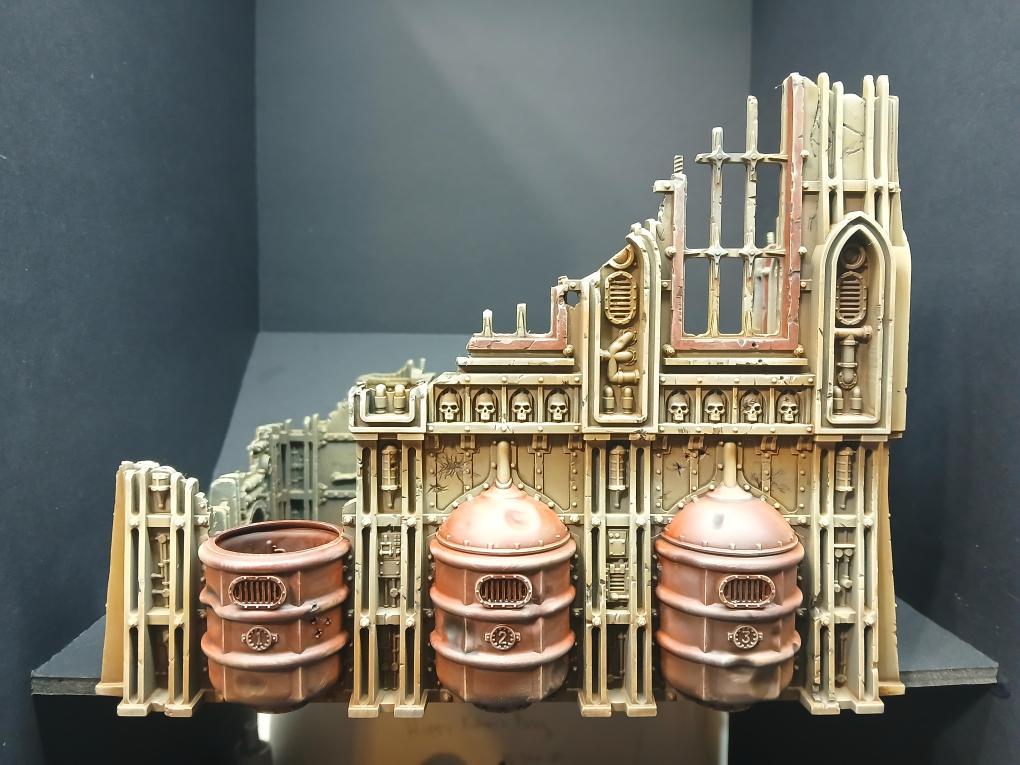
We’re going to push the shadows deeper and highlight some of the battle damage on this building. You can do this one of two ways:
First, you may heavily thin black oil paint and carefully apply it into the deepest recesses and cracks in the building using precision.
The second method is to use Tamiya Black Panel Liner and carefully apply it into the deepest recesses and cracks. Any mistakes made with the Panel Liner can be easily cleaned up with a cotton swab moistened with enamel thinner.
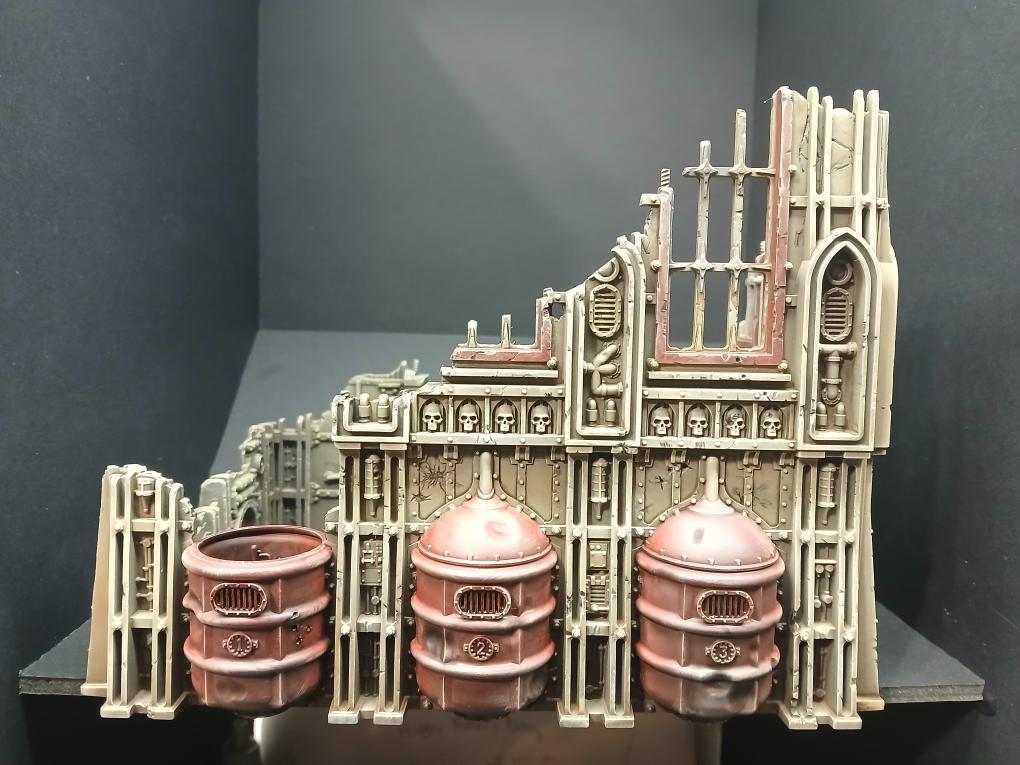
Drybrush Ushabti Bone again to clean up the flat surfaces and restrict shadows and grime to the lines and darkest recesses of the model.
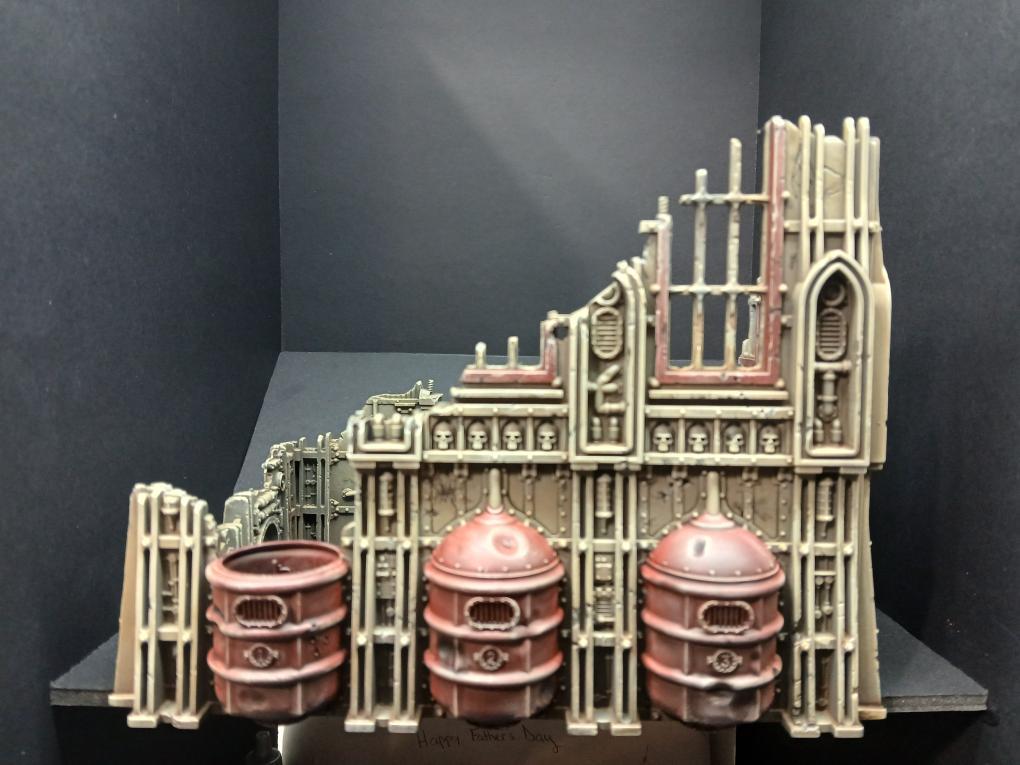
Push the highlights of the model by drybrushing with Ushabti Bone brightened up with a bit of white mixed in. Focus on the top-most edges and details of the model to catch the light and push the contrast.
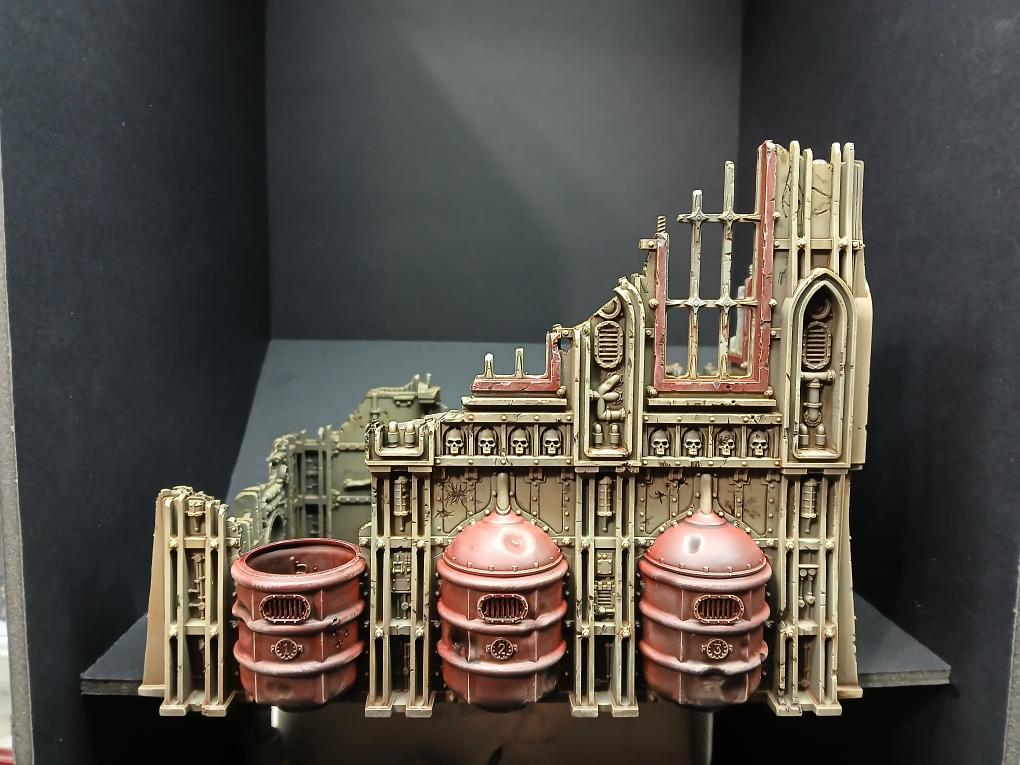
And the final step is to finish the model with a very thin, almost glaze consistency, of Mournfang Brown. Focus toward the bottom of the model, below any ledges, and between any recesses. The purpose of this is to bring warmth back into the shadows.
Finishing Touches and Final Thoughts
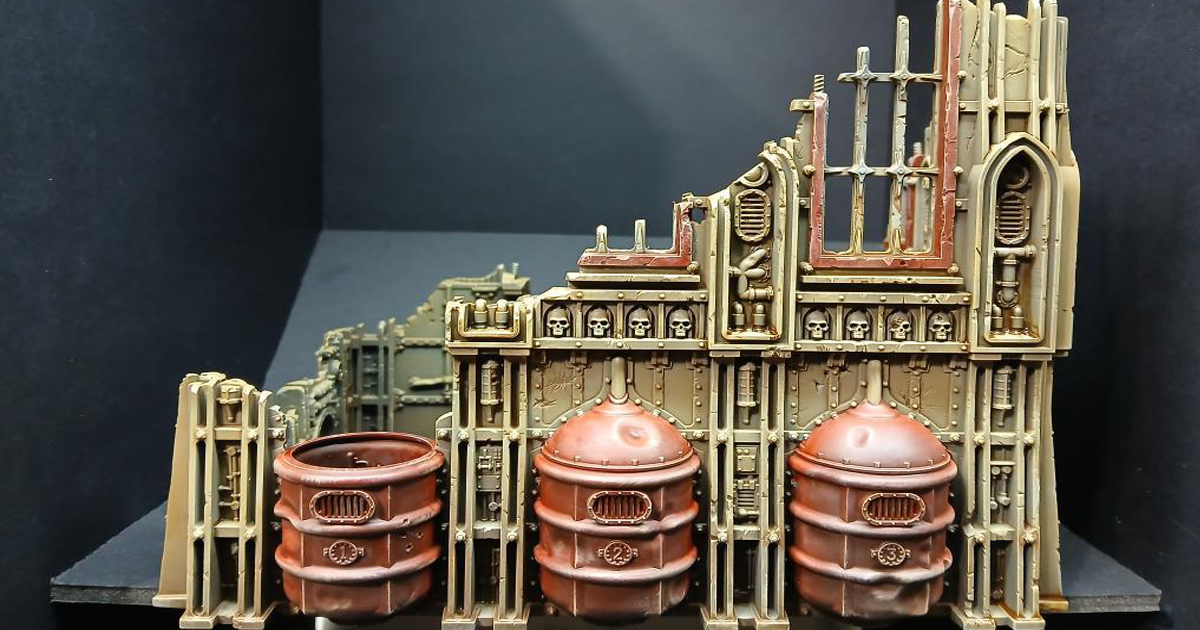
With these techniques, your Kill Team Hivestorm terrain is ready to bring immersive, tactical depth to your tabletop. Whether you’ve opted for a basic finish or pushed the details to maximize realism, your terrain will enhance the atmosphere of every game. Take a step back and admire your work—each detail adds to the gritty, industrial feel that Warhammer fans love. Now, set up your battlefield and let the battles begin!
Stay tuned for more to come with future weathering, rust, grime, and OSL effects on this model!

No responses yet